Sourdough Bread Recipe: One Formula, Three Schedules
A no-fail sourdough bread recipe measured in grams: 500 g flour, 375 g water, 100 g starter, 10 g salt, plus three schedules and full troubleshooting.
By Maya Ellison · Reviewed by Maya Ellison · Updated August 18, 2026 · 6 min read
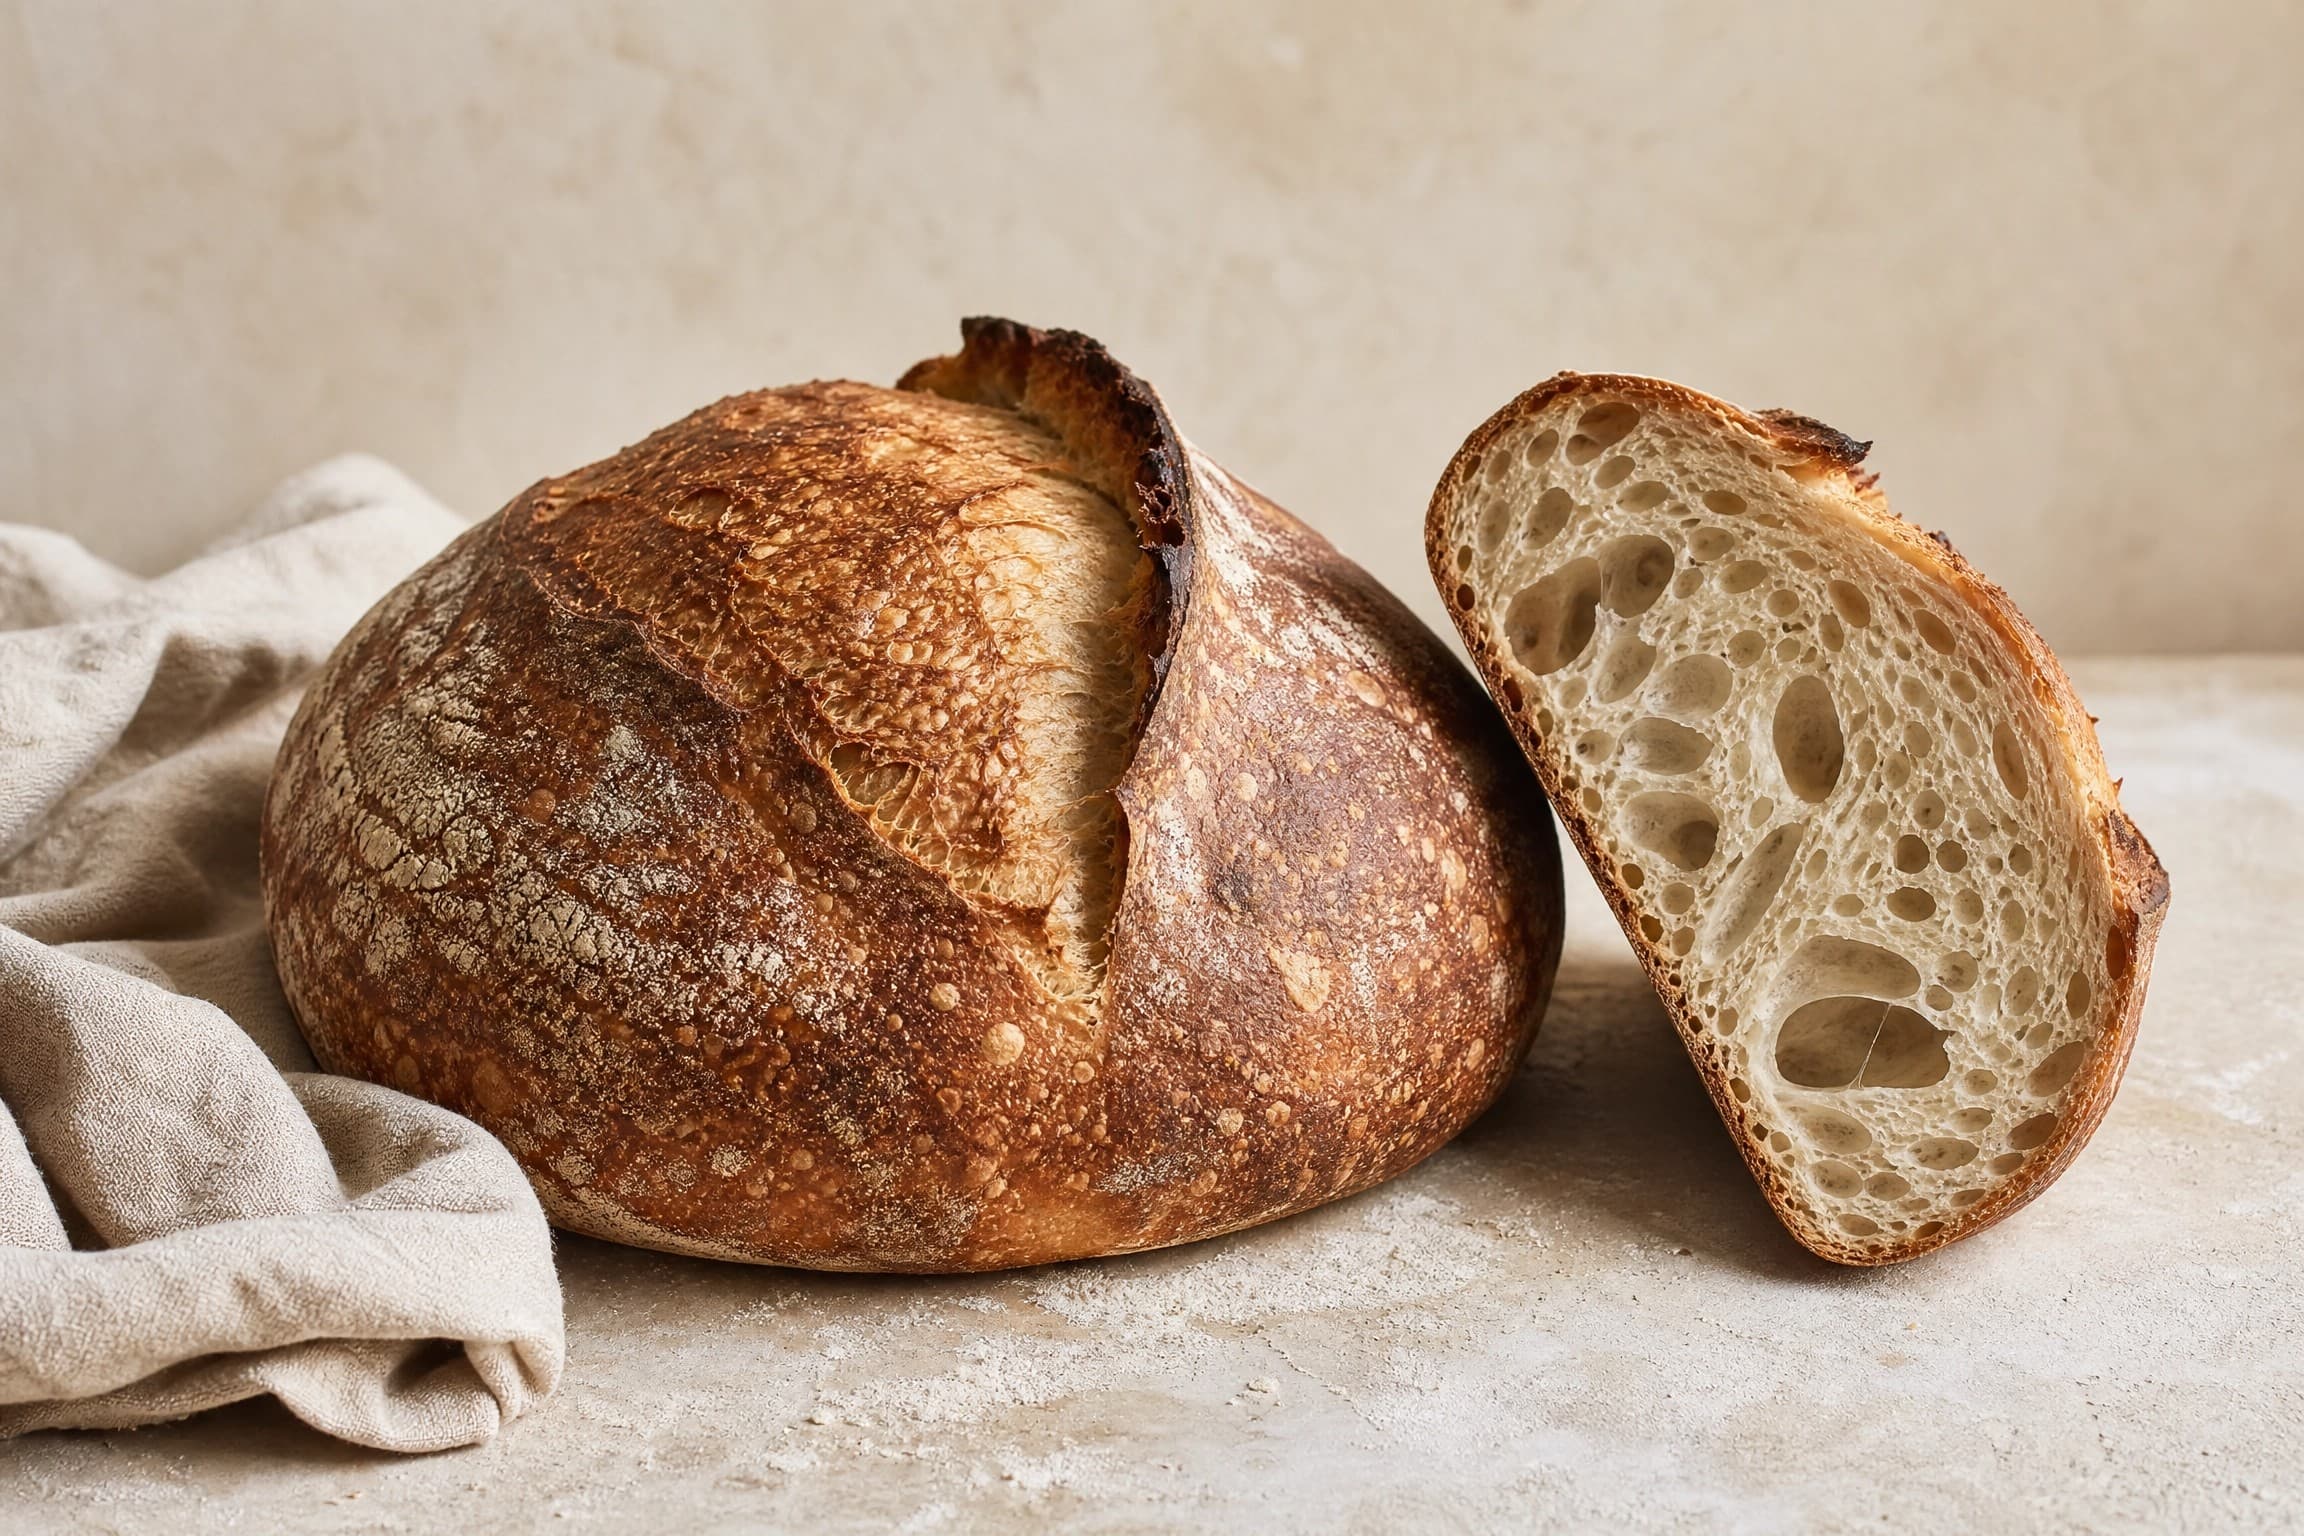
A great sourdough bread recipe is four numbers and a schedule you can keep: 500 g of flour, 375 g of water, 100 g of ripe starter and 10 g of salt. This is the recipe for sourdough bread I bake every week — one 900 g loaf with a crackling crust, an open, custardy crumb and a gentle tang. It's written in grams, timed for a normal home kitchen and flexible enough to fit a weekday evening, a lazy weekend, or a two-day split.
Why this recipe works
The formula sits at 75% hydration — wet enough for an open crumb, dry enough that a beginner can still handle it. The 10% whole wheat adds flavor without the handling problems of a fully whole-grain dough. And the three-schedule structure means the same recipe works whether you have 14 hours or just two evenings.
| Ingredient | Percentage | Weight (this recipe) |
|---|---|---|
| Bread flour | 90% | 450 g |
| Whole wheat flour | 10% | 50 g |
| Water | 75% | 375 g |
| Active starter | 20% | 100 g |
| Salt | 2% | 10 g |
Every loaf starts with these five lines. Want to understand the math behind them? The baker's percentages guide explains how to scale this formula up, down, or sideways.
Pick a schedule
The dough follows the same path every time — autolyse, mix, folds, bulk, shape, proof, bake. Only the timing changes.
Same-day (about 13 hours). Mix at 8:00, fold until 10:30, bulk until 3:00, shape at 3:00, proof until 4:30, bake at 4:30, slice at 7:00. Best for weekends and a starter at peak on a schedule you can watch.
Overnight bulk (the weekday version). Mix and fold in the evening, then move the bowl to the fridge right after the last fold. Shape the next evening, proof 45-60 minutes, bake. The cold bulk does the work while you sleep and the flavor deepens.
Two-day (slow and forgiving). Follow the overnight schedule, but after shaping, proof in the fridge for 10-14 hours. Bake straight from the cold the next morning — score deeper and add 5 minutes to the covered bake. This is the most forgiving route for beginners because the fridge gives you a huge window.
The stages, explained in order
The autolyse is flour and water resting alone for 30 minutes before the starter arrives. It hydrates the flour and starts gluten development with zero effort. See the full autolyse guide for timing tables and the mistakes that turn it sour.
The folds replace kneading. Three rounds, 30 minutes apart, build strength while the dough ferments. You are not trying to make a smooth ball — you are teaching the gluten to hold the gas the starter will produce.
Bulk fermentation is where the dough goes from dense to alive. Watch the dough, not the clock: you want it puffy, domed and 60-70% larger, with a few bubbles on the surface and edges that have rounded off. Under-proofed dough is the number one cause of dense loaves. When in doubt, wait 30 more minutes and use the dough poke test to check.
Shaping builds surface tension so the loaf can rise up instead of out. Preshape, rest 20 minutes, then shape into a tight boule or batard — the shaping techniques guide walks through both hands-on.
Proofing is the final rise. Room-temperature proof is 45-60 minutes; a cold proof is 10-14 hours. Either works with this recipe.
Baking happens in a preheated covered pot: 475°F (245°C) covered for 30 minutes, then 450°F (230°C) uncovered until the crust is deep amber. Full details live in the Dutch oven baking guide.
Common mistakes (and the fix)
- Dense crumb: under-proofed, or sliced too early. Give bulk another 30-60 minutes and wait the full 2 hours to cut.
- Flat, wide loaf: over-proofed, or shaping lost too much tension. Cold-proof next time and re-read the shaping guide.
- Pale, soft crust: not enough steam, or the oven ran cool. Keep the pot covered for the full 30 minutes and check your oven with a thermometer.
- Burning on the bottom: the Dutch oven is too close to the element, or preheated too hot. Slide a baking sheet under the pot, or bake on a lower rack.
- Gummy, tight crumb: cut too early, almost always. Two hours on a rack, no exceptions.
Variations
- Whole wheat: swap the bread flour for 250 g whole wheat and add 25-50 g water. The whole wheat sourdough bread recipe handles this properly.
- Rye: replace the whole wheat with 50 g rye for a deeper, darker crumb. The 90% rye loaf goes all the way.
- Walnut-cranberry: fold 100 g toasted walnuts and 80 g dried cranberries in during the last fold. Full instructions on the walnut cranberry sourdough page.
- Higher hydration: want the big open crumb? The high-hydration sourdough guide explains how to push this same formula to 80% and beyond.
Before you bake
This recipe assumes an active sourdough starter. If yours is new, weak, or hasn't risen today, the sourdough starter guide will get it to peak — start there, then come back. Everything else you need is probably already in your kitchen. New to sourdough entirely? Walk the whole bake end to end in the beginner's guide to sourdough. And when it goes wrong — not if, when — the sourdough troubleshooting hub has the direct answer for every failure mode. For more ways to use your starter and its discard, the sourdough discard recipes hub has you covered.
The complete guide library
Every technique this recipe relies on has its own in-depth guide on this site — each one links back to this recipe and to the sourdough starter guide, so you can always find your way home:
- Beginner's guide to sourdough — the whole bake end to end
- Autolyse — the 30-minute rest that starts every good dough
- Proofing bread dough — bulk fermentation and final proof, timed
- Dutch oven baking — crust, steam and oven spring
- Shaping bread dough — preshape, boule and batard
- Dough temperature — the temperature chart that makes timing predictable
- Dough poke test — knowing exactly when proofing is done
- Feeding sourdough starter — keeping the jar strong between bakes
- What is a levain — building a recipe-sized portion of starter
- Bread flour vs all-purpose — choosing the right flour
- Sourdough bread flour — protein, brands and storage
- High-hydration sourdough — pushing past 75% the safe way
- Same-day sourdough — the 8-hour bake when you're in a hurry
- Baker's percentages — the math behind every formula
Ingredients
Weights in grams are the source of truth; cup measures are approximate.
- 450 g bread flour (about 3 1/2 cups)
- 50 g whole wheat flour (about 1/3 cup)
- 375 g water at 80-85°F / 27-29°C (about 1 1/2 cups plus 2 tablespoons)
- 100 g active sourdough starter (about 1/3 cup), fed to peak
- 10 g fine sea salt (about 2 teaspoons)
Method
Autolyse: mix both flours with the water in a large bowl until no dry flour remains. Cover and rest 30 minutes at room temperature.
Mix: add the active sourdough starter and mix it in thoroughly, then add the salt and mix until it disappears. The dough will look shaggy — that's correct.
Stretch and fold: 30 minutes later, wet your hands, grab one side of the dough, stretch it up and fold it over the center. Repeat on all four sides. Do this 3 times, 30 minutes apart, over the first 1.5 hours.
Bulk ferment: leave the covered dough at 74-78°F (23-26°C) until it is puffy, domed and 60-70% larger — 4 to 6 hours on the counter, or overnight in the fridge (see the schedules below).
Shape: turn the dough onto a lightly floured surface, preshape into a round, rest 20 minutes, then shape into a tight boule or batard.
Proof: place the shaped dough seam-side up in a floured bowl or banneton, cover and proof at room temperature for 45-60 minutes, or 10-14 hours in the fridge.
Score and bake: preheat a Dutch oven at 475°F (245°C), flip the dough onto parchment, score it with a single deep slash and bake covered for 30 minutes, then uncovered at 450°F (230°C) for 15-20 minutes more until deep amber.
Cool completely: transfer the loaf to a rack and wait at least 2 hours before slicing — cutting early makes the crumb gummy.
Frequently asked questions
How long does this sourdough bread recipe take?
About 13 hours from mixing to slicing on the same-day schedule: 30 minutes autolyse, 1.5 hours of folds, 4-6 hours of bulk ferment, 1 hour of proofing, 50 minutes of baking and 2 hours of cooling. Most of that is hands-off; the active work is about 45 minutes total.
Can I bake this recipe with only all-purpose flour?
Yes. Swap the whole wheat for all-purpose and the bread flour for 500 g of all-purpose if that's all you have. The loaf will be a little softer and slightly less open; add 20-30 minutes to the bulk ferment because lower-protein flour ferments a touch slower.
Why is my first sourdough loaf dense?
Dense loaves are almost always underproofed, cut too early, or both. If the dough didn't feel puffy and jiggly before baking, give bulk fermentation another hour. And wait the full 2 hours before slicing — a warm loaf still holds steam and cutting releases it.
Do I need a Dutch oven for this recipe?
No — any covered, oven-safe pot works: cast iron, enameled cast iron, or a deep roasting pan sealed tightly with foil. The cover traps steam from the dough and steam is what produces the crackling brown crust and good oven spring.
How do I know my starter is active enough to bake with?
Feed your starter 1:1:1 (starter:flour:water by weight) and bake when it doubles in 4-6 hours at 75-80°F (24-27°C) — just before it reaches its peak. A starter that rises reliably two days in a row is ready. If yours is new or weak, see the full sourdough starter guide before starting this recipe.
What internal temperature is sourdough bread done at?
Pull the loaf when the center reads 205-210°F (96-99°C) and the crust is deep amber. An instant-read thermometer is the most reliable doneness check, especially for wet or enriched loaves where crust color alone can lie — a loaf can look done but still be gummy inside below that range.
What is actually in sourdough bread?
Just four ingredients: flour, water, salt and an active sourdough starter. There is no commercial yeast, oil, sugar or dairy in a basic loaf — the starter provides both the leaven and the tang. Additions like butter, milk, cheese or fruit are optional variations, not the base recipe.
Can dogs eat sourdough bread?
A tiny piece of plain baked sourdough is not toxic to dogs, but it is empty carbs and salt and not good for them. Never give a dog raw sourdough dough or unfed starter: fermenting dough can expand dangerously in the stomach and the alcohol the culture produces is toxic to pets. Keep all raw dough away from animals.