The Dough Poke Test: How to Tell When Dough Is Proofed
The dough poke test tells you when proofing is done: flour a finger, poke 1 cm and read the spring. Here's how to interpret it and why it works.
By Maya Ellison · Reviewed by Maya Ellison · Updated August 18, 2026 · 4 min read
Quick answer
The dough poke test is the closest thing sourdough has to a proofing gauge you can trust without any tools. One flour-dusted fingertip, one gentle poke and the dough tells you whether it's under-proofed, ready to bake, or already gone too far. This guide explains how to do it correctly, how to read the three results and why it beats the clock every time.
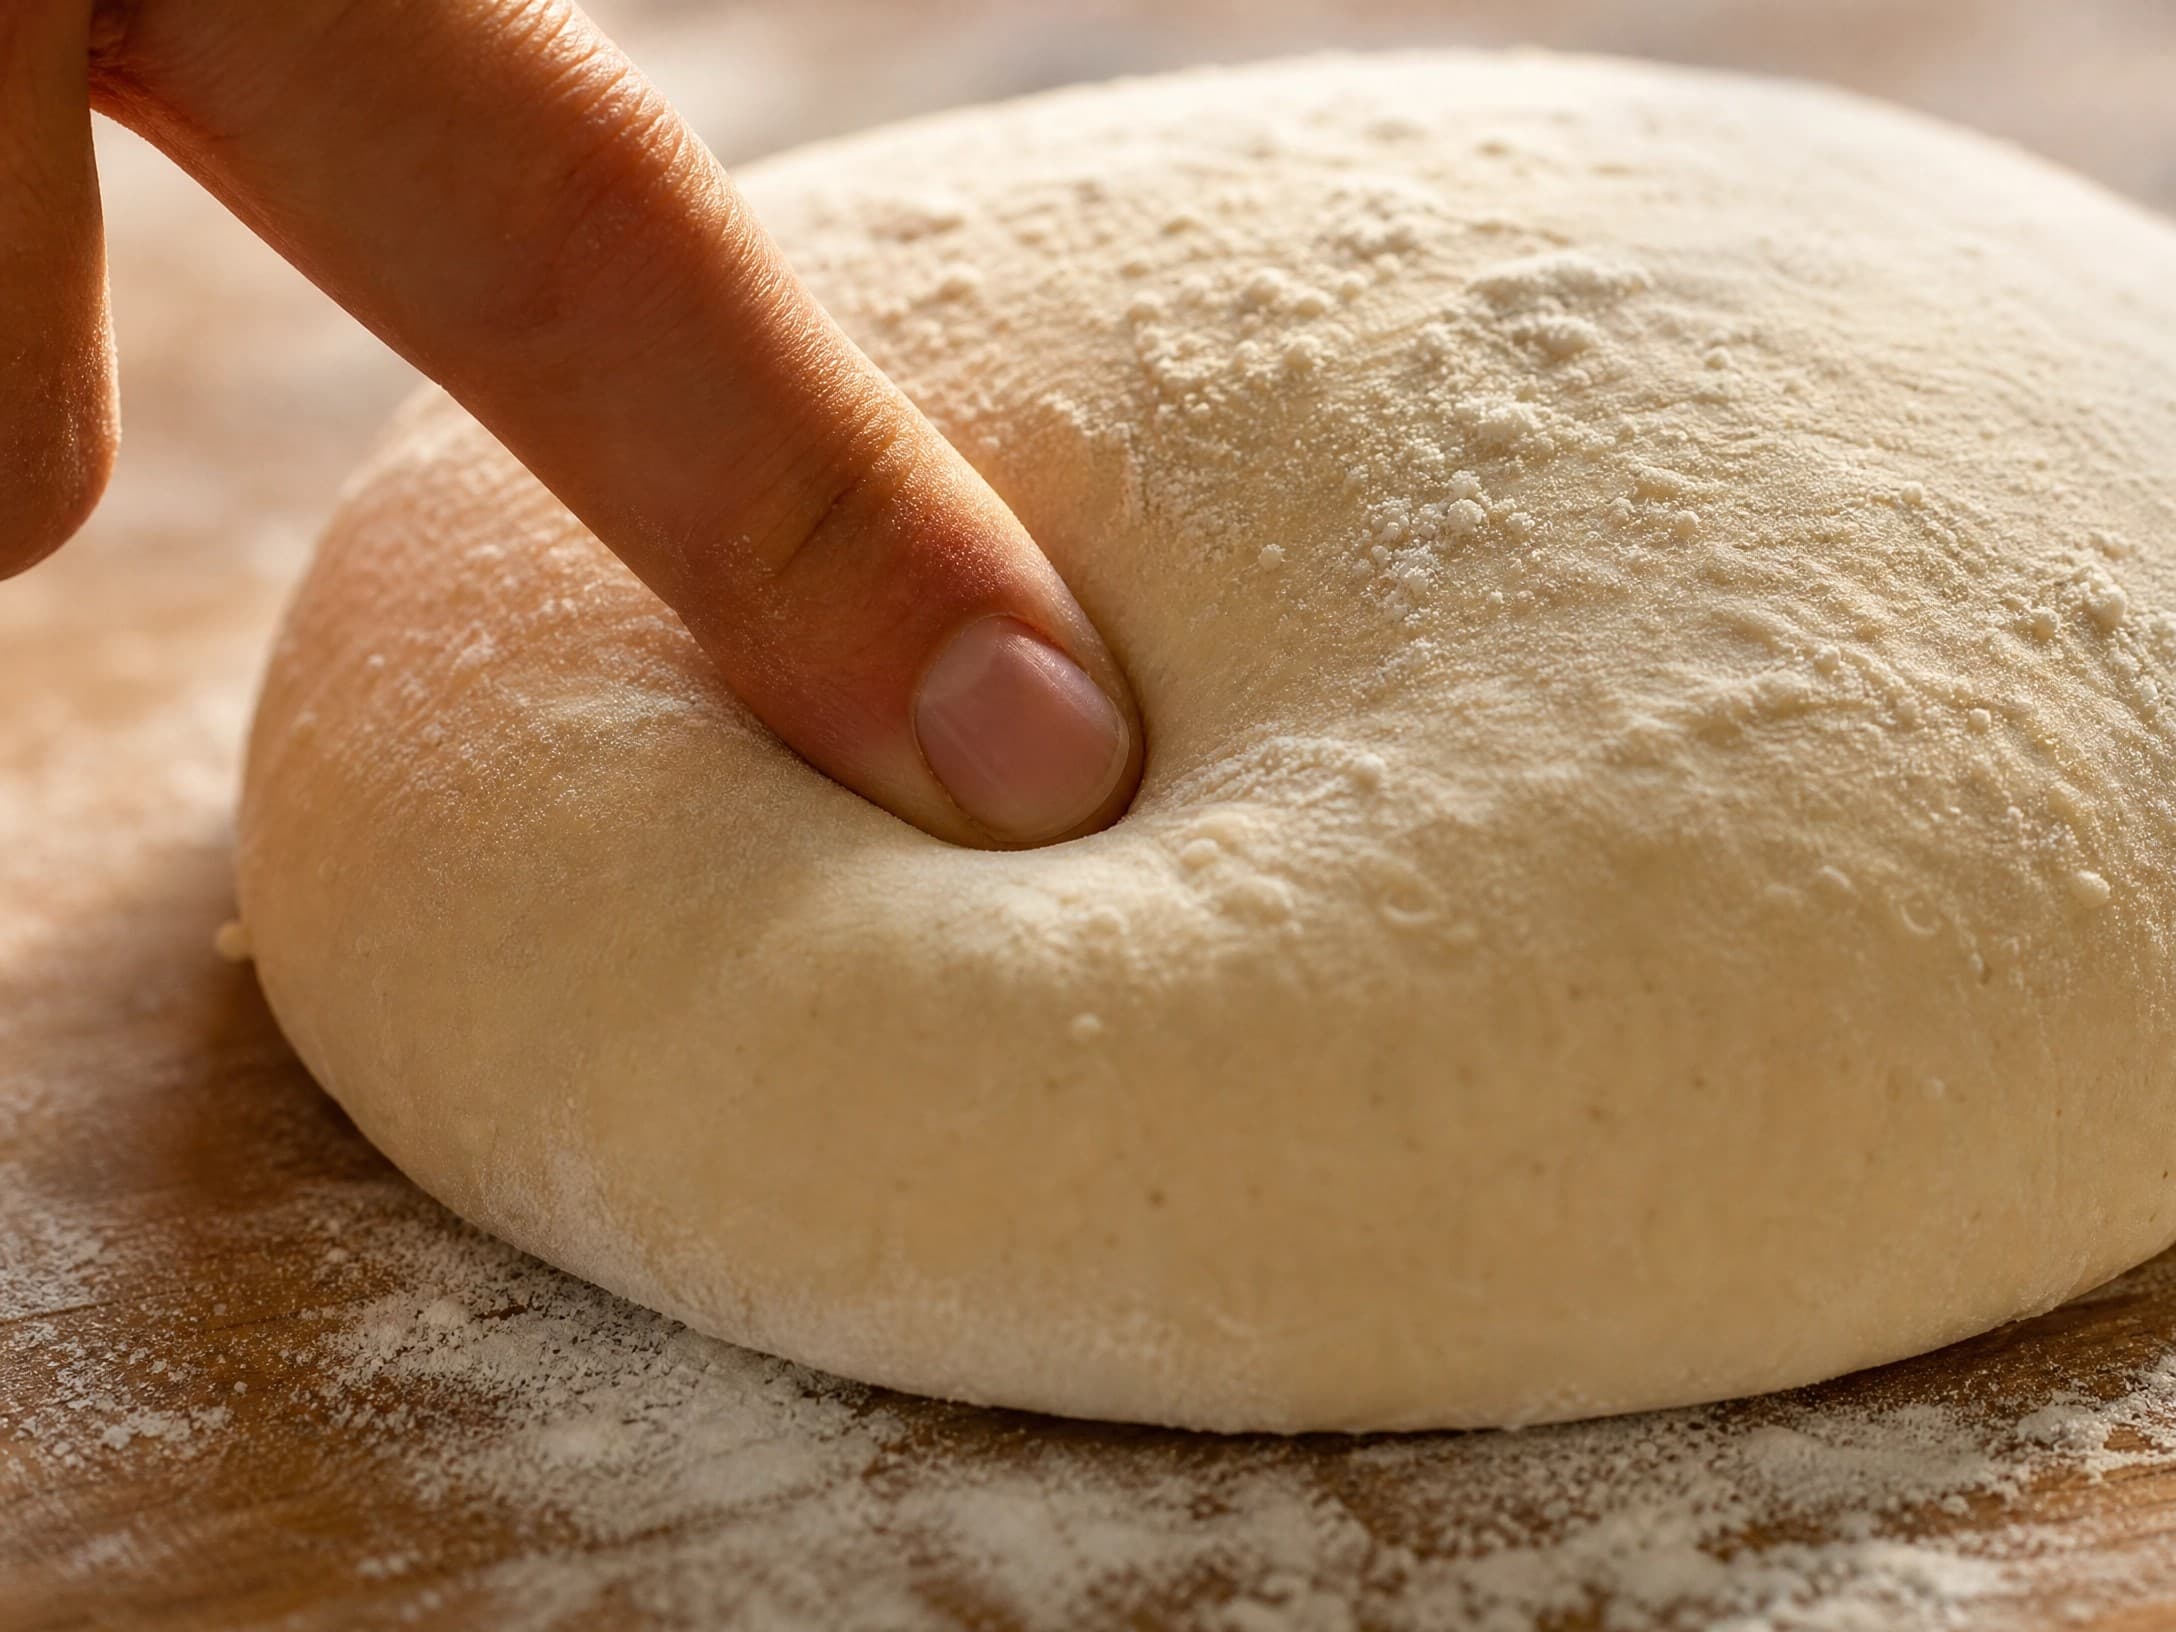
How to do the poke test
- Flour a fingertip lightly. You want the finger to release cleanly; a raw finger will drag the surface and confuse the reading.
- Poke gently, about 1 cm deep. A light, steady press, not a jab. The depth matters — a shallow poke reads the top skin, a deep one reads the whole structure.
- Watch for a few seconds. The speed and extent of the recovery is the signal.
Do it on a dough that has been undisturbed under its cover — the surface should be soft and slightly tacky, not crusted over.
How to read the three results
| Reaction | Meaning | What to do |
|---|---|---|
| Springs back fast and completely | Under-proofed — needs more time | Leave it; check again in 20-30 minutes |
| Springs back slowly, leaves a shallow mark | Ready to bake | Preheat the oven and score it |
| Stays dented, barely recovers | Over-proofed | Bake it now — it's at or past its peak |
The "ready" spring is the key one to recognize: the dough retains a faint fingerprint, then slowly smooths out over a few seconds. That's a partially relaxed gluten network with plenty of gas still inside — exactly what you want over an open crumb.
Why the poke test works
Proofing changes the dough's gluten from tight to relaxed and fills it with gas. An under-proofed dough is still dense and springy, so a poke bounces right back. As fermentation proceeds, the gluten relaxes and the trapped gas softens the whole structure — now a poke leaves a mark that slowly refills. By the time the dough is over-proofed, the gas is beginning to escape and the gluten has lost its tension, so the dough just sags under your fingertip. The poke test is a direct physical read on those changes, which is why it beats the timer.
When it can mislead you
The poke test is only as good as the conditions you read it under. It lies in these situations:
- Cold dough. A chilled, refrigerated dough is stiff and springs back regardless of how far along it is. Always warm cold-proofed dough for 30-45 minutes before poking, or skip the test.
- A flour-dusted or dry surface. A thick flour coating forms a skin that masks the true response. Dampen or lightly mist the surface, or poke a spot that still has a very light dusting.
- Very high hydration. An 80%+ dough is slack by nature; its "ready" spring is subtle. Use the poke test alongside other cues — visible dome, edge rounding, a gentle jiggle when the tin is shaken.
- Overproofing sets in fast. In a warm kitchen the window between "ready" and "over" can be 20-30 minutes. Check every 20 minutes in the final stretch rather than once.
Calibrate the test to your own dough
Every dough springs a little differently depending on hydration, strength and temperature, so the best move is to calibrate: poke the same dough a few times across one bake. Poke at 4 hours, then 4.5, then 5 — you'll feel the response change from "bounces back immediately" to "slow and shallow." After one bake of practice, you'll recognize your personal "ready" spring instantly. Combine it with the visible cues from the proofing guide and the timing in the sourdough bread recipe and you'll never have to guess at proofing again.
Quick troubleshooting
- Springs back completely and repeatedly? More time. Wait 20-30 minutes and test again — and check the dough temperature guide, because a cold dough will read "not ready" all day.
- Leaves a shallow mark that slowly smooths? It's ready. Preheat the oven, dust the surface and score it — then bake for maximum spring in a hot Dutch oven.
- Stays dented or tears when poked? Over-proofed. Bake it now anyway. It won't be as tall or open, but it's still a real loaf — and read the troubleshooting hub to keep the next bake on time.
Just getting your strength right? The shaping techniques guide and a healthy sourdough starter at peak give the dough the structure that makes the poke test read clean and the beginner's guide to sourdough ties the whole timing together.
Frequently asked questions
Is the dough poke test reliable?
Yes, once you've calibrated it to your own dough. The spring tells you about the gluten's tension and gas pressure, which is exactly what proofing builds. Test the same dough a few times in one bake and you'll quickly recognize the 'ready' spring for your specific recipe and hydration.
What if the dough springs back but then gaps?
That can mean the skin is dry while the center is still under-proofed, or that the dough has been over-handled. Lightly cover or mist the dough before poking and wait; if it repeatedly springs back completely, give it more proofing time. A slightly tacky, damp surface pokes truer than a floury one.
Does the poke test work on cold proofed dough?
No. Cold dough is stiff and springs back no matter how far along it is, so the test reads 'under-proofed' every time. For a dough coming out of the fridge, either let it warm for 30-45 minutes first, or rely on the poke test only for room-temperature proofing.
My dough collapsed when I poked it — is it ruined?
Not necessarily. A deep collapse suggests over-proofing, but you can often still bake it: gently shape it if it's slacking, or simply bake it as-is for a denser, more rustic loaf. It won't give you a tall open crumb, but it's still real bread. Next time, check the dough 20-30 minutes earlier.