How to Autolyse Sourdough Dough (Timing, Water, Mistakes)
How to autolyse sourdough dough: mix flour and water, rest 20 minutes to 4 hours, then add starter and salt. Why it matters, timings and mistakes.
By Maya Ellison · Reviewed by Maya Ellison · Updated August 18, 2026 · 5 min read
Quick answer
The autolyse is the cheapest improvement in the sourdough kitchen: one extra bowl, zero extra ingredients and 20 minutes of doing nothing. It produces dough that shapes more easily, a crumb that is softer and creamier and crust that colors evenly. Here is what autolyse actually is, why bakers have used it for decades and how to time it so it never backfires.
What is autolyse?
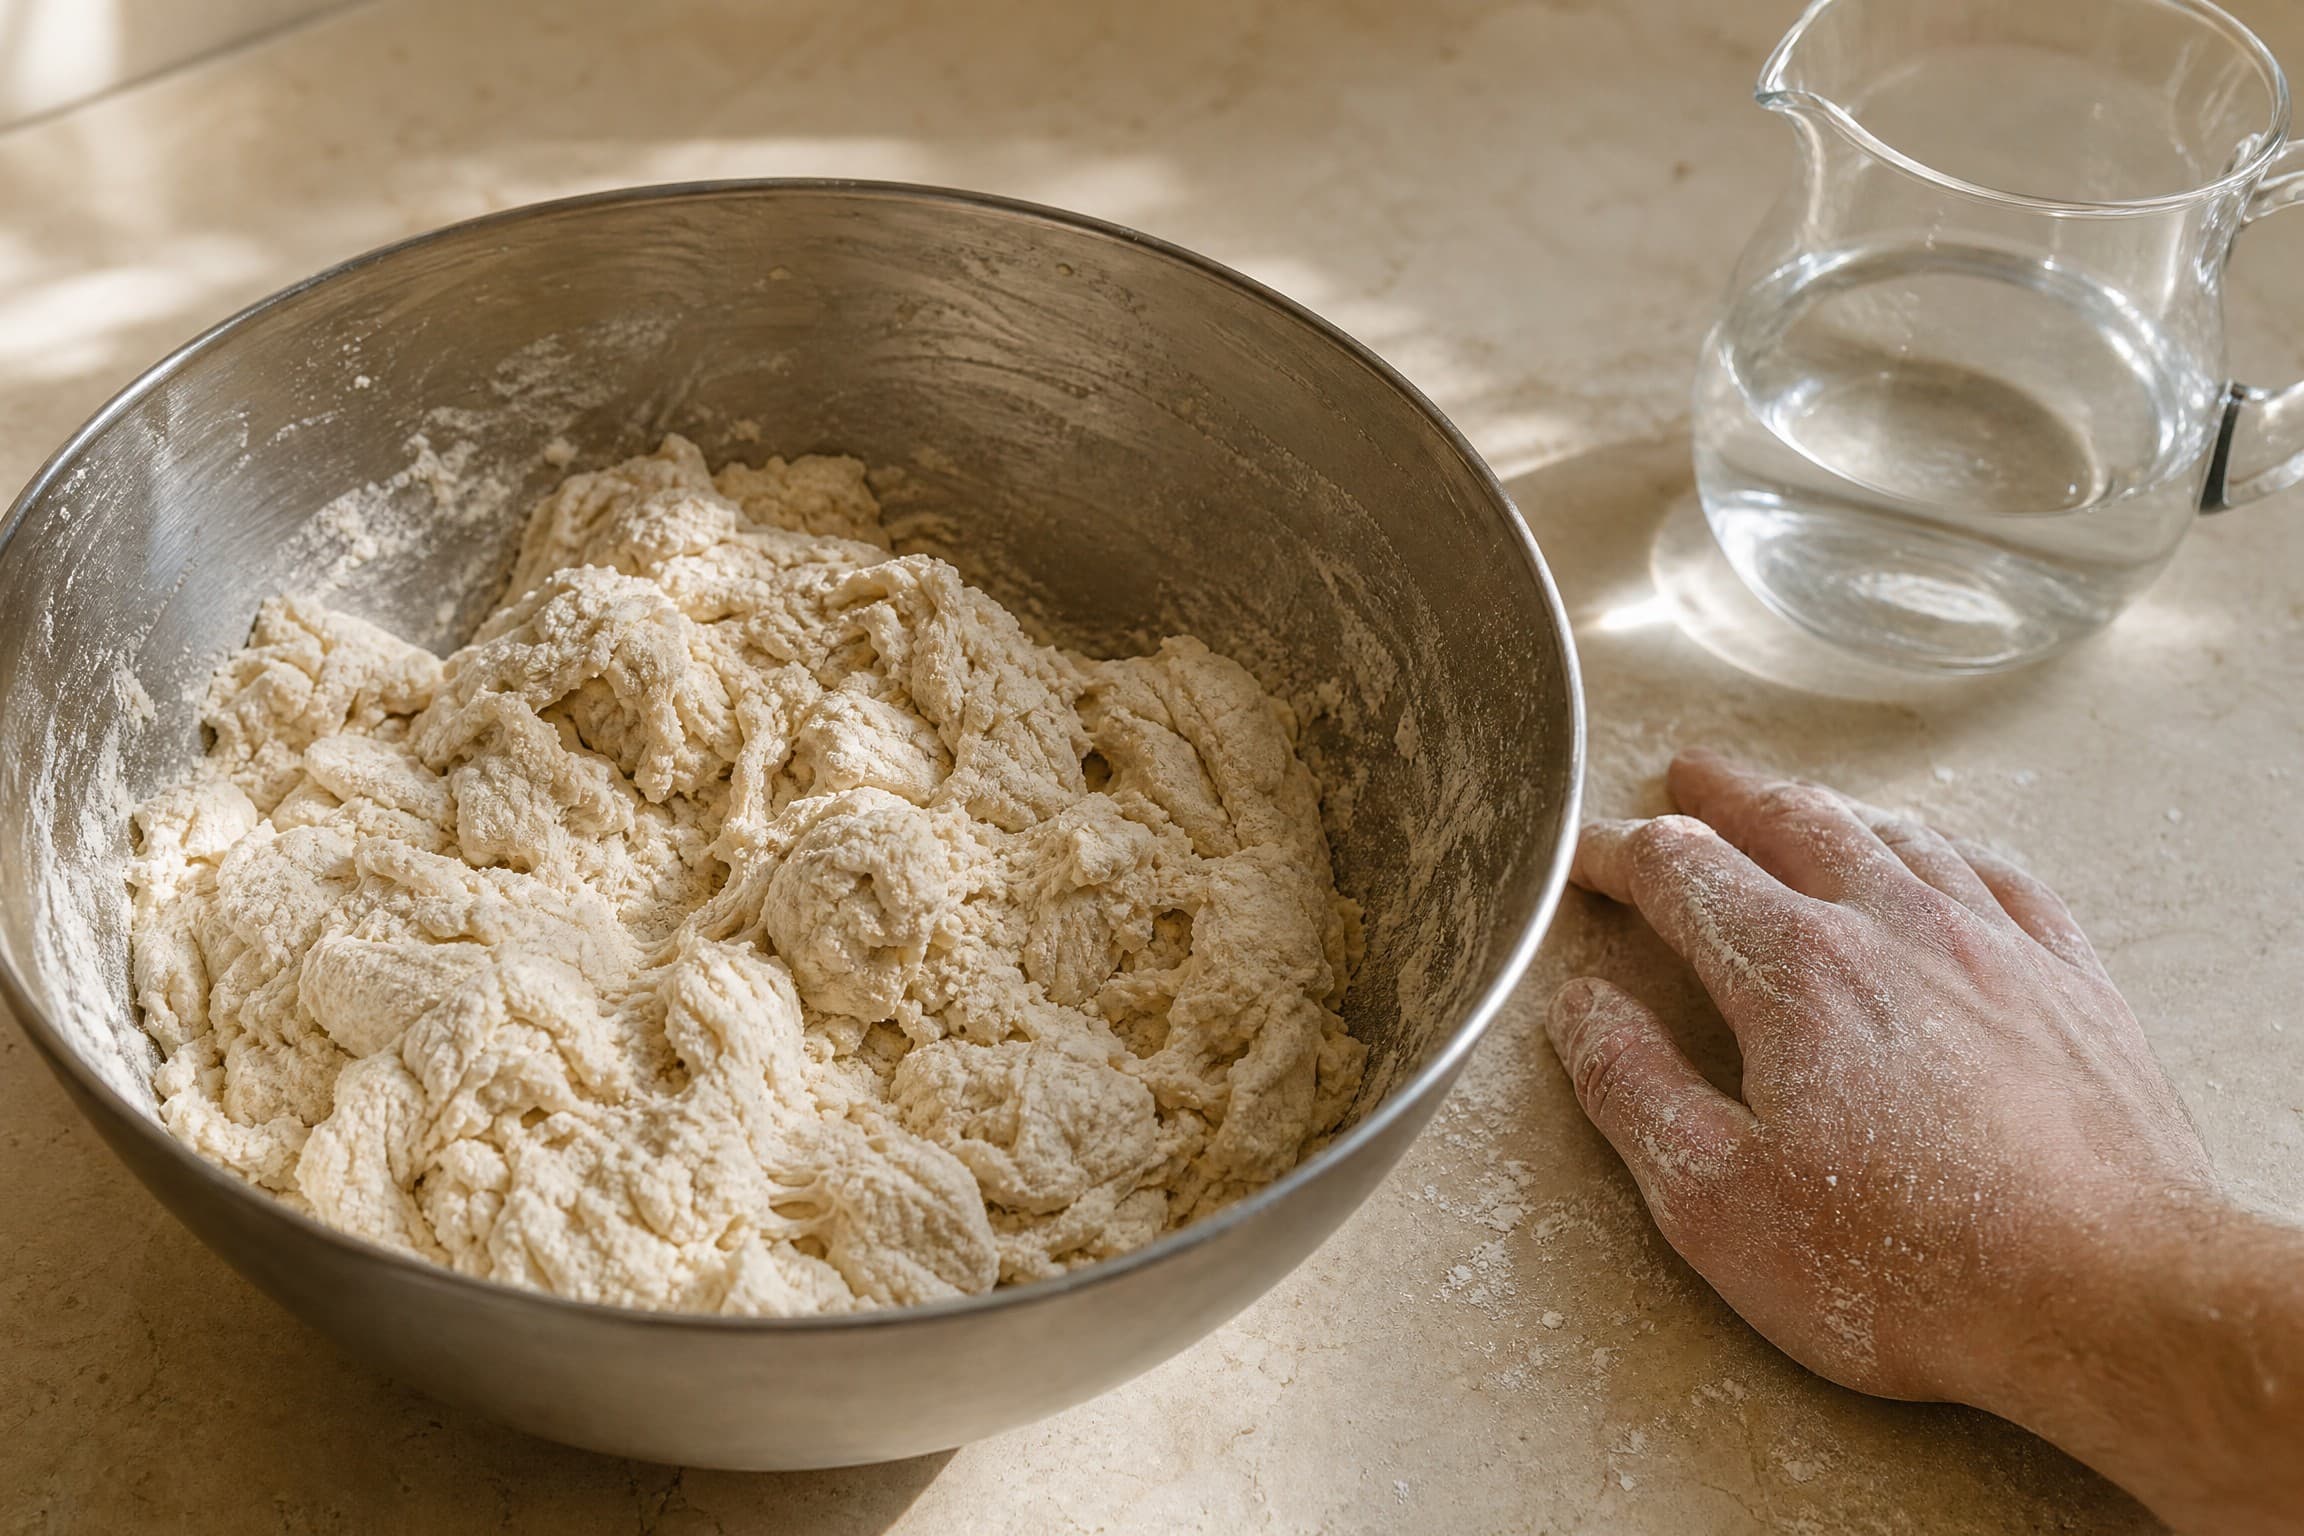
Autolyse is the step where flour and water mix alone — before the starter, before the salt. You combine them into a shaggy, dry-looking dough, cover the bowl and let it rest for anywhere from 20 minutes to 4 hours. When you come back, the flour has changed: it is smoother, slightly glossy and holds together when you lift a corner. That transformation is the whole point.
The name comes from French baking science — roughly "self-digestion" — and was popularized in the 1970s by Raymond Calvel, who used it to cut mechanical mixing time in baguette production. The mechanism is quiet but powerful. Water slides into every starch granule and protein particle. Enzymes in the flour begin breaking starches into sugars the yeast will eat later. And gluten proteins start linking into the first loose strands of the network that will eventually trap gas. None of it needs kneading — it is chemistry running on time and water alone.
One thing the autolyse is not: fermentation. Fermentation starts the moment the starter touches the flour, which is exactly why the autolyse never eats into your fermentation clock.
Why autolyse improves sourdough bread
Three benefits, in the order you will notice them.
Extensibility. A rested dough stretches instead of tearing. When you fold during bulk and shape at the end, the dough follows your hands instead of snapping back — the difference between a confident batard and a torn blob. Dough that has autolysed also holds its shape better after shaping, so the loaf keeps its height through the final proof.
A shorter, gentler final mix. With gluten development already underway, mixing in the starter and salt takes 3–5 minutes instead of 10–15. Less mixing means less oxygen is folded into the dough and less oxygen means the dough's pigments and flavor compounds survive the bake. Calvel's original argument was exactly this: gentler mixing, brighter crumb, better oven spring.
Flavor. Even a 30-minute autolyse shifts the crumb toward the wheat and away from the sour, because the flour's sugars and proteins start breaking down before the microbes arrive. The effect grows with whole grain: a 2–4 hour rest softens the bran, which cuts the bitterness that plagues whole-wheat loaves. If you bake with 25% or more whole grain, the autolyse is the single most useful step in the recipe.
How to autolyse (step by step)
- Weigh the flour into a large bowl. Use the full recipe amount — the autolyse wants the whole flour bill, not a portion of it.
- Add the water and mix with a spatula or your hand until no dry flour remains. The result will look scrappy and somewhat dry. That is correct — you are not making a dough yet.
- Cover the bowl with a lid or a damp cloth. An uncovered autolyse dries into a skin that never fully rehydrates.
- Rest for 20–60 minutes, longer with whole grain (see the timing table below).
- Add the starter or levain and mix until absorbed, then add the salt and mix until it disappears. From this moment, bulk fermentation is officially running.
That is the entire procedure. No kneading, no folding: the flour and water do the work while you do something else.
How long should an autolyse be?
Rule of thumb: 20 minutes minimum, 60 minutes for most doughs, up to 4 hours when whole grain is involved.
| Situation | Autolyse time | Notes |
|---|---|---|
| White bread flour, average kitchen | 20–60 minutes | 30–40 minutes is the sweet spot |
| 25–50% whole grain | 1–2 hours | the long rest softens the bran |
| 100% whole wheat or rye | 2–4 hours | the biggest payoff of any dough |
| Kitchen above 85°F (29°C) | 20–30 minutes max | longer risks a soupy dough |
| Weak or low-protein flour | 20–30 minutes | over-relaxed dough goes slack |
Temperature changes everything about the autolyse. Cold kitchens (below 65°F / 18°C) simply slow hydration — the autolyse still works, it just takes longer. Hot kitchens do the opposite: the enzymes accelerate and past a certain point the gluten stops building and starts dissolving. If your kitchen runs above 85°F (29°C), cut the autolyse to 20–30 minutes and move on before the dough turns to porridge.
Autolyse mistakes to avoid
- Salt during the autolyse. This is the classic error and it defeats the purpose. Salt slows the enzymes and tightens the gluten the autolyse is meant to relax. Add it after the starter — the order exists for a reason.
- Too long in a hot kitchen. A 4-hour autolyse at 85°F (29°C) can liquefy the dough. If yours goes soupy, add a little flour to bring it back and use the shorter timing next time.
- Forgetting to cover the bowl. The exposed surface dries into a skin that never rehydrates and shows up as lumps in the finished crumb.
- Adding the starter early. If the starter goes in during the "autolyse," you have simply started fermentation — and you have lost the relaxed, extensible dough the rest was for.
- Autolysing a weak flour for hours. Low-protein flour does not build strength during a rest; it just relaxes. Keep the autolyse short with weak or pastry flours so the dough does not collapse later.
Try the autolyse in your next bake — the classic sourdough bread recipe builds in a 30-minute rest and the sourdough starter guide makes sure you have a ripe levain waiting when the water hits the flour. New to the full process? The beginner's guide to sourdough walks the whole bake end to end.
Frequently asked questions
Does the autolyse count as bulk fermentation time?
No. Fermentation starts the moment the starter or levain touches the dough, so bulk timing begins there, not at the start of the autolyse. If you rest flour and water for an hour and then ferment for five, your total timeline is six hours with five of fermentation.
Should I use warm or cold water for the autolyse?
Use the same water temperature your recipe calls for. In a cold kitchen, slightly warm water (around 80–90°F / 27–32°C) helps the autolyse work faster; in a hot kitchen, cool water protects you from a soupy dough. The autolyse is not the place to fix recipe temperatures.
Can I put salt in the autolyse?
No. Salt slows the enzyme activity and gluten hydration that the autolyse exists to speed up. Add it after the starter, or dissolve it in a splash of water and pour it over the dough during the final mix.
Do I really need to autolyse?
For a simple white loaf it is optional — mix everything at once if you are short on time and the bread will still work. For whole-grain and high-extraction doughs it is close to essential: the long rest softens the bran and you feel the difference in shaping within the first fold.
My dough went soupy during the autolyse — what happened?
Too long, too warm, or both. The flour's own enzymes keep snipping gluten until the dough can no longer hold water. Use strong bread flour and cap the autolyse at 30–60 minutes when the kitchen is above 85°F (29°C). If it has already liquefied, a handful of extra flour will bring it back.