90% Rye Sourdough Bread (Dark Rye) Recipe
A dark sourdough rye bread recipe: 90% rye with 10% bread flour, no kneading, 85% hydration, a scald for moistness and a 24-hour rest before slicing.
By Maya Ellison · Reviewed by Maya Ellison · Updated August 18, 2026 · 4 min read
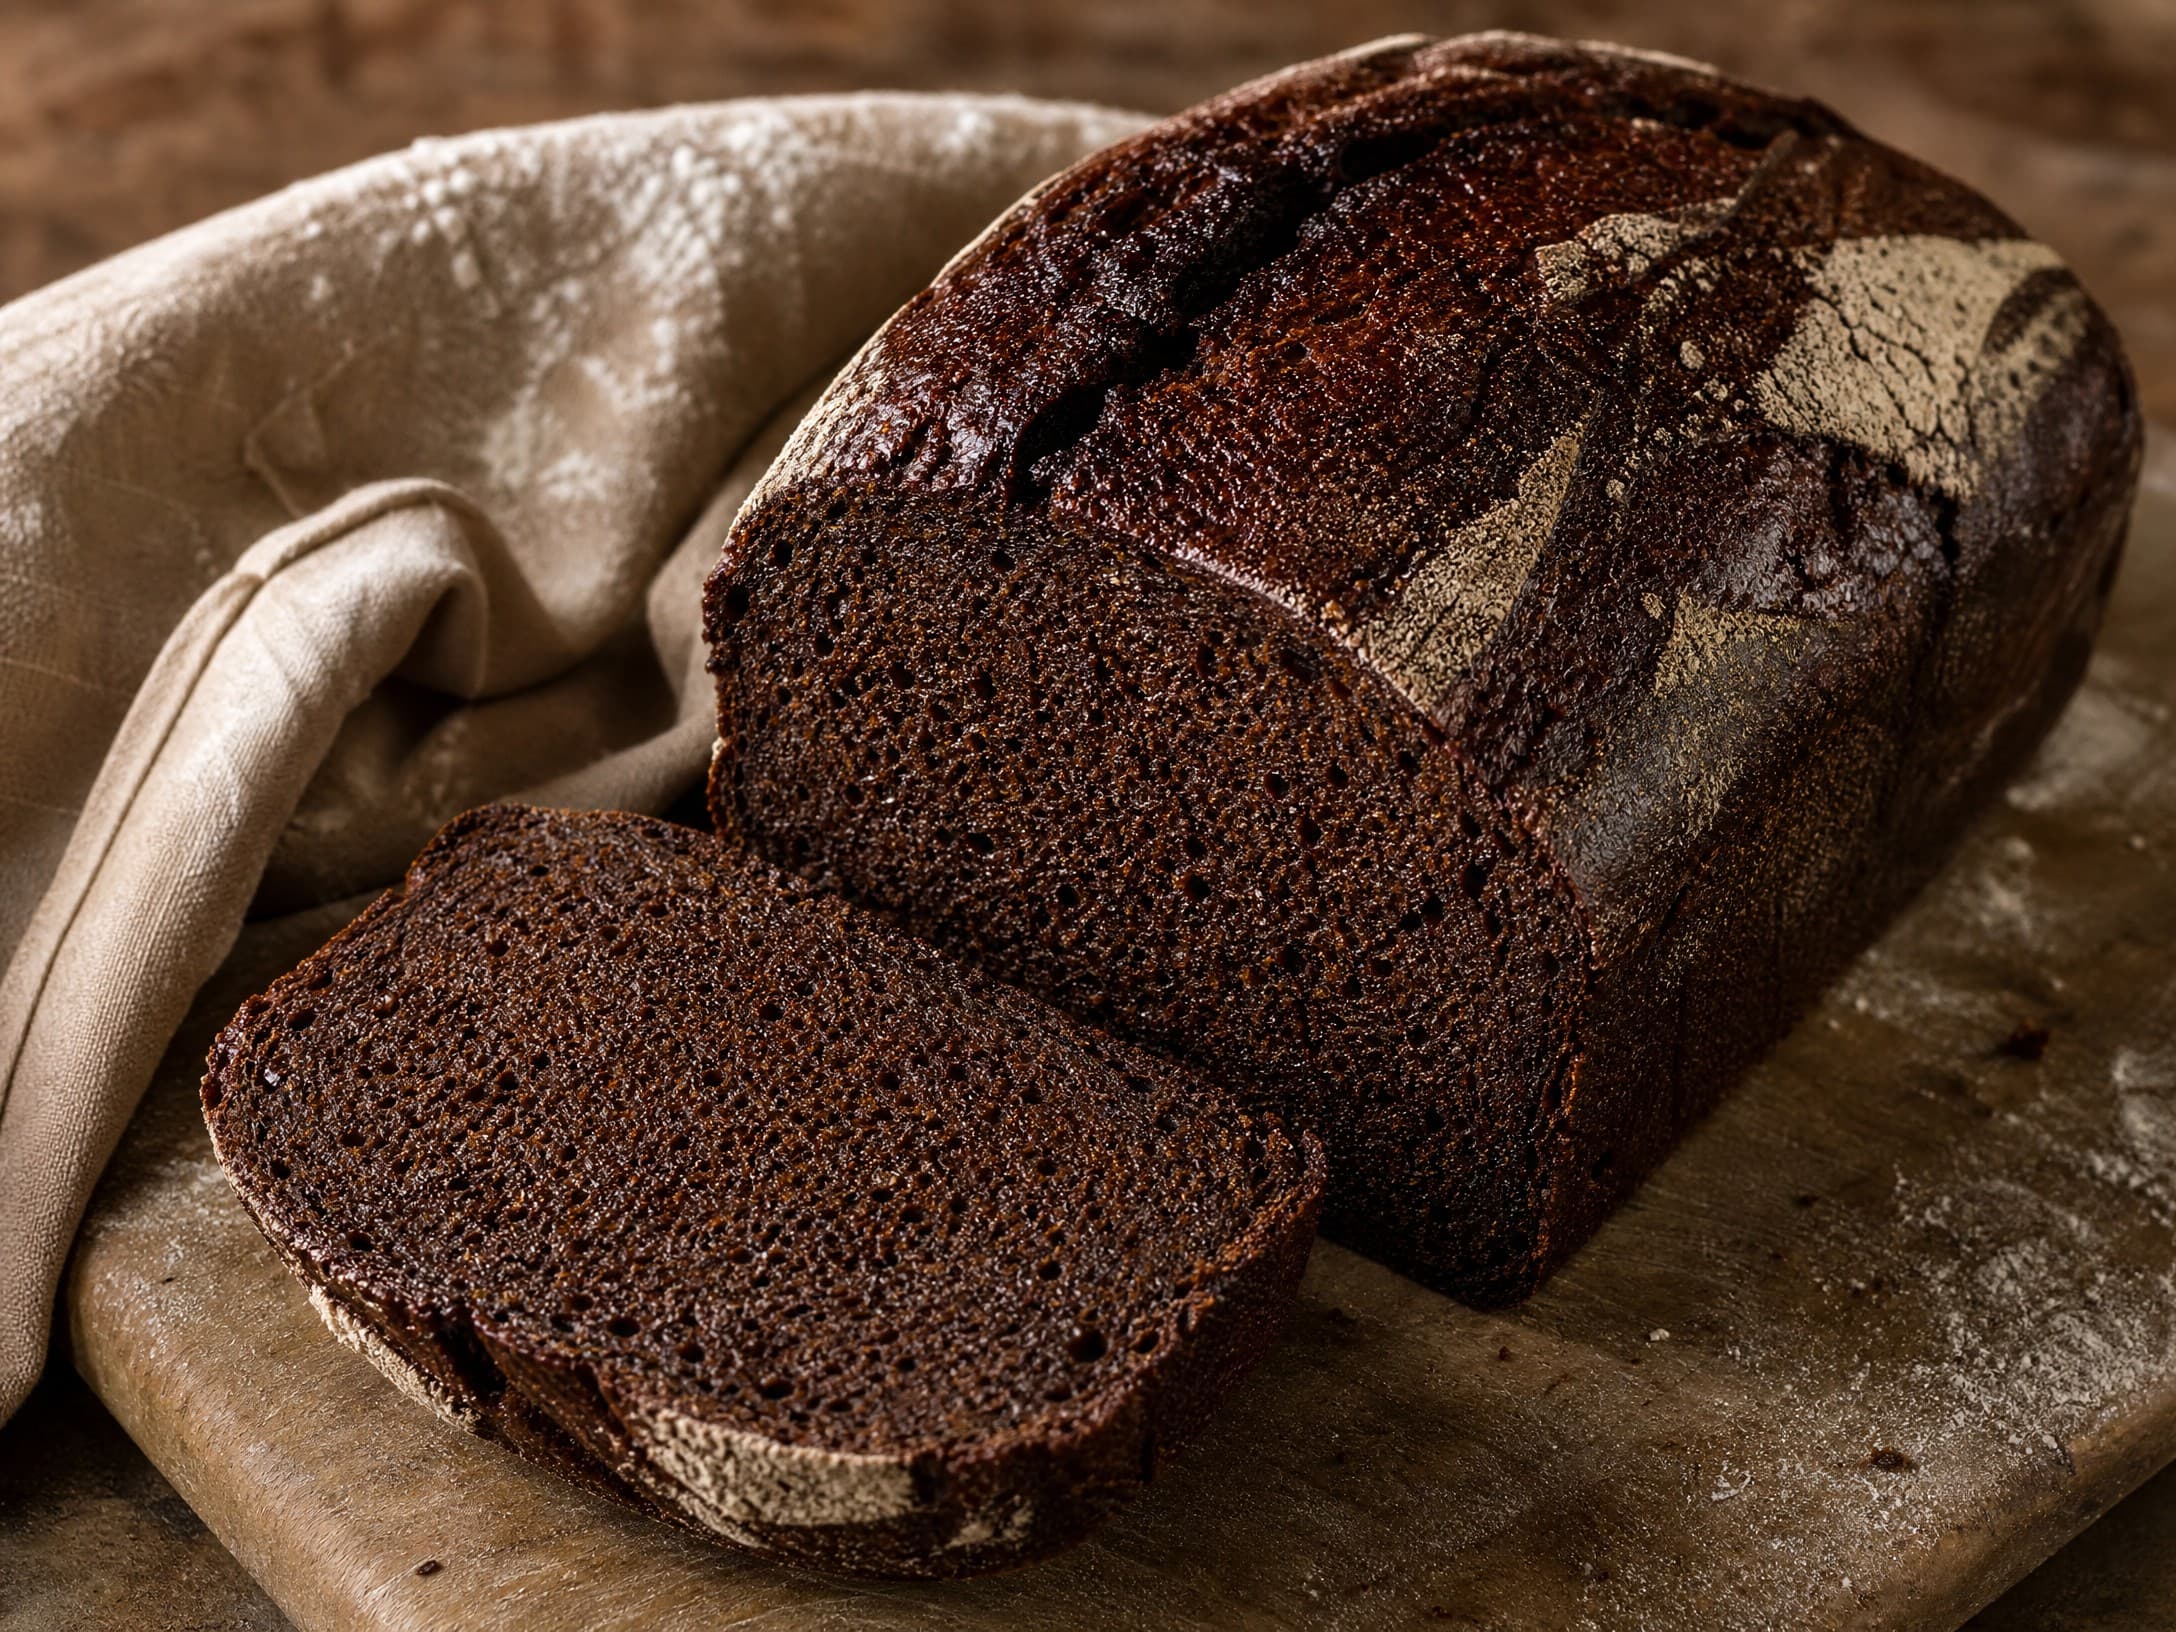
This dark sourdough rye bread is the loaf you bake when you want bread that tastes like a Scandinavian winter: 90% rye, 10% bread flour, no kneading and a 24-hour rest before you're allowed to slice it. The dough is 85% hydration, sticky enough to glue paperwork and it bakes slowly — 30 minutes covered at 450°F, then nearly an hour more at 400°F — until the interior reaches a moist, deeply caramelized chew that day-old rye is famous for. It's an advanced recipe in texture and patience, not in skill: there's no kneading and no shaping drama, but there is a 30-hour timeline and an acquired taste for dense, faintly tangy bread. If that sounds like your kind of loaf, this is your recipe.
Why this recipe works
Rye bread isn't wheat bread being difficult; it's a different bread entirely. Rye's gluten forms a weak, stretchy-when-wet gel rather than wheat's elastic web, so rising happens low and slow — and that's correct. What makes this loaf work is the trio of technique and patience: the scald, the long bake and the 24-hour rest. The scald (boiling water over part of the rye flour) gelatinizes starch that rye's natural enzymes would otherwise leave stiff, giving a moist, long-keeping crumb. The long bake completes that gelatinization in the oven. And the rest — well, the rest is where rye stops being sticky and starts being bread.
The scald and the technique
Pour 100 g of boiling water over 200 g of rye flour, stir into a paste, cool and mix into the dough. That's the whole scald and it does more for this bread than any other single step: rye is full of enzymes (amylases) that attack starch and leave bread gummy — the quick boil inactivates the worst of them before the dough even starts. It also seeds the crumb with moisture that keeps the loaf soft for a week. If you only adopt one rye technique, adopt the scald; it's the difference between a rye loaf and a rye brick.
Handling a very sticky dough
Resign yourself: this dough will stick to everything and the fix isn't more flour — it's water and speed. Mix with a wet hand, shape with wet palms and keep that bowl of water next to you. A loaf pan is a legitimate tool here, not a compromise: 90% rye dough is miserable to free-form without a seasoned hand and a pan delivers a clean, tall, sliceable loaf. If you do free-form, flour the surface boldly and work quickly; rye crusts over fast and the dough doesn't care about being handled gently.
Is this recipe for you?
If you've only baked wheat breads, this is a change of worldview: no windowpane, no spring, no open crumb — none of the milestones you're used to caring about. What you get instead is a dense, intensely flavorful bread that slices thin, keeps for a week and is the best thing you'll ever put butter on. If you're not sure you'll love a tight-crumbed loaf, start with the basic sourdough bread recipe and work up. If the idea of a dense, dark Scandinavian classic excites you, this is your weekend project — just keep your starter active and your expectations honest.
The 24-hour wait
The hardest step has no skill requirement: wrap the cooled loaf and ignore it for a day. Slice it early and you'll fight a glutinous, smeared crumb and muted flavor. Wait the full 24 hours and the starches set, the crumb firms into a clean, chewable slice and the flavor blooms into its full dark, sweet, faintly sour character. Rub the proofing guide into your approach here — the patience is the recipe. One day of waiting, then a week of the best toast you've ever had.
Variations
The classics, all optional and all at the mixing stage: 40 g of molasses for a darker, sweeter rye (the Danish classic), 60 g of toasted sunflower seeds folded in or pressed on top (the German classic) and a teaspoon of caraway for the eastern-European flavor profile. Want the famous pale-and-firm version instead? Drop to 50% rye, swap the bread flour up to 50% and bake at a straight 450°F. The scald stays; the troubleshooting guide helps with everything else. Whichever variation you choose, slice it thin — dense rye is best in thin, buttered slices and thin slicing is exactly what the 24-hour rest makes possible.
Ingredients
Weights in grams are the source of truth; cup measures are approximate.
- 900 g rye flour (whole or medium grind)
- 100 g bread flour
- 100 g boiling water, for the scald
- 750 g water, room temperature (85% hydration total)
- 200 g active sourdough starter (100% hydration)
- 18 g fine salt
- 40 g molasses (optional — the classic dark variation)
- 60 g sunflower seeds (optional — mixed in or pressed on top)
- 50 g rye flour or rice flour, for dusting the banneton
Method
Scald: pour the 100 g of boiling water over 200 g of the rye flour in a bowl. Stir into a stiff paste, cover and cool completely — this gelatinizes starch that will keep the crumb moist and sweet for days.
In a large bowl, combine the remaining 700 g of rye flour, the bread flour and the 750 g of room-temperature water. Mix until no dry flour remains, cover and rest for 1 hour — the autolyse softens rye's gums and makes the dough workable.
Add the cooled scald, starter and salt. Stir with a wet hand or sturdy spoon — there's no kneading here and there doesn't need to be. Rye's gluten forms a weak, fragile network; folding it in the air is a waste of effort.
Rest the dough for 20 minutes, then give it one gentle fold or just leave it. The dough will be thick, gluey and aggressively sticky — this is a feature, not a bug.
Mix in the molasses now if you're using it, stirring until the dough turns an even dark caramel color.
Bulk ferment for 3-4 hours at 74-78°F, until faint cracks appear on the surface and the dough smells richly fermented. Rye rises less than wheat — don't wait for a doubling that will never come.
Generously dust a work surface with rye or rice flour. Scrape the dough out and shape it into a tight boule with wet hands — keep a bowl of water nearby, because the dough sticks to everything it touches.
Seam-side up in a well-floured banneton or drop it directly into a floured loaf pan (rye is far easier to manage in a pan). Either way, cover it well — rye crusts over fast.
Proof for 2-3 hours at warm room temperature, or cold-proof overnight in the fridge for deeper flavor. The dough should feel slightly domed and hold a fingertip impression.
Preheat the oven to 450°F with a covered baker or a deep roasting pan inside.
Turn the dough out onto parchment. Press sunflower seeds into the top now if you're using them, dusting any exposed sticky spots with rye flour first.
Bake covered at 450°F for 30 minutes. Reduce to 400°F, remove the lid and bake 50-60 minutes more — rye needs a long, slow interior cook to gelatinize its starches fully.
The loaf is done at an internal temperature of 205-207°F and a deeply browned, crackled crust. Remove and cool completely.
Wrap the cooled loaf tightly and wait 24 hours before slicing. Overnight, the rye crumb firms from gluey to sliceable and the flavor rounds into a deep, sweet, earthy finish.
Frequently asked questions
Why is rye bread so dense?
Density is the style. Rye's gluten is a weak, jelly-like network — it can't trap the big gas bubbles wheat does, so rye breads are tight-crumbed and heavy by design, not by failure. A 90% rye loaf is supposed to be a dense, moist, sliceable loaf; chasing wheat-like openness with this much rye is like asking a brick to be a sponge.
Is this bread supposed to be gummy?
Somewhat — and that's normal, especially in the first 12 hours. Rye contains pentosans that bind water into a soft, almost chewy gel, which is the texture rye connoisseurs love and the 24-hour rest tames. If it's still gluey the next day, your crumb is probably under-baked: rye needs thorough interior cooking and 90 minutes at these temperatures is not negotiable.
Why wait 24 hours before slicing?
Because rye improves overnight and it's the single most dramatic improvement in baking. Fresh from the oven, the interior is gum-stage, nearly impossible to slice thin; after 24 hours wrapped, the starches have fully set, the crumb firms to a pleasant chew and the flavor deepens and sweetens. It's the same principle as letting roast meat rest — everyone wants to cut early and everyone who waits gets the reward.
What flavor variations should I try?
The classic Scandinavian lineup: molasses and sunflower seeds (both included here as options), caraway seeds for the eastern-European take, or orange zest and fennel for a Swedish-style rye. All of them join the dough at the mixing stage and shine through the pronounced rye character. Molasses plus seeds plus a darker, longer bake is the closest you'll get to the famous dark ryes of the North.
Is this bread gluten-free?
No — and this is important. Rye is a gluten-containing grain (its gluten is a different protein, called secalin, but it's gluten nonetheless). This loaf contains less wheat gluten per slice than a wheat loaf, but it absolutely contains gluten from both the rye and the bread flour. Anyone avoiding gluten for medical reasons, including celiac disease, should not eat this bread — please check with a qualified professional about what's safe for you.