Baking Sourdough Bread: A Beginner's Guide
Baking sourdough bread from scratch: what to buy, the 3 day starter plan, a beginner sourdough bread recipe, schedules and common mistakes.
By Maya Ellison · Reviewed by Maya Ellison · Updated August 18, 2026 · 9 min read
Quick answer
Baking sourdough bread feels like a closed club until you've done it once. No yeast packets, no beating until smooth, no set-and-forget — just flour, water, salt and a culture that has been alive longer than anyone has been counting.
The good news: you don't need a famous starter, a specialty oven, or years of practice. You need a scale, a covered pot and a plan. The beginners sourdough method below is the exact path I'd hand anyone starting today: build a 3 day sourdough starter, bake one simple loaf and let a realistic schedule fit the rest around your life. The difference between baking bread sourdough-style and baking with commercial yeast is timing, not talent — and timing is something you can schedule.
What you need to start
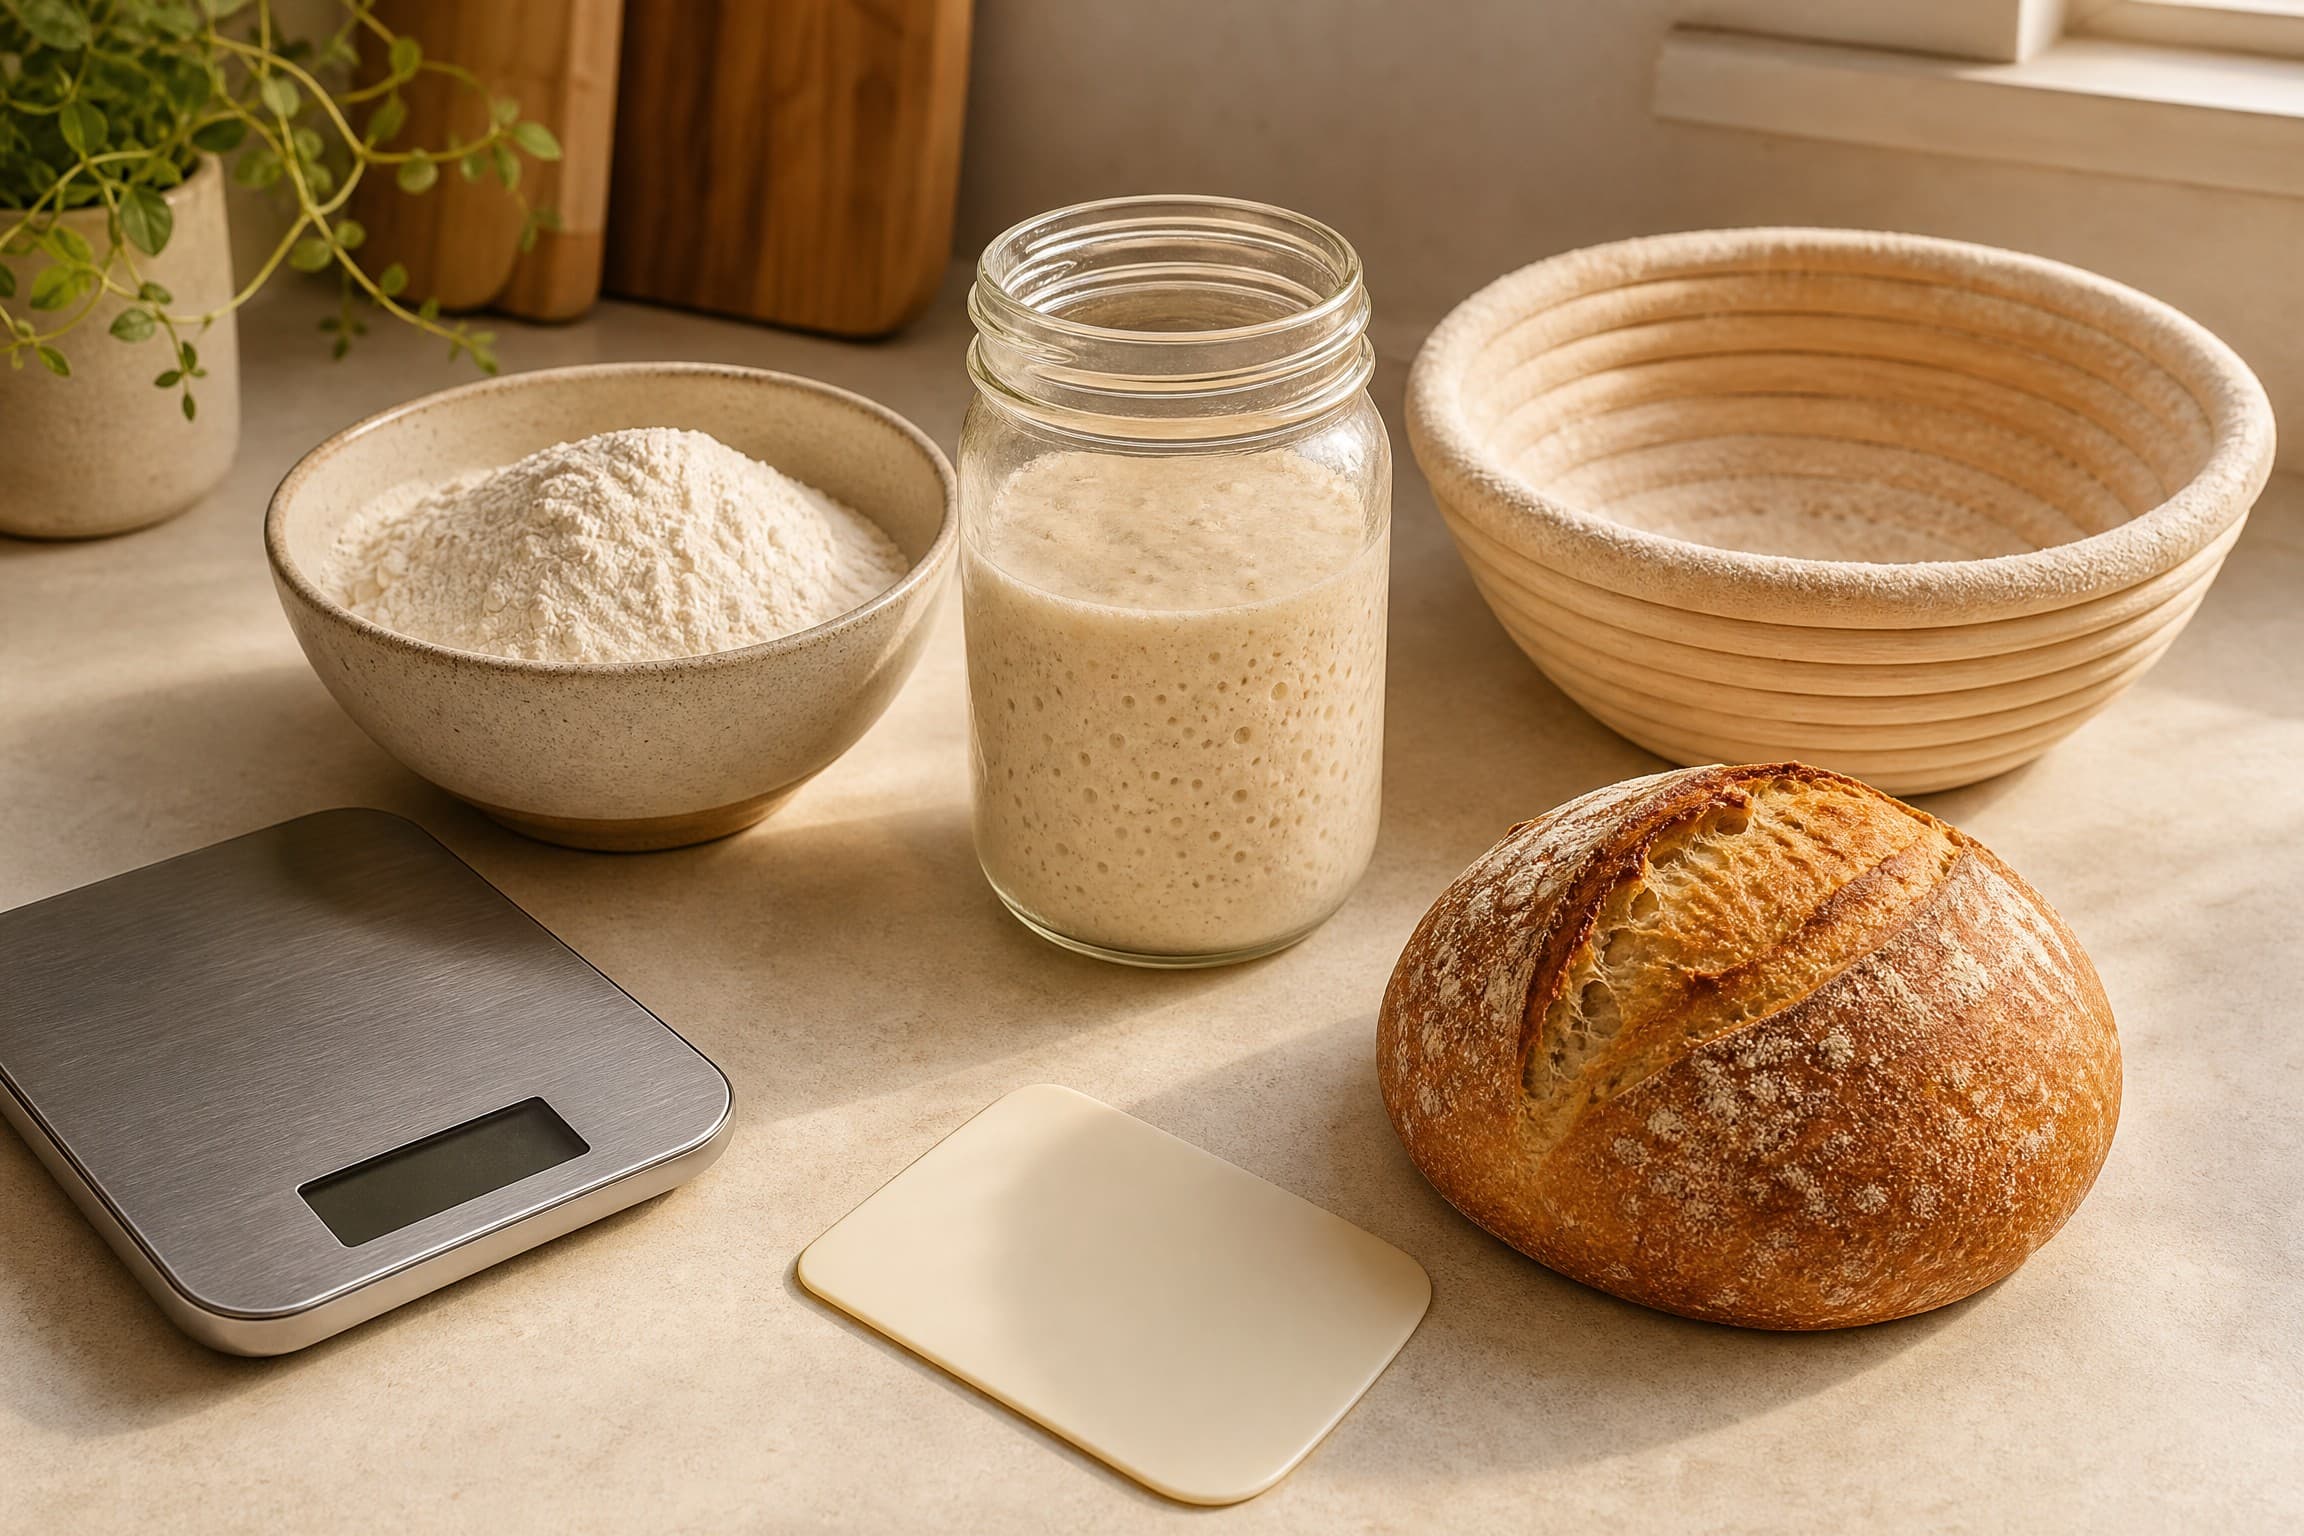
You can spend a fortune on sourdough gear. You don't have to. This is the entire kit:
- Digital scale (reads to 1 g). Sourdough is ratio math; cups can't do it. The scale is the only non-negotiable item on this list.
- One large bowl. Big enough for the dough to double and stay in. Three quarts is plenty; glass, ceramic, or stainless all work.
- A Dutch oven or any covered, oven-safe pot. The lid traps steam and steam builds the crust. Cast iron, enameled, even a deep roasting pan sealed with foil — any of them work.
- A lame or a sharp knife. A razor-sharp blade scores the dough so it bursts open in the oven. A clean box cutter works in a pinch.
- Thermometer (optional). A cheap instant-read thermometer removes the biggest beginner variable: dough temperature. Nice to have, never required.
That's it. Proofing baskets, bench scrapers and flour sacks are upgrades, not requirements.
How sourdough works in one paragraph
Sourdough is bread leavened by a living culture of wild yeast and lactic-acid bacteria — not by commercial yeast. You feed those microbes flour and water; they eat, reproduce and give off carbon dioxide and organic acids in return. The gas inflates the dough; the acids give the bread its tang, its long shelf life and its crackly crust. That's the entire mechanism — everything else in sourdough baking is just managing how fast those microbes work.
The 3 day sourdough starter plan
You can build a usable 3 day sourdough starter from nothing but flour, water and a jar. It won't be at peak strength by day three — that takes a week or two — but it will be active sourdough: alive, rising predictably and ready for its first loaf. Here's the plan:
Day 1 — Mix. Combine 50 g whole wheat or rye flour with 50 g water in a clean jar. Stir until no dry flour remains. Cover loosely (lid resting, not snapped shut) and leave at warm room temperature, 72–76°F (22–24°C).
Day 2 — Feed. You'll see small bubbles or none at all — both are normal this early. Discard half, then add 50 g flour and 50 g water and stir. Expect a sour, slightly funky smell; that's the bacteria establishing themselves.
Day 3 — Feed and check. Feed as on day 2. Within 6–8 hours the starter should be noticeably taller — not necessarily doubled, but clearly alive. If it is, you have active sourdough: feed it one more time and start baking. If it's sluggish, keep feeding daily and try the bake tomorrow.
Two rules for this phase: weigh everything and keep the jar warm. A cold kitchen quietly turns a 3 day sourdough starter into a 7 day one. If you're starting from a jar that's already established, the sourdough starter guide covers keeping it strong.
Your first loaf: the beginner sourdough recipe
Here is the beginner sourdough bread recipe in full — one loaf, written for the starter you just built. This is also the best sourdough recipe for beginners I know, because every step has a visible cue instead of a blind timer. A good beginner's sourdough bread recipe tells you what to look at, not just what to do — and the beginner's sourdough bread method below does both.
The formula (about 75% hydration):
- 350 g bread flour
- 50 g whole wheat flour
- 300 g water, at 80°F (27°C)
- 80 g active sourdough starter (at peak, not straight from the fridge)
- 8 g fine salt
The method:
- Mix and rest (30 minutes). Stir the water and starter together, add both flours and mix until no dry bits remain. Cover and rest — the autolyse.
- Add the salt (5 minutes). Sprinkle it over the dough and squeeze it in with wet hands until the dough comes together.
- Stretch and fold (3 rounds, about 2 hours). Every 40 minutes, wet your hands, lift one edge of the dough, stretch it up and fold it over the center. Turn the bowl a quarter turn and repeat until you've gone all the way around. Three rounds is plenty at this hydration.
- Bulk ferment (3–4 hours at 74°F / 23°C). Leave the covered bowl at room temperature until the dough is puffy, slightly domed and 60–70% larger. Cool kitchen? Add an hour.
- Shape (5 minutes). Tip the dough onto a lightly floured surface, round it gently into a ball and place it seam-up in a floured bowl.
- Proof (45–60 minutes). Leave it until it looks puffy and jiggly. Finger test: press gently — it should spring back slowly and leave a small dimple.
- Bake (40–45 minutes). Half an hour before baking, heat the Dutch oven to 475°F (245°C). Turn the dough onto parchment, score it about 1/4 inch deep and bake covered for 20 minutes. Drop the oven to 450°F (230°C), remove the lid and bake 20–25 minutes more, until the crust is deep brown and the loaf sounds hollow when tapped.
- Cool (2 hours — non-negotiable). Rest the loaf on a rack before slicing. Cutting warm bread collapses the crumb and turns it gummy.
Why this formula? This basic sourdough recipe sits at 75% hydration — wet enough for a nice crumb, dry enough that the dough won't glue itself to your hands. That's what makes a beginner's sourdough bread recipe forgiving: room for small mistakes and still a loaf at the end. Most beginner sourdough bread recipes land between 70% and 80%; I'd rather you start at the forgiving end. It's also a beginner friendly sourdough recipe in a practical sense: when you can read the dough, you can fix anything.
And it fails softly. Overshoot the bulk by half an hour and you still get bread. Forget a fold and the crumb closes up a little — nobody at the table will know. The best beginner sourdough recipe is the one you actually finish and this one is hard to finish wrong. For the full walkthrough with scaling notes, see the sourdough bread recipe.
The beginner schedule
Two realistic schedules — pick the one that fits your life.
Weekend (the easy one):
| Time | Step |
|---|---|
| Saturday 9:00 | Feed the starter (it peaks in 4–6 hours) |
| Saturday 14:00 | Mix the dough; rest 30 minutes; add salt |
| Saturday 14:30–16:30 | Three stretch-and-folds, 40 minutes apart |
| Saturday 16:30–19:30 | Bulk ferment |
| Saturday 19:30 | Shape and proof |
| Saturday 20:15 | Score and bake |
| Saturday 21:00 | Cool overnight; slice Sunday morning |
Weekday (split across two evenings):
- Monday evening: feed the starter, mix the dough, do the folds — then move the covered bowl into the fridge right after the last fold.
- Tuesday evening: the cold bulk has already done most of the work. Take the dough out, let it warm for 45–60 minutes, shape, proof 60–90 minutes and bake.
The fridge trick is the beginners sourdough cheat code: cold dough waits for you and the flavor deepens overnight. No early alarms required.
How to activate sourdough starter
By day three your jar is alive — but alive and at peak are different things. You don't need a special ritual to activate sourdough starter, just warmth, food and observation.
- Feed at 1:1:1 by weight. 40 g starter + 40 g flour + 40 g water is the fastest, most reliable activation.
- Watch the peak window. Active sourdough doubles and domes 4–6 hours after feeding at 75–80°F (24–27°C). Bake within that window: before peak it's weak, after peak it's hungry and starts to collapse.
- Handle the hooch. A grey-brown liquid layer on top means the starter is hungry, not dying. Pour it off or stir it in, then feed. Both work.
The whole game is having active sourdough at the exact moment you mix the dough. That timing, more than any technique, separates a beginner's first flat loaf from the third perfect one.
Common beginner mistakes
- A cold kitchen. Below 70°F (21°C), fermentation crawls and every timeline stretches. Fix: a warm spot — top of the fridge, next to the router, or the oven with only the light on.
- Dough that's too wet for your skill level. 75% hydration is the right ceiling for loaf one. 80% looks seductive in photos and sticks to everything on day one.
- Cutting early. The hardest rule in sourdough. Steam is still inside a warm loaf; slicing releases it and the crumb turns gummy. Two hours on the rack.
- Measuring by cups. A cup of flour can vary by 30 g depending on how it's packed — enough to break a recipe. Weigh everything.
- Watching the clock instead of the dough. Times in recipes assume a certain kitchen. The dough is the only true timer — learn its look and feel.
When a bake goes sideways anyway, the sourdough troubleshooting guide walks through the usual culprits in order.
What success looks like
Crust: deep amber-brown, crackly, audibly crisp as it cools. Crumb: soft with irregular holes and no gummy bands. Ear: a clean lip where the score opened. (Photo placeholders will live here — for now, judge by feel.)
Your first loaf will likely be slightly dense. Your third will be the one you photograph. Both are success — you're now one of the people keeping a jar alive on the counter. And when the discard starts piling up, the sourdough discard recipes hub turns it into pancakes, crackers and more. If you want to scale the recipe up or down, the baker's percentages guide explains the math behind every formula.
Frequently asked questions
How long does it take to make sourdough bread from scratch?
With a brand-new starter, plan for 3 days of feeding plus one 12–14 hour bake day. A mature starter that's already active shortens the baking part to about 10 hours total, most of it hands-off. Plan the first loaf for a weekend and you'll have time for every step.
Can I use all-purpose flour for my first loaf?
Yes. All-purpose flour works, but bread flour (12–13% protein) gives beginners a stronger dough to stretch, fold and shape. If all you have is all-purpose, add 20–30 minutes to the bulk ferment and expect a softer, tighter crumb.
Why is my first loaf dense?
Dense bread is almost always underproofed, cut too early, or both. If the dough didn't feel puffy and jiggly before baking, give it another 45–60 minutes next time. And wait the full 2 hours before slicing — cutting early lets steam escape and the crumb collapses.
Do I need a Dutch oven?
No, but it's the easiest way to get a good crust. Any covered, oven-safe pot works: cast iron, enameled, or even a deep roasting pan sealed with foil. The cover traps steam and steam is what builds the crackly brown crust. Don't let the gear stop you — bake in what you own.
How do I keep the starter alive between bakes?
Feed it daily if it lives on the counter, or move it to the fridge and feed every 1–2 weeks. Always keep at least 20–50 g of starter and feed it equal weights of flour and water. A cold, hungry starter is not dead — it just needs a day or two of warm feedings to wake up.