Sourdough Starter Recipe: How to Make, Feed and Keep One
Learn to make a sourdough starter in 7 days: feeding ratios, troubleshooting and keeping an active sourdough starter alive for years.
By Maya Ellison · Reviewed by Maya Ellison · Updated August 18, 2026 · 13 min read
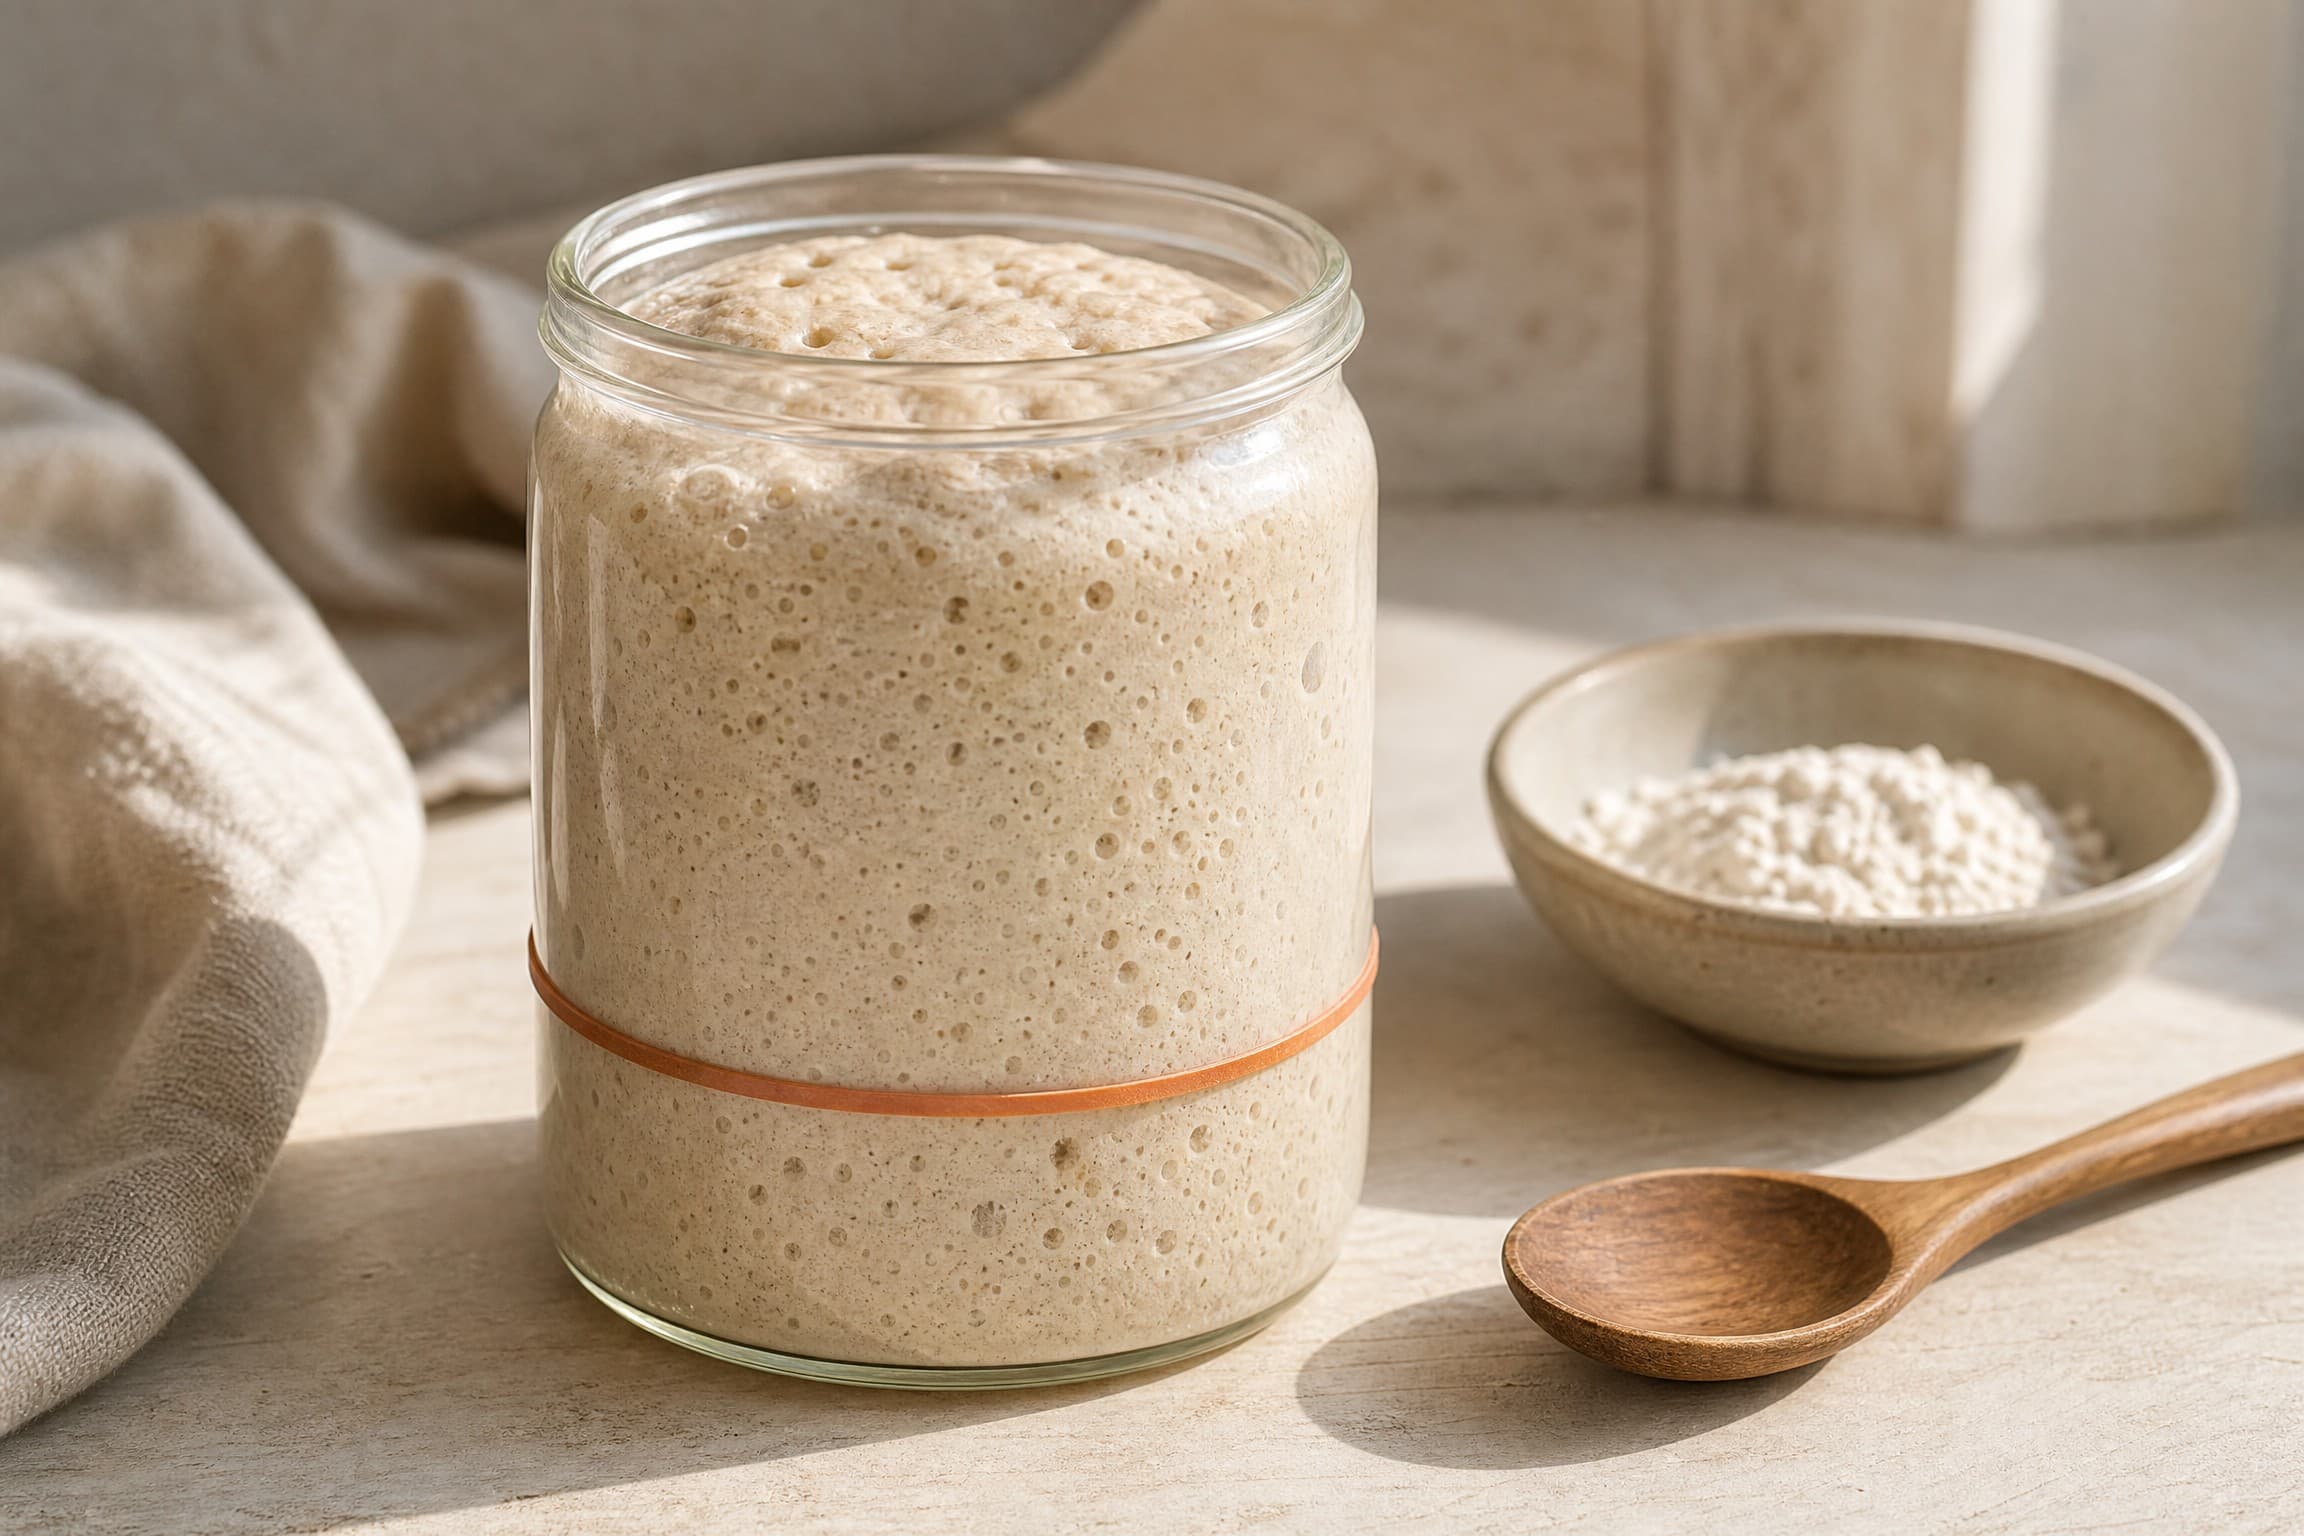
How to make sourdough starter is the question this page answers start to finish — no yeast packets, no specialty equipment, no lists of ratios longer than a receipt. It's a sourdough starter recipe you build once and then never buy commercial yeast again. Every great loaf starts the same way: with a jar of flour and water you feed like a pet. A sourdough starter is a living culture of wild yeast and lactobacillus bacteria, kept alive on flour and water, that leavens bread naturally — no commercial yeast required. Once you have one, you never buy yeast again. It isn't complicated, but it is alive and it has moods: too cold, too hot, too hungry and it sulks. That's normal — and what this guide is for. I'll walk you through making a sourdough starter from scratch in 7 days, feeding it with ratios you can count on one hand, keeping it alive in the fridge and fixing the problems that panic most new bakers — because I've made every one of them myself.
What is a sourdough starter, exactly
A sourdough starter is a self-sustaining ecosystem in a jar. Two organisms do all the work:
- Wild yeast — mainly Saccharomyces cerevisiae, the same species as commercial yeast but wild. It eats the flour's sugars and exhales carbon dioxide, which makes bread rise.
- Lactobacillus bacteria — these produce lactic acid and acetic acid, which give sourdough its tang. The acid does more than flavor: it lowers the pH of the dough, protecting it from mold and helping sourdough keep longer than commercial-yeast bread.
Flour and water are the only inputs. The microbes arrive on the flour itself and in the air around you — no starter kit needed. Different flours and kitchens produce slightly different cultures, which is why your starter tastes like your kitchen and nobody else's. The ecosystem is self-regulating — the yeast feeds the bacteria, the bacteria's acid keeps competitors out — and as long as you feed them, they keep each other alive. That's the whole science behind making a starter for sourdough bread for the rest of your life.
How to make a sourdough starter from scratch
Here's the day-by-day plan. It takes about 5 minutes per feeding, once a day, for a week.
Day 1 — set up. Combine 50 g whole wheat or rye flour with 50 g filtered water at room temperature in a clean glass jar. Stir until no dry flour remains, smooth the surface and mark the level with a rubber band. Cover loosely — a lid set on without tightening, or a cloth held with a band. The starter needs air, not a sealed lid.
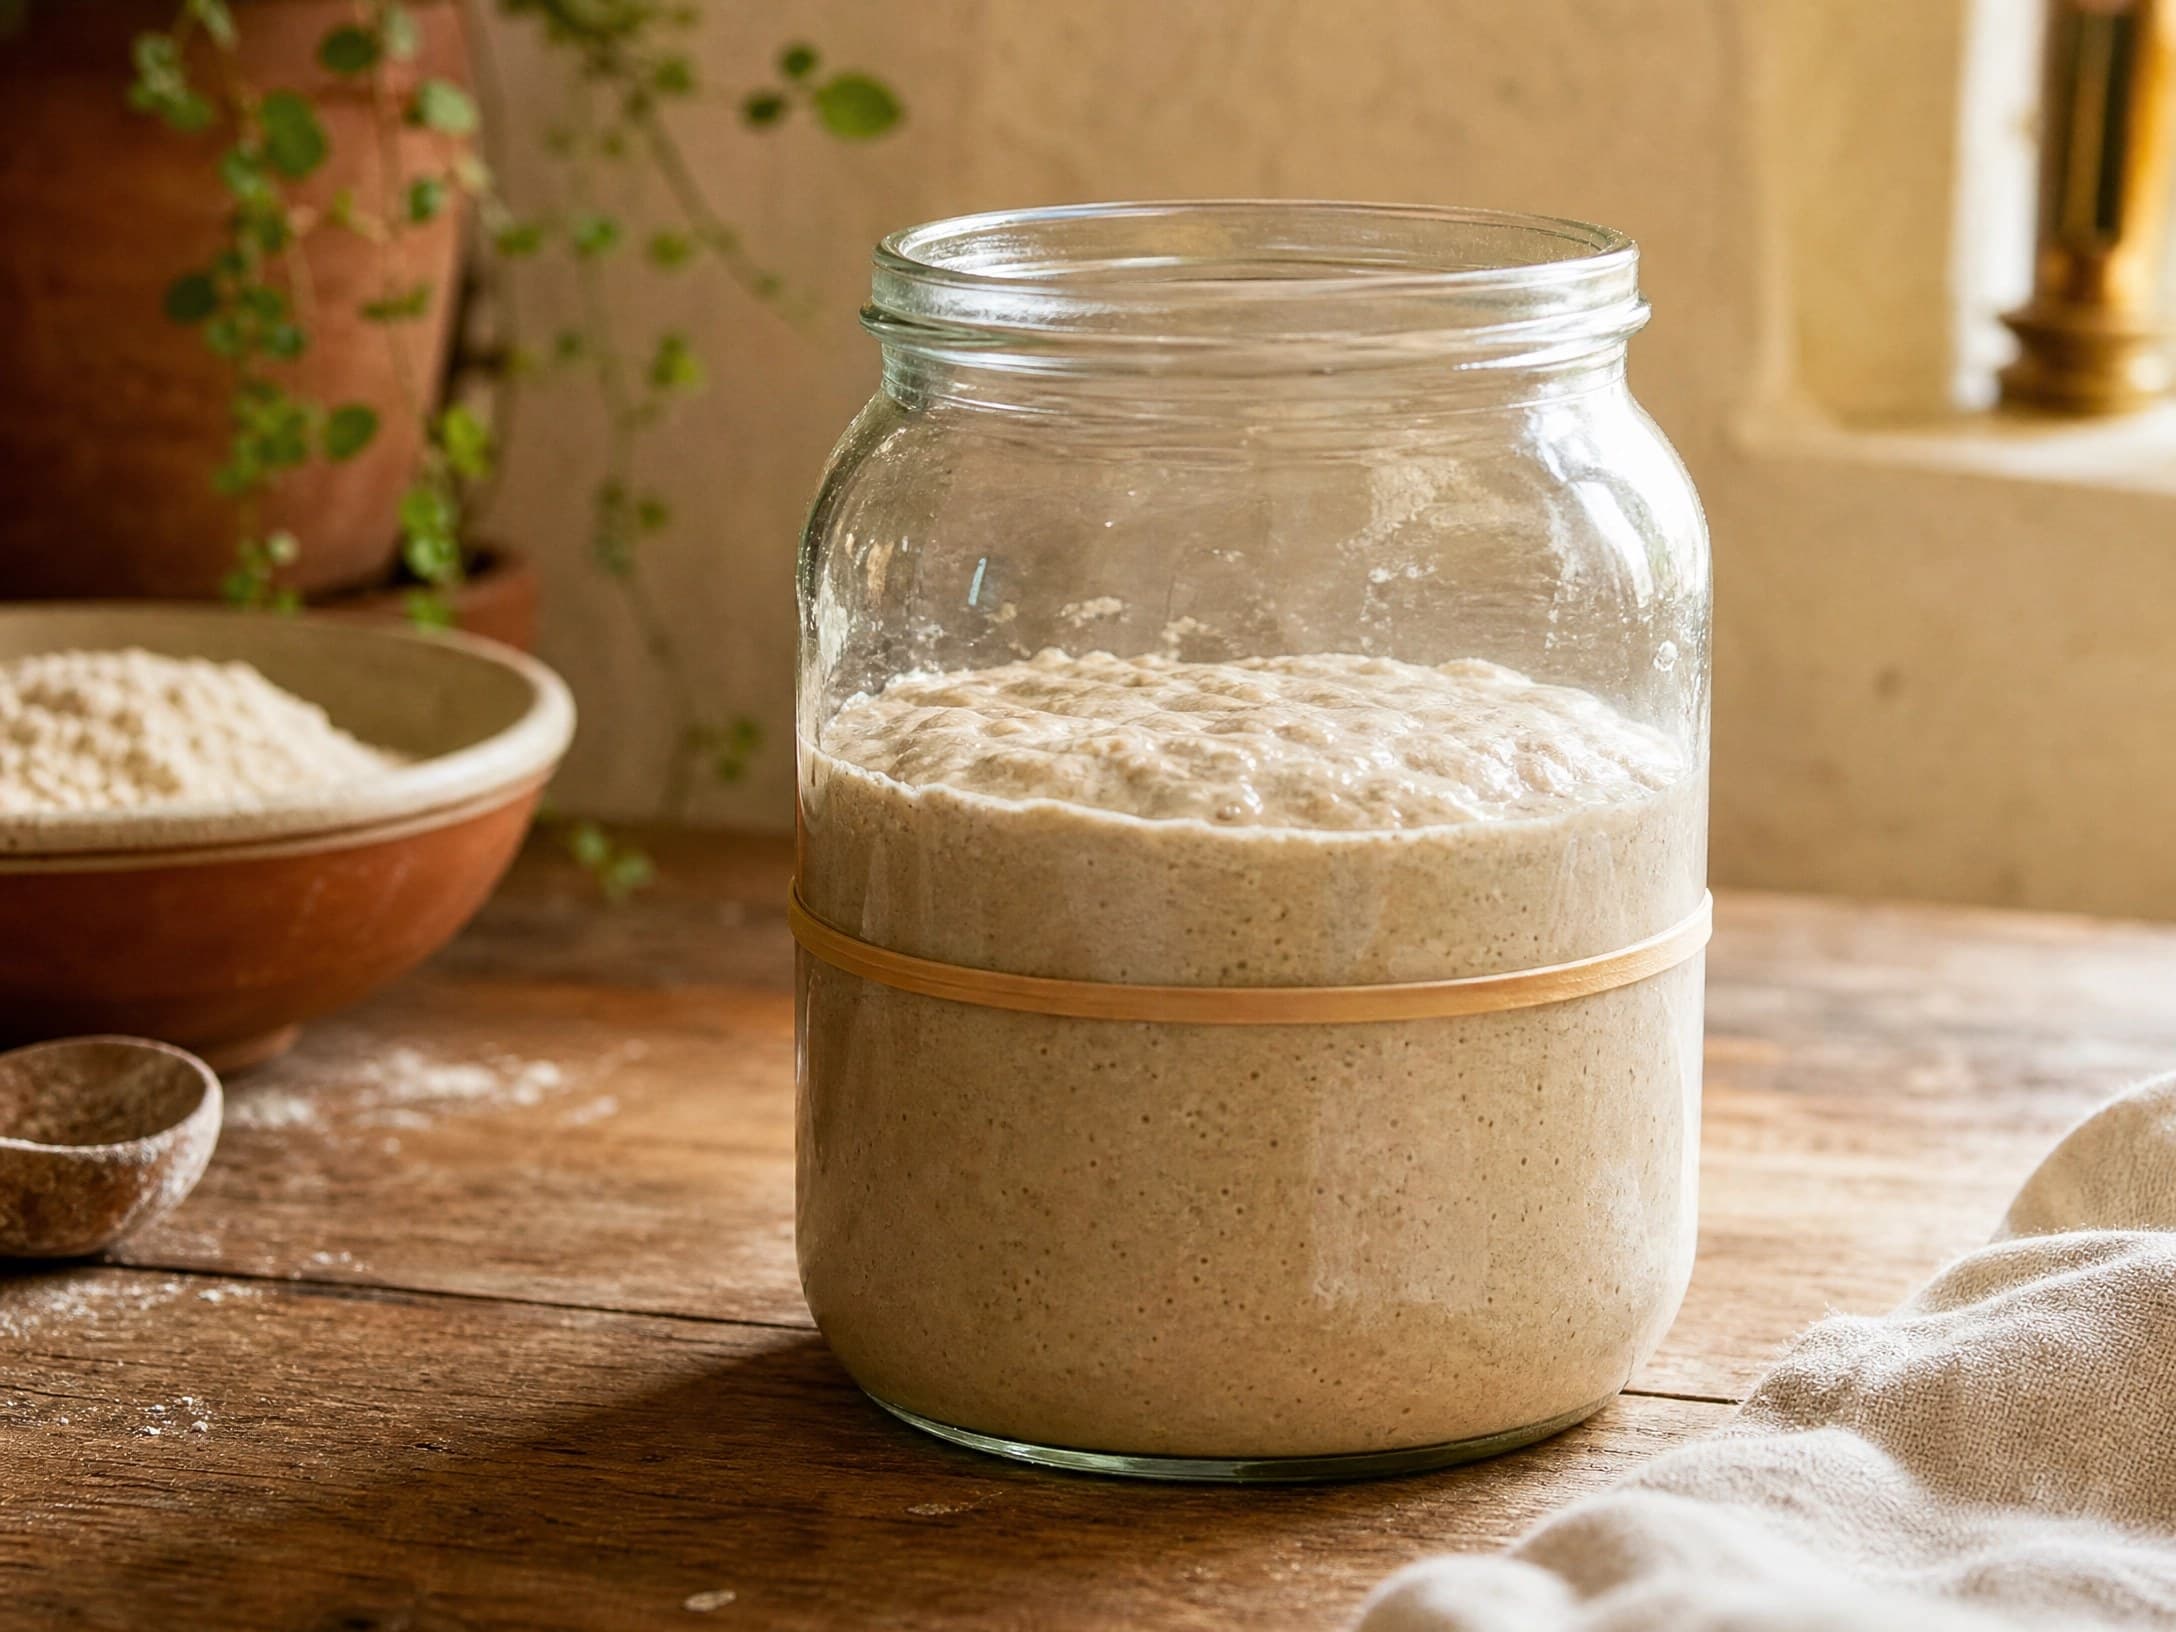
Day 2 — first feeding. Discard half the mixture (about 50 g), then stir in 50 g flour and 50 g water. Mark the new level. Little may happen today — that's fine.
Day 3 — second feeding. Same as Day 2. Bubbles or a sharp smell now are the bacterial bloom — lactobacilli multiplying ahead of the yeast. Many beginners think they've failed because it smells odd. You haven't. Keep going.
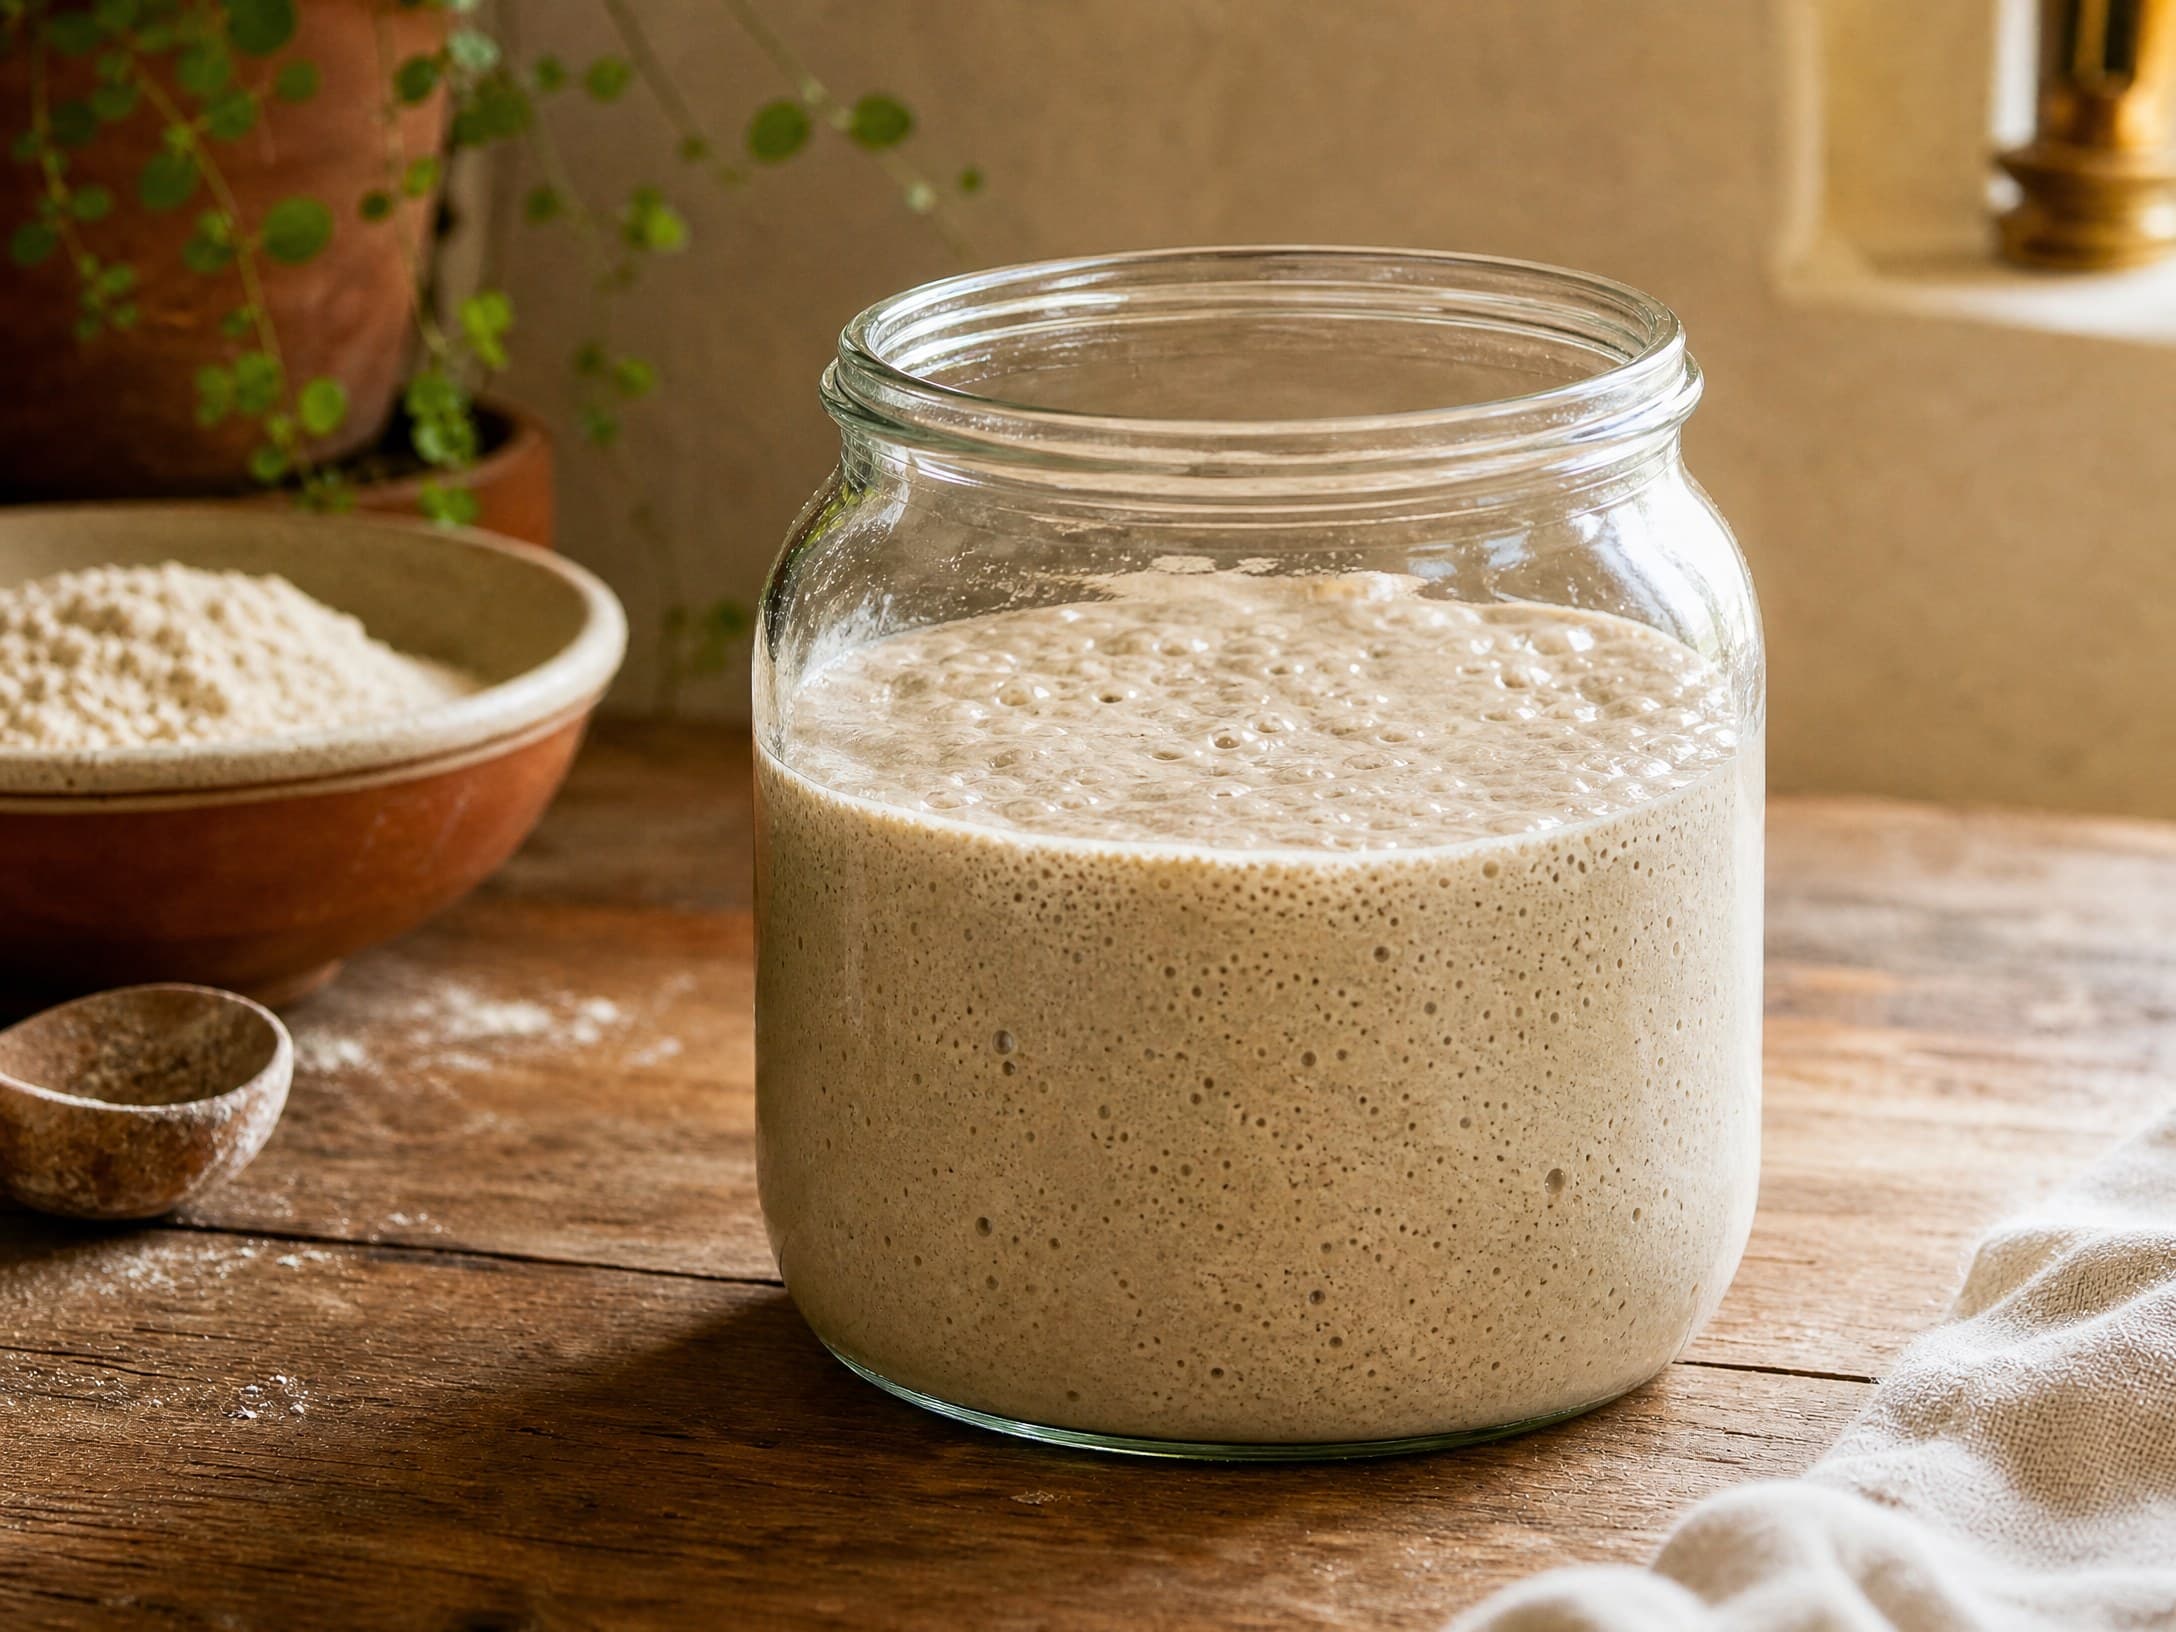
Days 4–7 — daily feedings. Feed once a day at the same time, always 1:1:1 by weight: 50 g starter, 50 g flour, 50 g water. Watch for three things: volume (roughly doubling within 4–6 hours), texture (a honeycomb of small bubbles across the surface) and smell (sweet-sour, like yogurt and overripe fruit — not harsh).
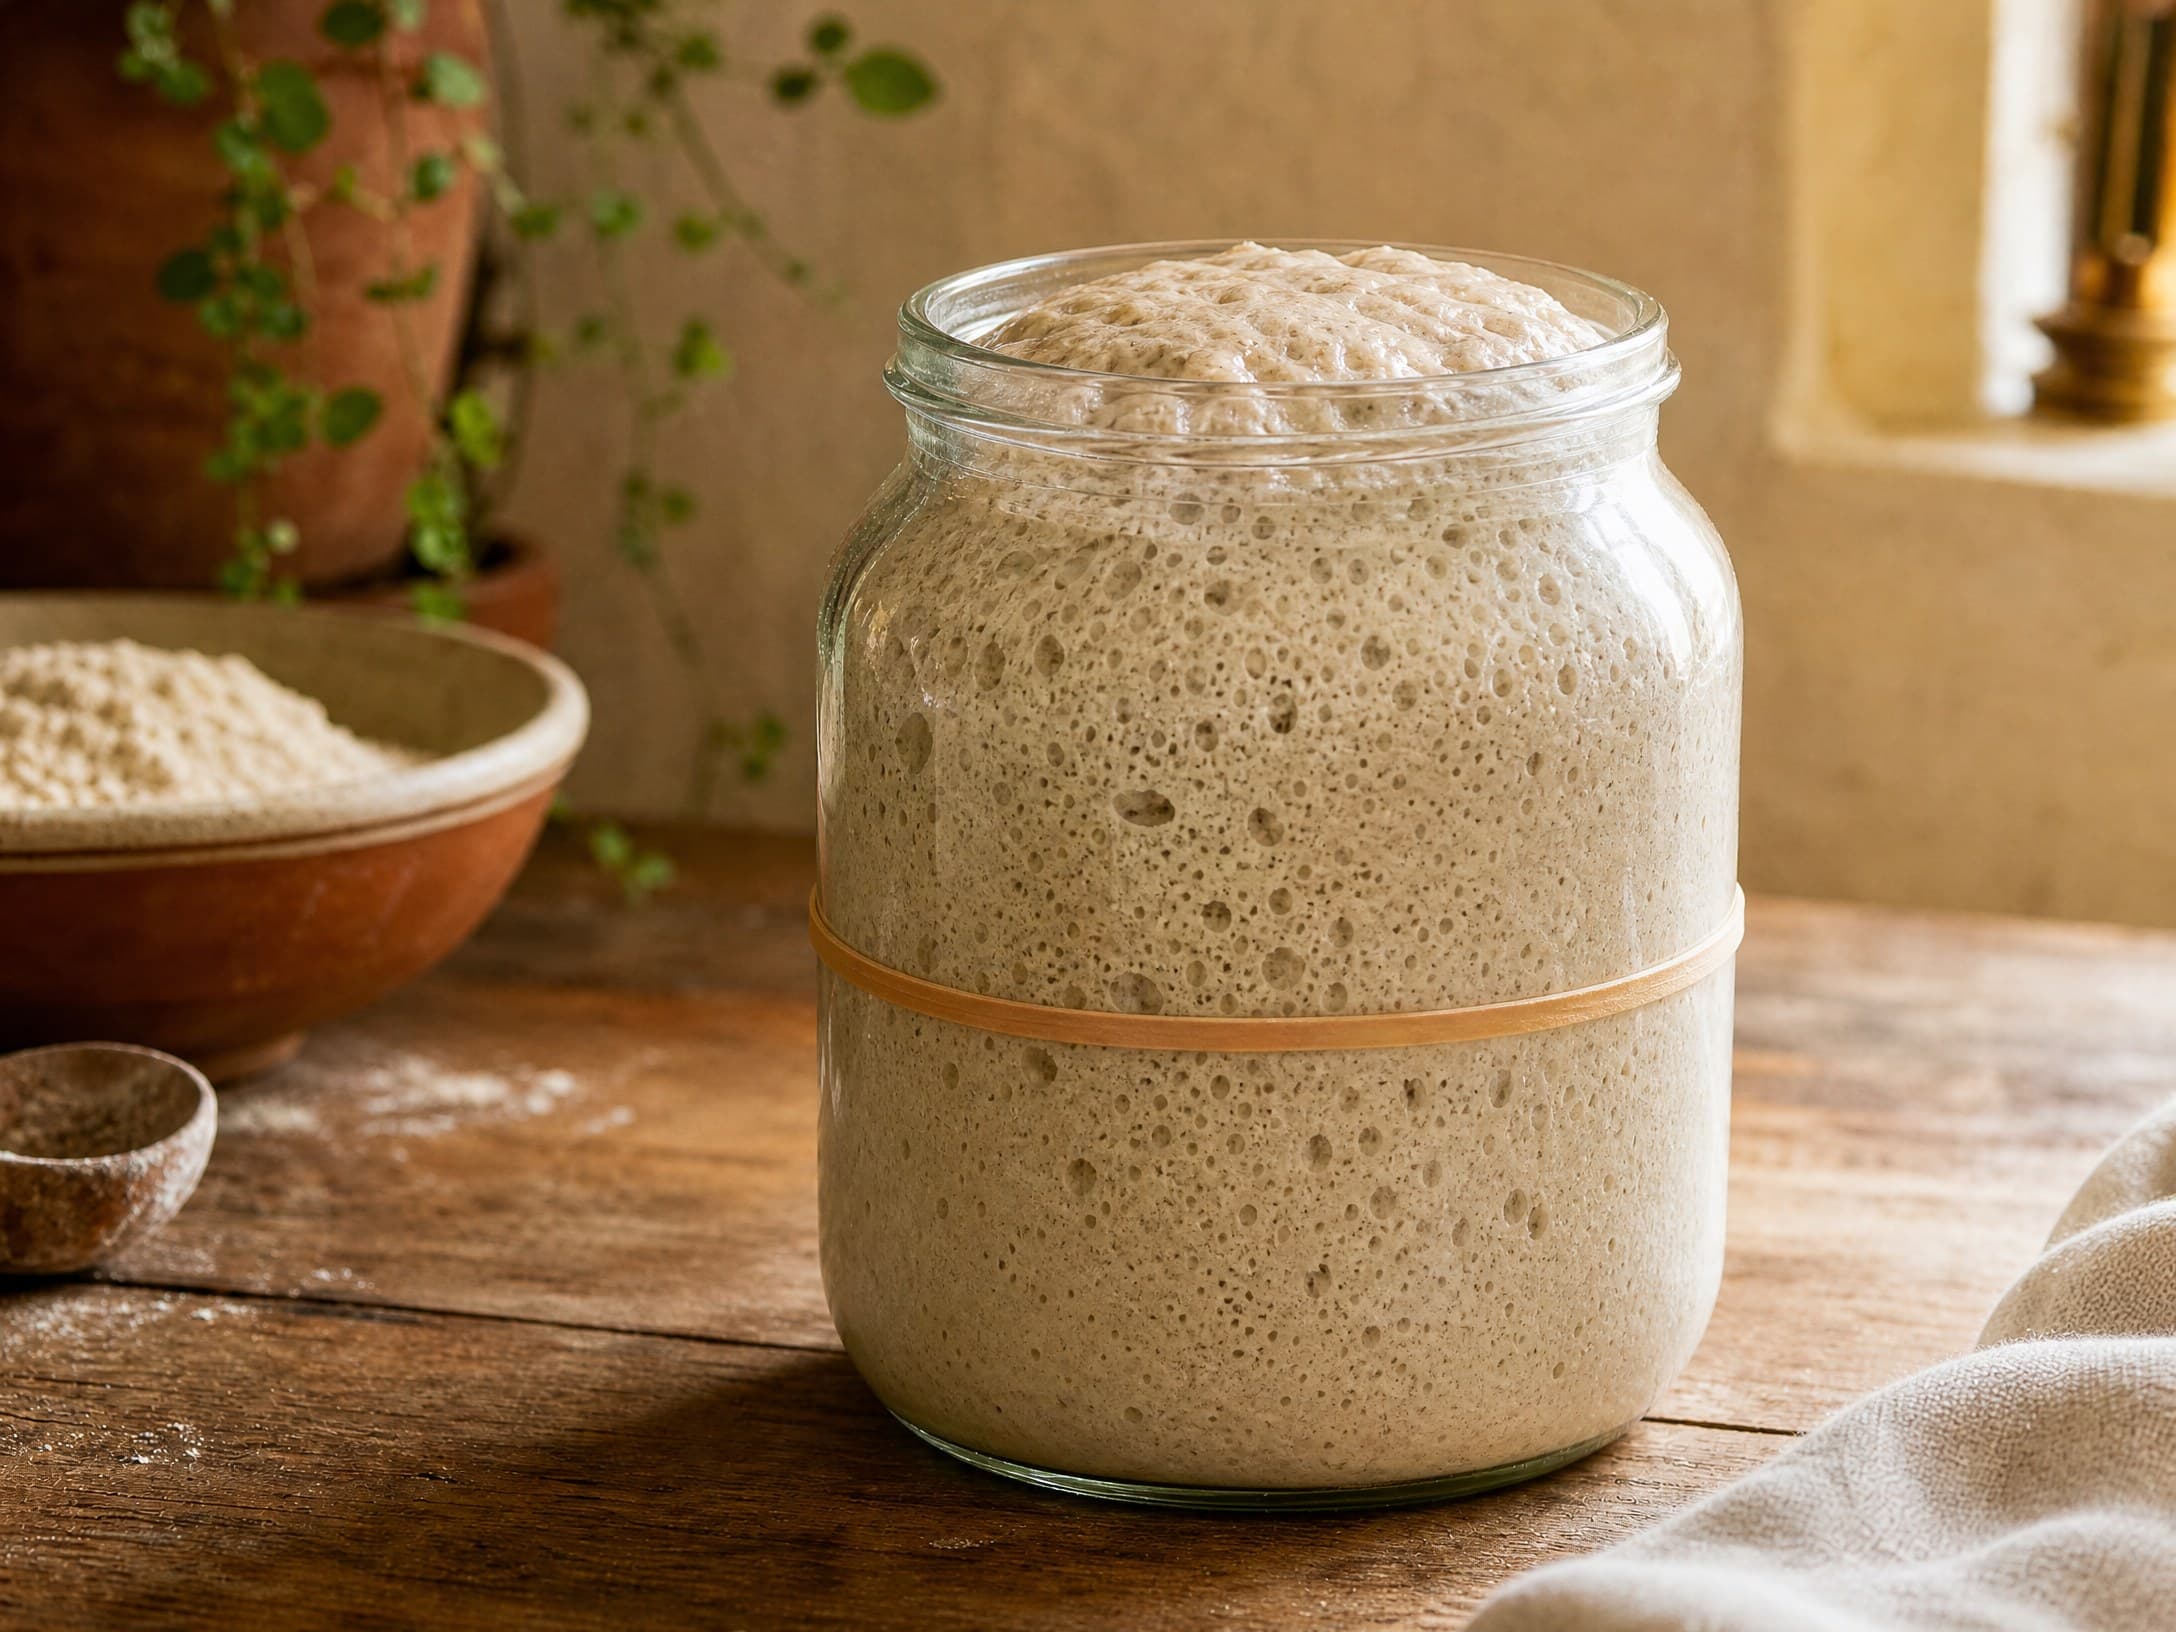
When is it ready? When it reliably doubles within 4–6 hours of feeding, two days in a row and smells sweet-sour instead of harsh. Not before.
The float test and why I don't trust it. The classic advice is to drop a spoonful of fed starter into water — if it floats, it's ready. The honest science: the test works on correlation, not mechanism. Whether a blob floats depends on density and trapped gas, which vary with flour type, hydration and fermentation speed. A young starter can throw up large bubbles and float while still unstable and a stiff, perfectly ripe starter can sink. Beginners abandon healthy starters and bake with weak ones because of this test. Use the doubling-plus-smell test instead — it's more truthful.
New to all this? My beginners guide to sourdough covers the big picture before you start mixing.
Feeding your starter: the simple ratio
The only math you need is a ratio, not a recipe: feed your starter 1:1:1 by weight — one part starter, one part flour, one part water. That means 20 g starter, 20 g flour, 20 g water — or 100 g of each; it scales to any jar you own.
| Ratio | Starter | Flour | Water | When to use it |
|---|---|---|---|---|
| 1:1:1 | 20 g | 20 g | 20 g | Daily maintenance on the counter |
| 1:2:2 | 20 g | 40 g | 40 g | Pre-bake build for more leaven |
| 1:3:3 | 20 g | 60 g | 60 g | Large builds, or before a long cold proof |
A larger ratio gives the culture more food, so it rises more slowly and ferments more gently. The 1:2:2 build is my pre-bake default: 20 g of starter makes 100 g of ripe leaven, close to what most of my recipes call for.
What is discard? Every feed starts by removing most of the jar's contents — that removed portion is discard. It's not garbage: it's mature culture past its peak and a superb ingredient in its own right. Collect it in a jar in the fridge and use it for sourdough discard recipes: pancakes, crackers, waffles and brownies all use unfed starter.
Always weigh. A tablespoon of flour can vary by 30% depending on how it's packed, so weigh — a $15 digital gram scale is the single best sourdough purchase you'll make.
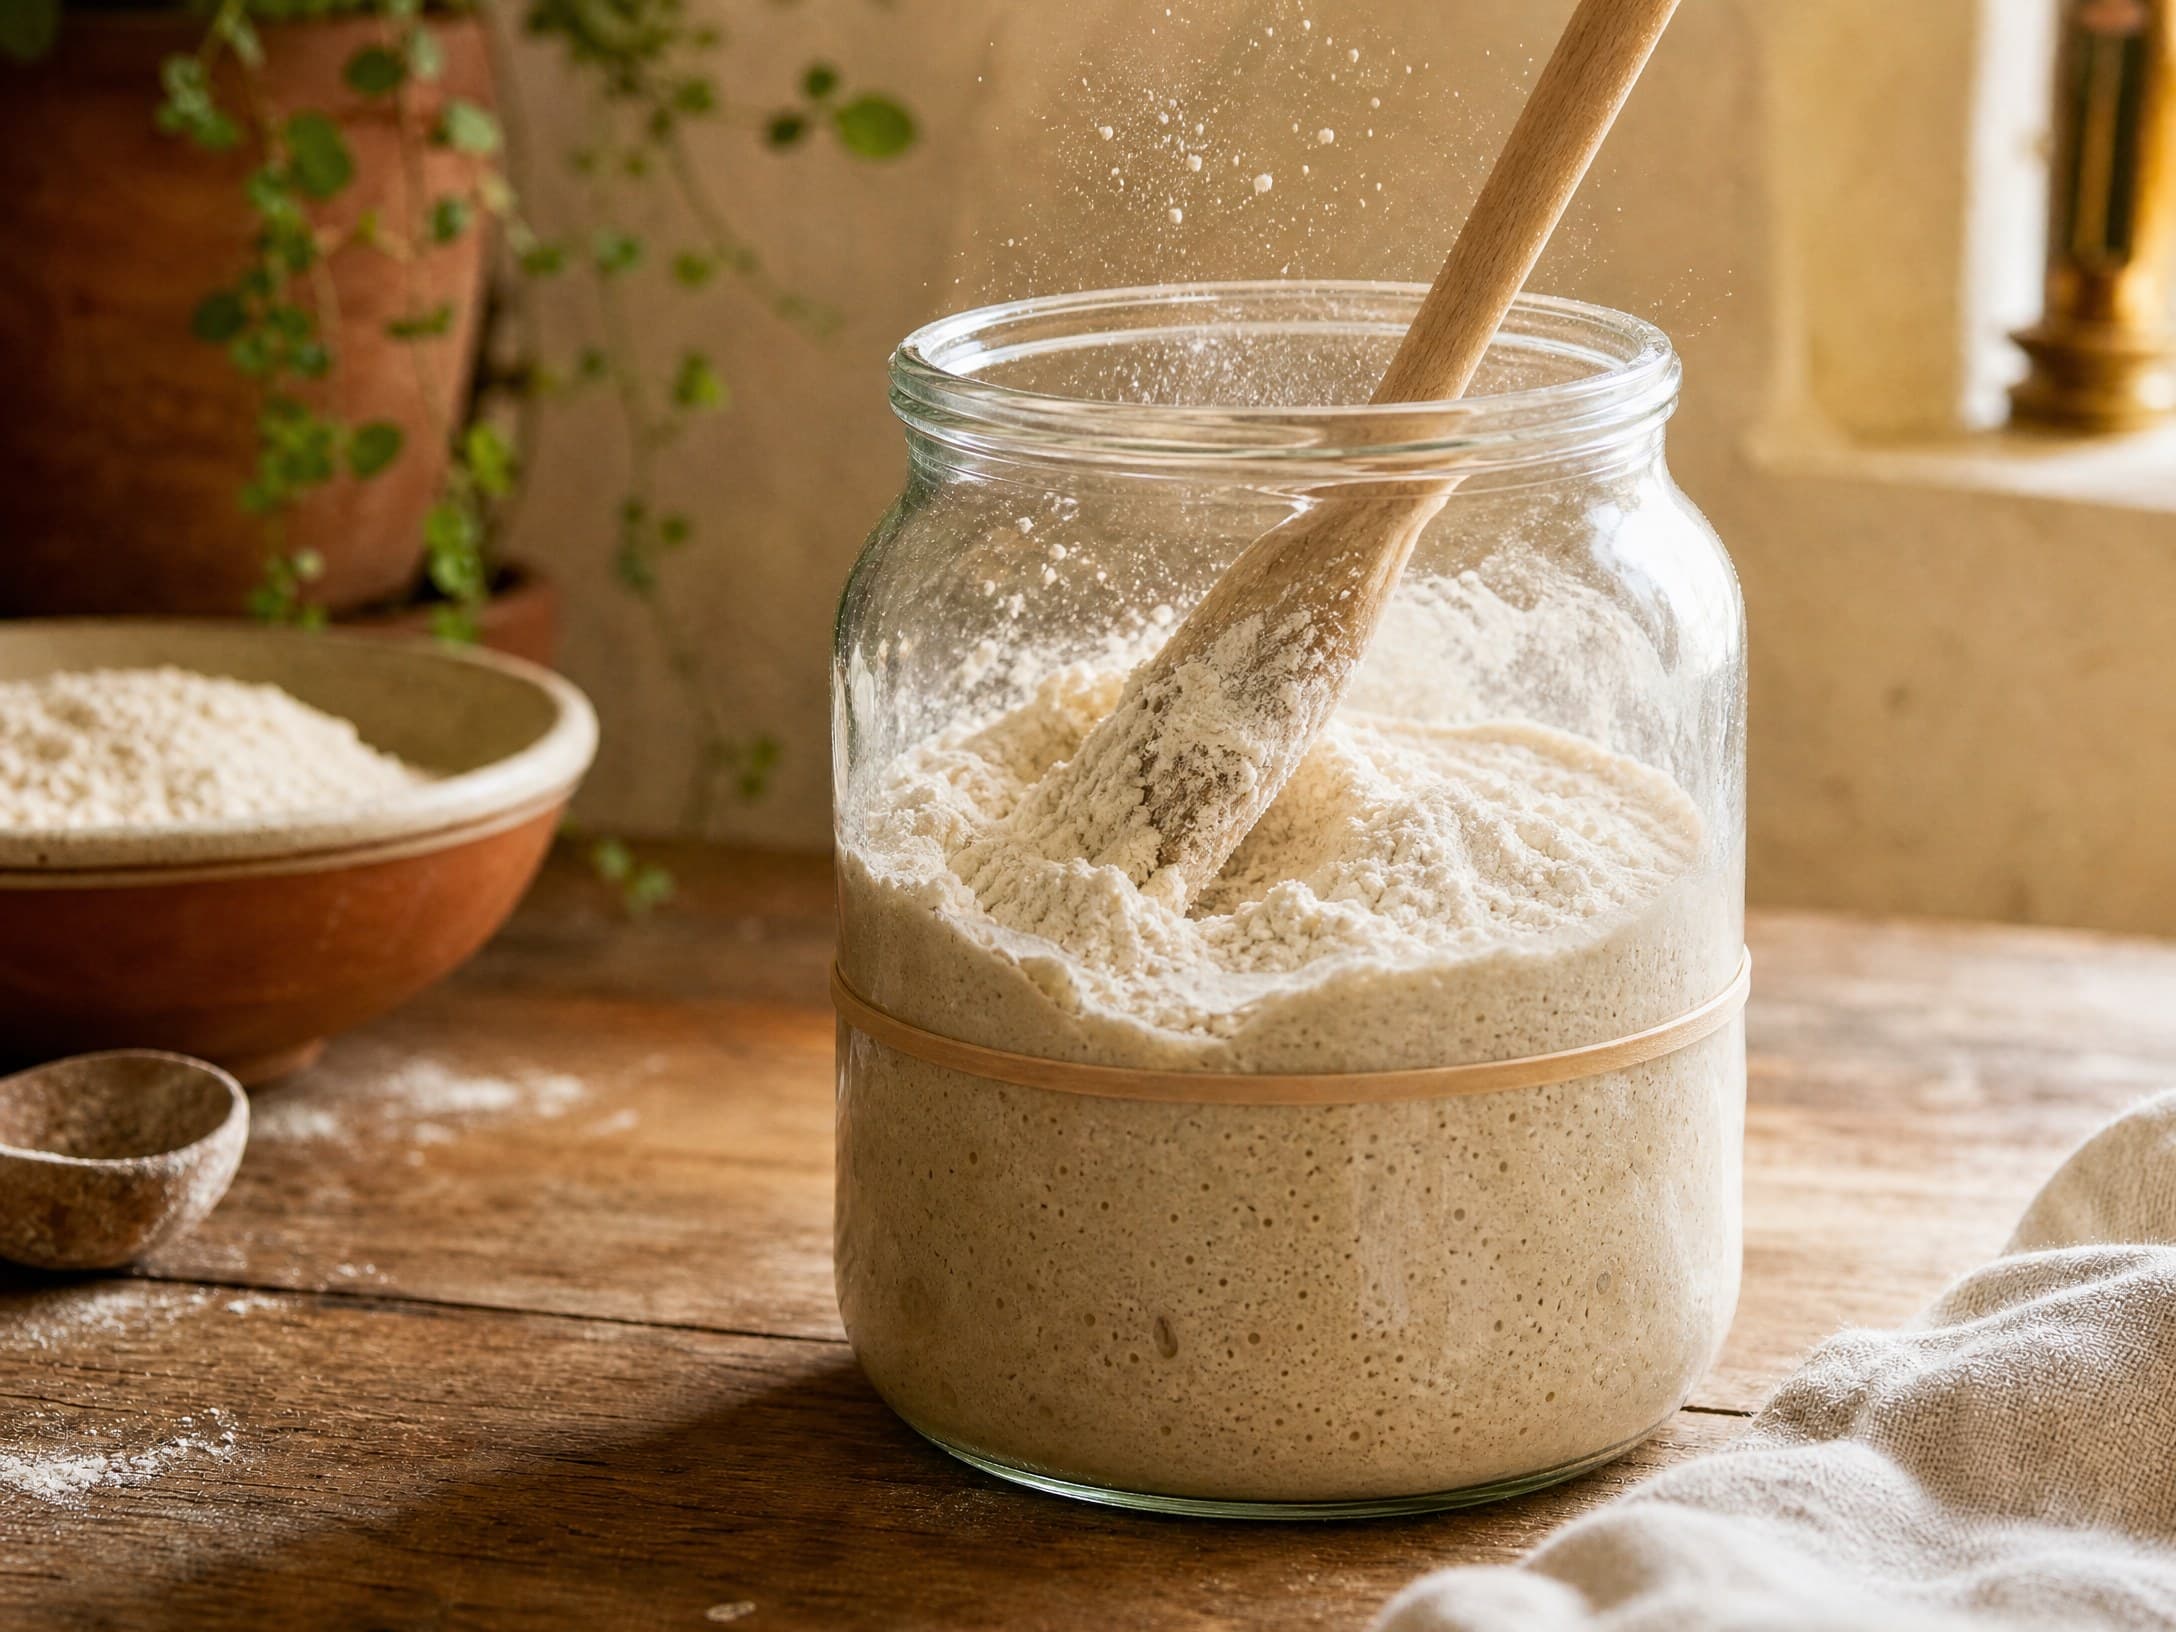
How to get an active sourdough starter
"Active" doesn't mean alive — even a neglected jar is alive. An active sourdough starter is at the height of its fermentation, full of gas and ready to leaven dough. Getting it there is a matter of temperature, timing and rhythm.
Temperature is everything. The sweet spot is 75–80°F (24–27°C). Below 70°F (21°C), fermentation slows; below 65°F (18°C), a young starter can stall. If your kitchen is cold, find the warm spot — the top of the fridge, near a warm appliance, or an oven with only the light on. A cheap thermometer strip on the jar removes all guesswork. For more on temperature control, see my guide to dough temperature.
Learn the peak window. After a feed, the starter rises, plateaus, then falls. The peak — the tallest moment — is when it's strongest and most balanced and the best time to bake. Feed the jar, check it hourly around hours 4–6 and note when it stops rising; within a few days you'll know its rhythm without watching.
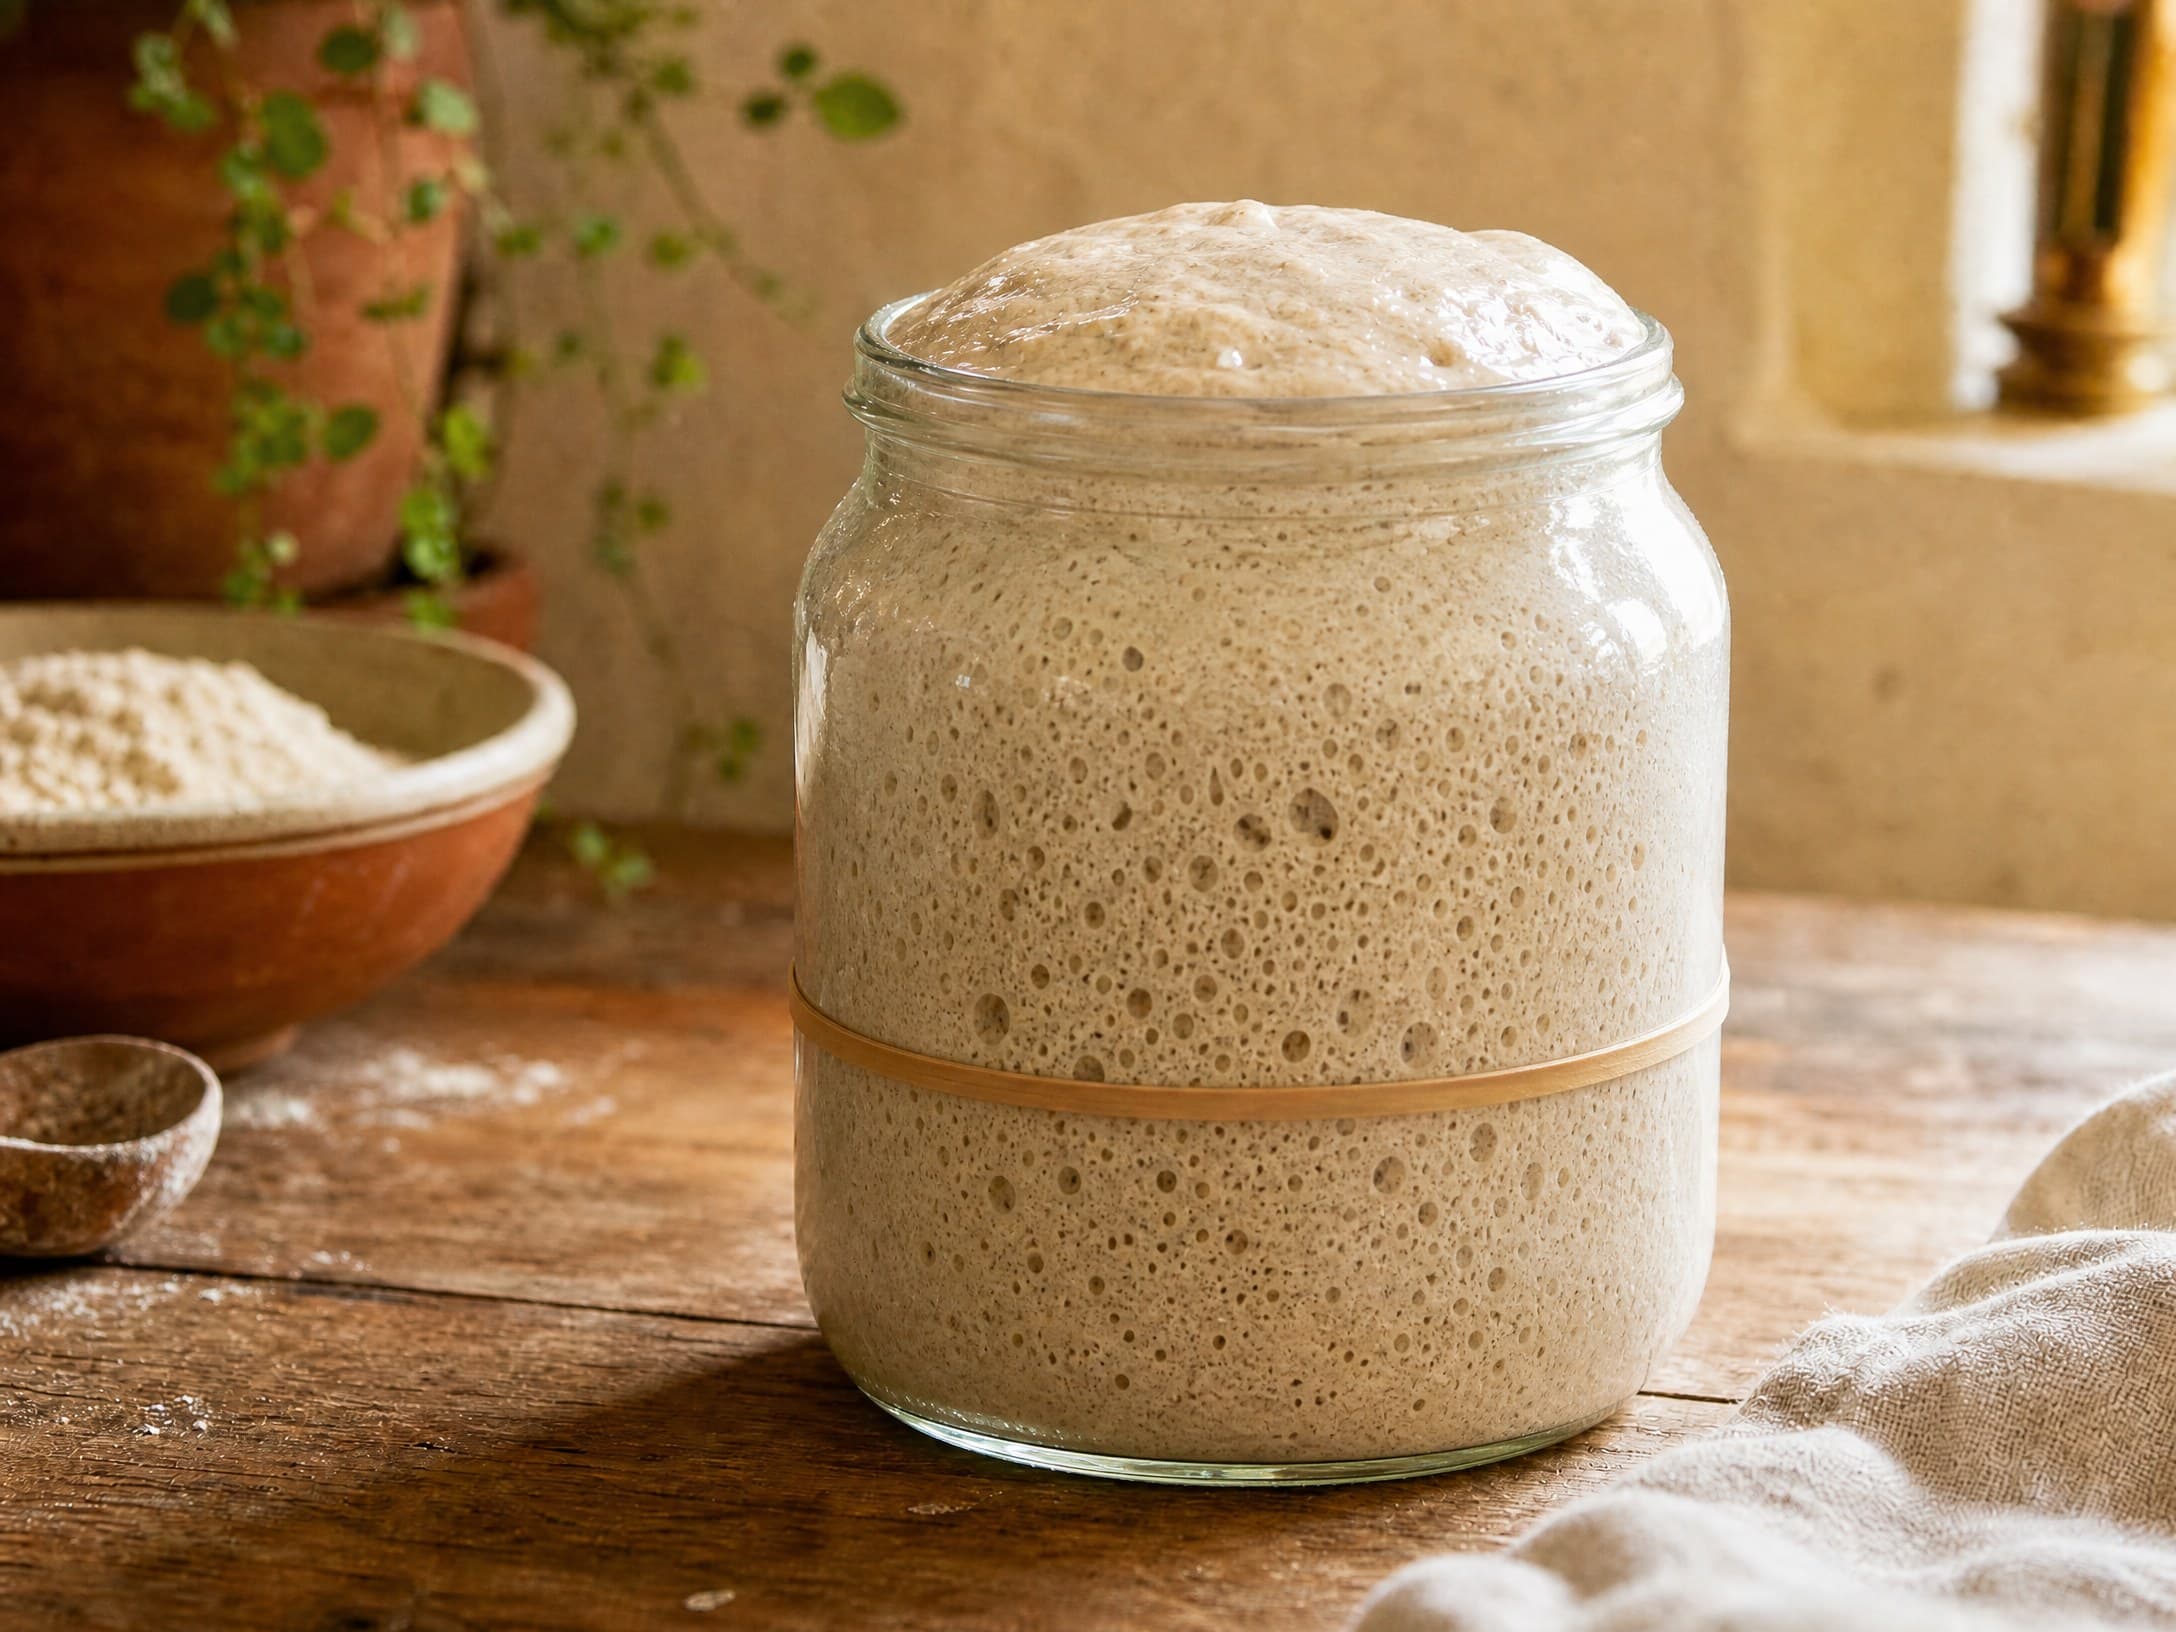
Keep a rhythm, not a religion. Feed at the same time daily; if that's not possible, feed twice a day at a smaller ratio, or every 36 hours at 1:2:2. The exact schedule matters less than consistency — a starter fed like clockwork at a modest ratio beats one fed aggressively but unpredictably.
When things go wrong, resist the urge to feed more. Most starter failures are temperature, timing, or patience issues, not ratio issues — my troubleshooting guide covers them and the table below is the short version.
Keeping a starter alive
Once your starter is two weeks old and stable, you can stop daily feeding forever. The fridge changes everything.
Fridge storage. After a feeding, cover the jar and put it in the fridge. The cold puts the culture into a deep slow state: a fed starter holds 1–2 weeks without attention and survivors routinely come back after a month. To bake, take it out the night before, feed it and let it ripen on the counter; use what you need, feed again and return the jar to the fridge.
Weekly feeding. Feed the refrigerated starter once a week, even if you don't bake — it keeps the culture healthy and the acid balanced.
Hooch. That grey or brownish liquid on top is hooch — alcohol and water produced as the starter ran out of food. It smells like nail polish remover, but it's harmless: stir it in for a slightly more acidic starter, or pour it off. Either way, hooch is a signal — feed the starter.
Vacation. Feed it well, let it rise for an hour, then refrigerate airtight. Three weeks away is routine; a month is fine for an established starter. On return, pour off hooch and feed 1:1:1 twice daily for two days.
Reviving after neglect. If weeks or months passed, don't assume it's dead — assume it's hungry. Pour off the hooch, feed 1:1:1 and watch for 24 hours. If there's any sign of life, feed again 12 hours later; after 2–3 days of feedings it's usually back to full strength. The full revival method is in my guide to feeding sourdough starter, which also covers hooch and feeding schedules.
Recipes for sourdough starter
The starter itself isn't the goal — the bread is. Once your jar passes the readiness test:
- Your first loaf: my basic sourdough bread recipe is built for beginners, with gram-exact quantities that account for a young starter. The best recipe with sourdough starter is the first one where you learn what ripe dough feels like.
- Discard recipes: every feeding produces unfed starter and the recipes for sourdough starter that don't require rising are many: sourdough discard recipes include pancakes, crackers, waffles and bagels, all treating discard as an ingredient rather than a byproduct.
The rhythm to remember: feed the jar, bake with it at peak, feed again and turn whatever you remove into breakfast. Three uses, one jar.
Sourdough starter common problems
Here's the honest short version; for deep dives, see the full sourdough troubleshooting guide.
| Symptom | Cause | Fix |
|---|---|---|
| Grey liquid pooling on top | Ran out of food (hooch) | Stir it in or pour it off; feed on a shorter schedule |
| No bubbles after 3-4 days | Too cold, or chlorinated water | Move to 75-80°F (24-27°C); use filtered water |
| Rises then collapses before feeding | Fed too late; overhungry | Feed earlier, or at 1:2:2 for a longer rise |
| Strong vinegar or acetone smell | Starved, or too warm | Feed twice daily, or cool it down |
| Pink, orange, or furry patches | Mold or contamination | Discard the jar, clean everything, start fresh |
| Thin and soupy, never holds structure | Too much water, or still young | Feed 1:2:2 with bread flour; give it more days |
A starter can look failing while being perfectly healthy: the day-3 bacterial bloom, the day-6 hooch, the day-2 sour smell — all normal. Most of what new bakers read as disaster is just the culture talking.
The truth about starter lore
Sourdough history in the United States runs through San Francisco. The famous Gold Rush loaves — from the 1850s, when Boudin's bakery sold bread to miners — came from a culture still studied today: Lactobacillus sanfranciscensis, a bacteria named for the city and first isolated from those starters in the 1970s. The story of a single culture passed down since 1849 is part of the romance; the science is more forgiving.
The naming tradition. People name their starters — a tiny, personal piece of ritual. Some treat them like pets, others like tools and naming yours is a handy reminder to feed it.
The metal myth, busted. "Never touch your starter with metal — it kills it" is one of baking's most durable myths and it's wrong. The rule dates to when common metals were reactive: copper and zinc leaching into acidic culture caused real problems. Modern stainless steel is completely safe and countless bakers feed with metal tools daily. The one real warning is prolonged storage in reactive containers — copper, unseasoned iron. Stainless, glass and ceramic are all fine.
The daily-feeding-forever myth. You do not have to feed a starter every day for the rest of your life. That's the counter schedule, for bakers who bake daily. Once established, a starter in the fridge needs feeding weekly, or every other week and can survive months in dormancy. The idea that skipping a day ruins everything sends more beginners into panic — and out of sourdough — than any technical failure.
The discard guilt. Throwing away starter feels like throwing away a pet and it's the number one reason people quit. The fix: treat discard as a second ingredient stream — it makes pancakes and crackers in the same week you're making bread, for about ten cents of flour. The guilt disappears with your first batch of discard pancakes.
A starter isn't a recipe you follow once. It's a small, living thing that will make you bread for years, for the cost of a few minutes a week and some flour. Make it once, feed it honestly and it will out-last every other tool in your kitchen.
The complete guide library
Everything else on this site hangs off the starter — here are the guides that turn a healthy jar into a great loaf and each one links back to this page and the sourdough bread recipe:
- Beginner's guide to sourdough — the whole bake end to end
- Autolyse — the 30-minute rest that starts every good dough
- Proofing bread dough — bulk fermentation and final proof, timed
- Dutch oven baking — crust, steam and oven spring
- Shaping bread dough — preshape, boule and batard
- Dough temperature — the temperature chart that makes timing predictable
- Dough poke test — knowing exactly when proofing is done
- Feeding sourdough starter — keeping the jar strong between bakes
- What is a levain — building a recipe-sized portion of starter
- Bread flour vs all-purpose — choosing the right flour
- Sourdough bread flour — protein, brands and storage
- High-hydration sourdough — pushing past 75% the safe way
- Same-day sourdough — the 8-hour bake when you're in a hurry
- Baker's percentages — the math behind every formula
Ingredients
Weights in grams are the source of truth; cup measures are approximate.
- 50 g whole wheat or rye flour (Day 1)
- 50 g filtered water, room temperature (Day 1)
- 100 g bread flour or all-purpose flour (for feedings from Day 2)
- 100 g filtered water, room temperature (for feedings from Day 2)
- 25 g active starter (after Day 4, once the culture is established)
Method
Day 1: combine 50 g whole wheat or rye flour with 50 g filtered, room-temperature water in a clean glass jar. Stir until no dry flour remains, smooth the surface, mark the level with a rubber band and cover loosely with a lid or cloth.
Day 2: discard half the mixture (about 50 g), then stir in 50 g flour and 50 g water. Re-cover and set aside for 24 hours in a warm spot, 70-75°F (21-24°C).
Day 3: feed again the same way — discard half, add 50 g flour and 50 g water. Bubbles or a sour smell are the bacterial bloom doing its job, not a failure.
Days 4-7: feed once daily at the same time each day, always 1:1:1 by weight (50 g starter, 50 g flour, 50 g water). Watch for the starter to roughly double in volume within 4-6 hours of feeding.
Check readiness: the starter is ready when it doubles reliably after feeding, smells sweet-sour (like yogurt and overripe fruit) and is riddled with small bubbles — two days in a row.
Optional float test: drop a spoonful of freshly fed starter into a glass of water. Floating suggests readiness, but trust doubling and smell first — the float test lies more often than beginners expect.
When it's ready, bake with it right away. Use 25 g of the fresh starter in my basic sourdough bread recipe and keep the jar going.
Set your routine: feed daily if the jar lives on the counter, or move it to the fridge for weekly feedings once it's two weeks old and stable.
Frequently asked questions
How long does it take to make a sourdough starter?
Plan on 5-7 days. In a warm room at 75-80°F (24-27°C), most starters are strong enough to bake with by day 5. If your kitchen is cool or the starter is sluggish, give it 10-14 days — a slower starter is not a failed starter.
Why is my starter not rising?
The usual suspects, in order: it's too cold (move it somewhere 75-80°F), it's too young (keep feeding daily for another few days), or it's underfed (a 1:1:1 feed at 70°F may run out of food before the next feeding; try 1:2:2). My full troubleshooting guide walks through each symptom.
Do I need rye flour to make a starter?
No. Rye and whole wheat simply speed things up because they carry more wild yeast and nutrients on the bran. White flour works fine — it just takes a few days longer. Use what you bake with most and switch to all-purpose once the starter is established.
Can I use tap water?
Yes, if it isn't heavily chlorinated. Chlorine slows fermentation and can keep a young starter from getting going. If you're unsure, let tap water sit out overnight so the chlorine evaporates, or use filtered water — room temperature, never hot.
How much starter should I keep?
As little as 25-50 g. A small jar keeps the feeding math small, uses less flour and means less discard. Scale your feedings to your next bake: feed 25 g of starter at 1:1:1 and you'll have plenty of leaven plus a jar to save.
How do I make my sourdough starter more sour?
Sourness comes from acetic acid, which builds when the starter is fed less often and kept cooler. To push it: use more whole grain or rye flour, feed at 1:2:2 or 1:3:3 so the culture runs longer between feeds, keep the jar around 65-70°F (18-21°C), and let it sit longer before baking. A cold, slow, stiff starter is tangier; a warm, frequently-fed one stays mild. The same logic applies to the bread itself — a long cold proof deepens the flavor.