Bread Shaping Techniques: Preshape, Boule, Batard and Tension
Bread shaping techniques for sourdough: how to preshape, rest and shape a tight boule or batard with real surface tension — step by step.
By Maya Ellison · Reviewed by Maya Ellison · Updated August 18, 2026 · 4 min read
Quick answer
Shaping is the skill that separates a loaf that rises from a loaf that spreads. It's also the one people dread most — mostly because it's usually explained with hands you can't see. This guide walks through the bread shaping techniques that matter, in order, with the feel of each step described in words: preshape, bench rest and the two shapes that cover 95% of home baking — boule and batard.
The goal of shaping
Before any technique, know what shaping is for. After bulk fermentation, the dough is a loose, bubbly mass with gluten that can hold gas but hasn't been organized. Shaping stretches the gluten into a taught outer layer — surface tension — that makes the loaf rise upward during the bake. Under-shaped dough goes wide and flat; over-shaped dough tears and deflates. The target is a taut, smooth skin over a soft, airy interior.
Step 1: Preshape
- Turn out the dough onto a lightly floured surface, seam side up. Use a bench scraper; don't pull with your hands.
- Fold the corners to the center one at a time — top to center, bottom to center, then each side — so the dough becomes a loose round. Do not degas it; you want to keep the bubbles.
- Flip it seam-side down and let it sit, uncovered, for a minute so a light skin forms. This loose ball is the preshape.
The preshape does two things: it organizes the dough's structure and gives you a chance to feel whether the dough is healthy before you commit to a final shape. If the preshape slumps flat immediately, the dough is likely over-proofed or badly under-developed — better to know now.
Step 2: Bench rest
Cover the preshape with a towel or bowl and rest it 15-30 minutes. The gluten relaxes during this rest, which is what makes the final shape actually hold. A dough that's rested is more extensible and less likely to tear when you tighten it. This is not optional time spent — it's the difference between a taut boule and a dough that springs back at you.
Step 3a: Shaping a boule (round)
- Flour the surface lightly and place the rested preshape seam-side up.
- Flatten it gently into a disc, keeping some air inside. Fold the four edges into the center, like a business envelope.
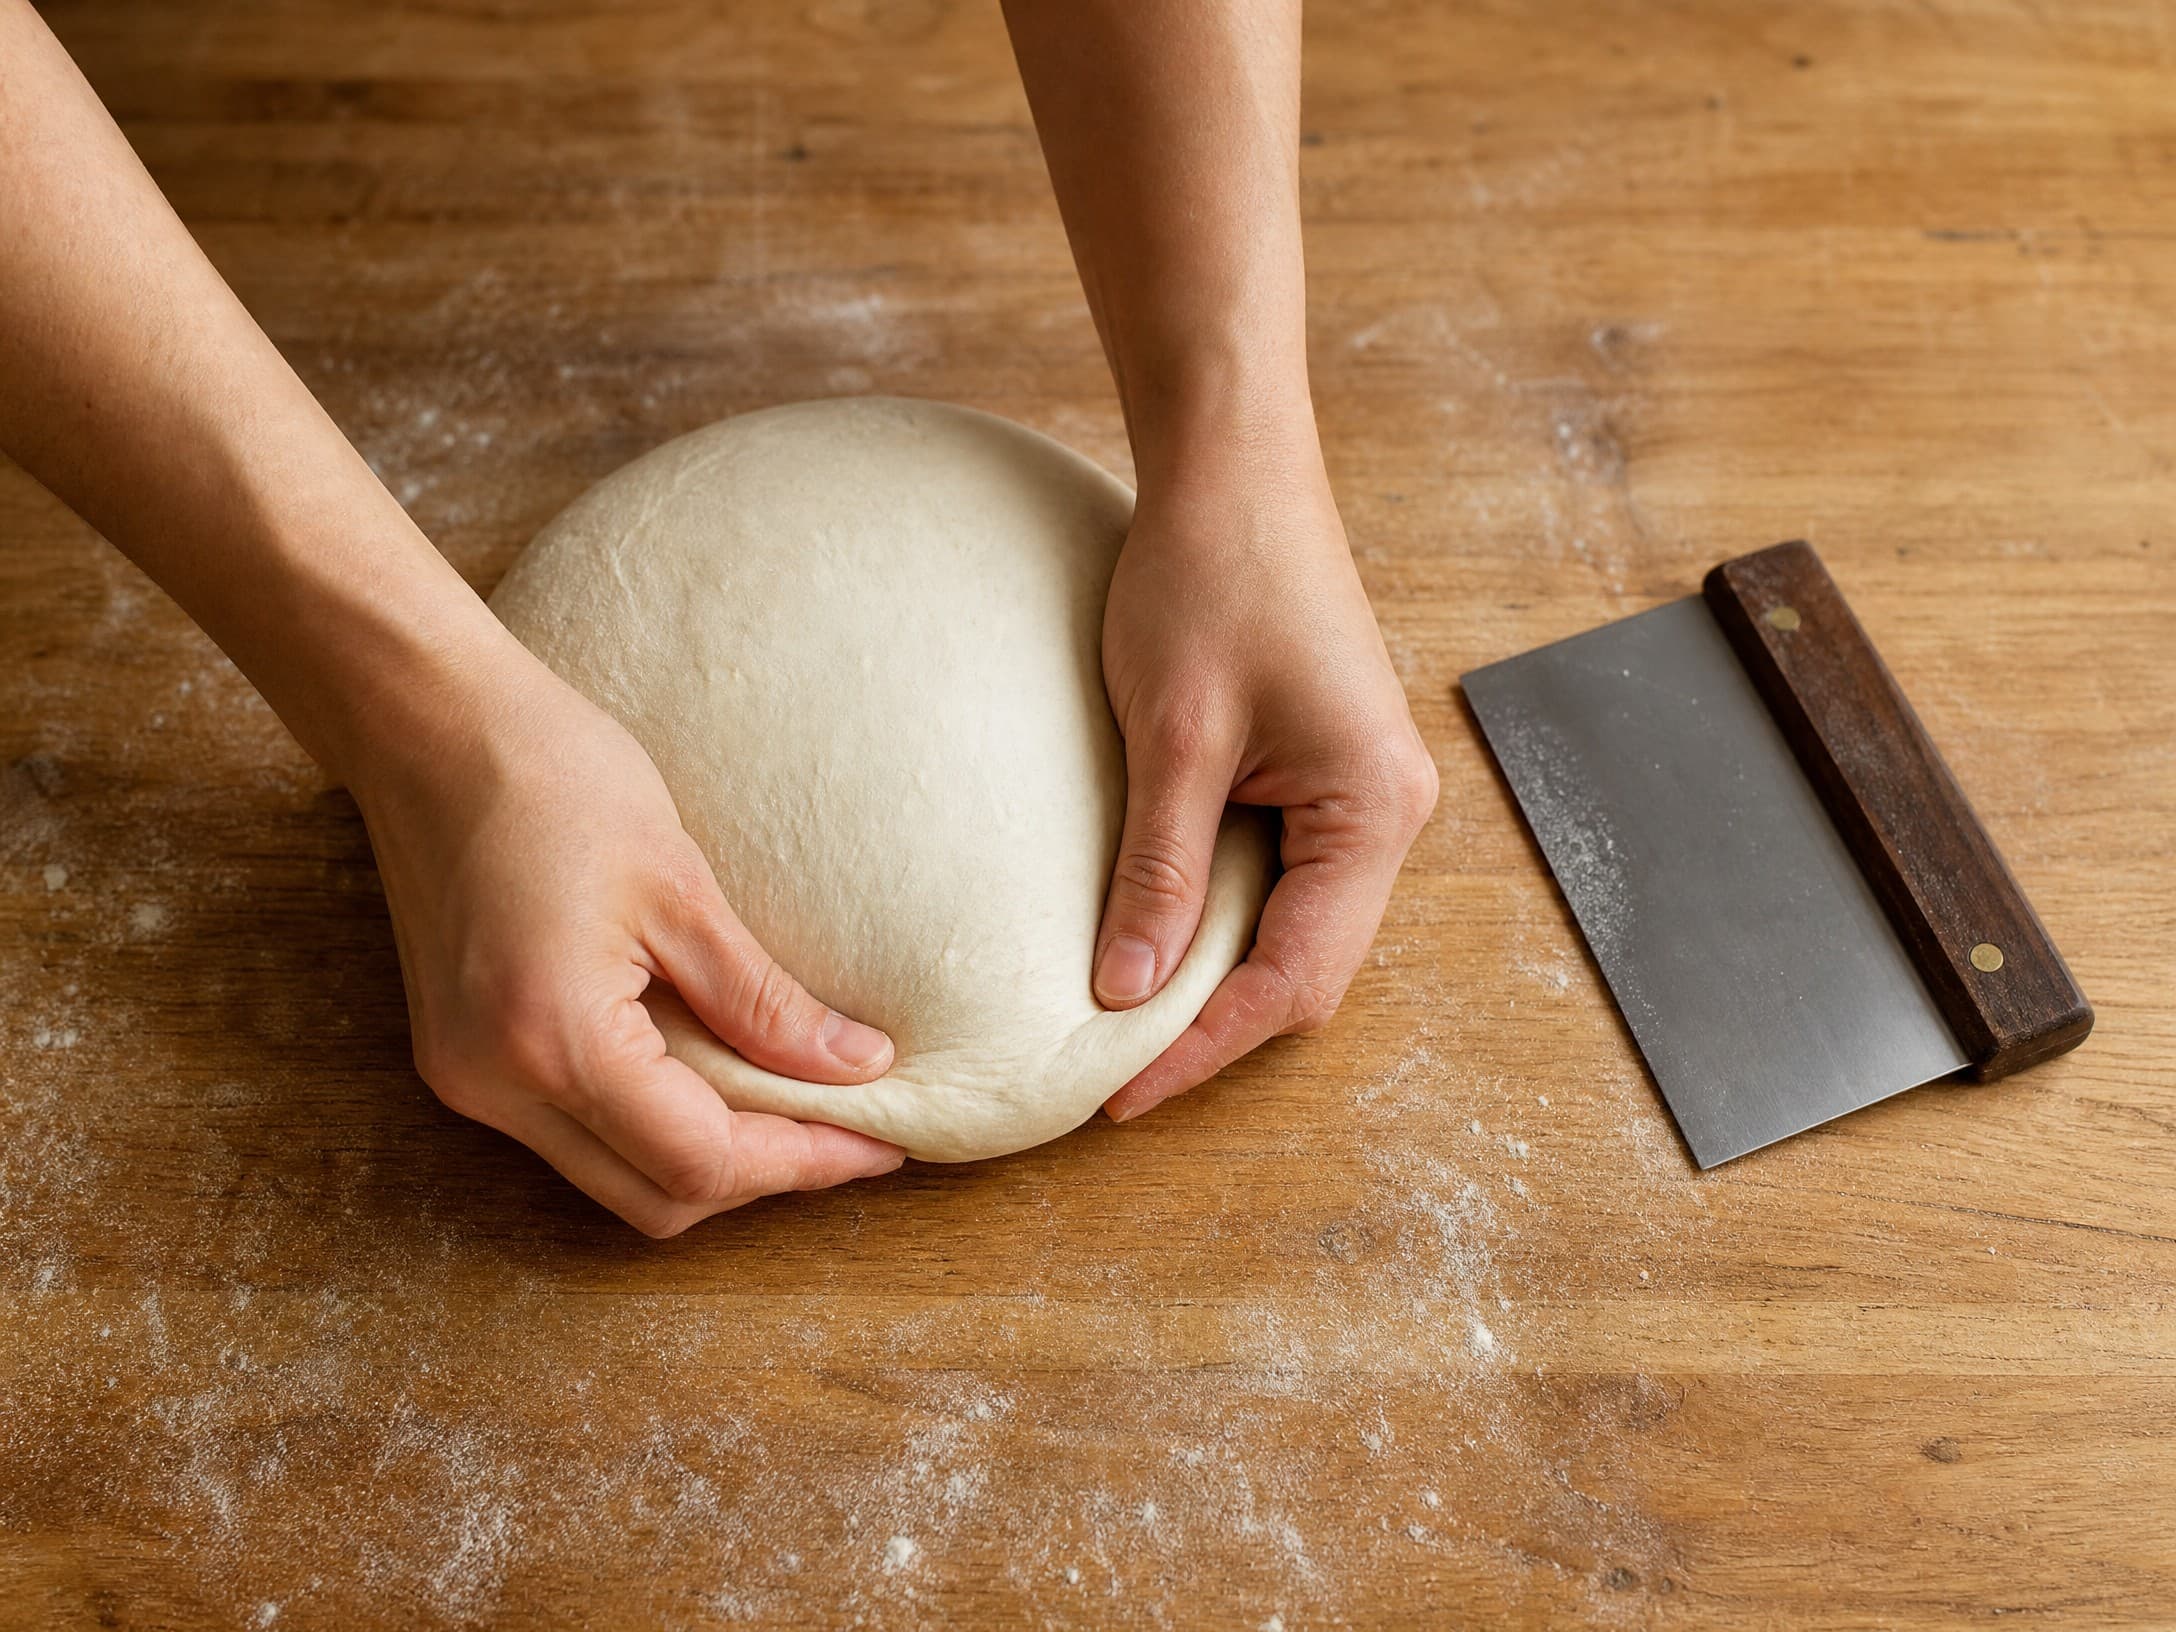
- Flip the dough seam-side down, cup your hands around it and drag it toward you on the bench in short strokes. Each drag tucks the underside seam and tightens the skin. Stop when the dome feels smooth and holds its shape.
The drag is the tension-building move. If the dough sticks, add a whisper more flour or use your bench scraper to pull it instead.
Step 3b: Shaping a batard (oval)
- Start the same way — floured bench, rested preshape, seam side up, flattened into a disc.
- Fold the top third down to the center, then roll it toward you a half-turn, pressing gently with your thumbs to seal the seam.
- Continue rolling until the dough is a log, then taper the ends with the edges of your hands, rolling the log slightly longer.
- Pinch the seam closed along the length and set it seam-side down.
A batard is just a boule that got rolled longer. Same principle, different silhouette — and it slices better for sandwiches.
Common shaping mistakes
- Too much flour. A dusted bench is fine; a floured one leaves raw flour pockets baked into the crust. Use flour sparingly and switch to a damp bench for sticky doughs.
- Degassing the dough. Pressing out all the bubbles while shaping is the fastest route to a tight, dense crumb. Shape gently; the gas is your rise.
- Skipping the bench rest. The final shape fights you, tears on the surface and flattens in the proof. Always rest.
- Shaping over-proofed dough. If the dough is already slack and puddling before you start, no technique can save the tension. Shape earlier next bake — check readiness with the dough poke test.
- Sticky, tearing surface. Over-hydrated or under-developed dough won't shape cleanly. Pull the hydration back, or add folds during bulk — the high-hydration sourdough guide covers both.
After shaping
Set the shaped dough seam-side down in a floured bowl or banneton (seam side up if you'll flip it onto parchment to bake). Cover and proof until ready — then bake it in a preheated Dutch oven for maximum spring. New to the whole process? The sourdough bread recipe shows where shaping sits in the full timeline, the starter guide makes sure your dough has the strength to hold a shape and the beginner's guide to sourdough puts it all in order.
Frequently asked questions
Why is my shaped dough sticking to the bench?
Either there's too little flour, the dough is over-hydrated, or it was handled too long — working it warms and softens the surface. Dust the bench sparingly, use a bench scraper instead of your hands and work quickly. For high-hydration doughs, wet hands and a damp bench beat extra flour.
Do I really need to preshape and rest?
Yes — it's the most skipped step and the fastest way to a flat loaf. A bench rest of 15-30 minutes lets the gluten relax after the first shaping, so the final shape can build real tension. Skip the rest and the dough fights you, tears and flattens.
What does 'good surface tension' feel like?
A properly shaped piece of dough looks smooth, feels taut like a filled balloon and holds its dome when you set it down. If it instantly slumps into a puddle, either the tension was never built or the dough is over-proofed. If it resists the shape entirely, it needs a longer bench rest.
How do I keep the seam from opening during the bake?
Pinch the seam firmly after shaping and place the dough seam-side down in its proofing vessel, then flip it seam-side down onto the parchment for baking so the seam acts as a foot. A seam that splits during the bake is usually a sign the dough was too tight or too dry on the surface.