Overnight Sourdough Bread (24-Hour Schedule)
Overnight sourdough bread on a 24-hour schedule: a 10% starter mixed at night, bulk fermented while you sleep, shaped at sunrise and baked that evening.
By Maya Ellison · Reviewed by Maya Ellison · Updated September 9, 2026 · 3 min read
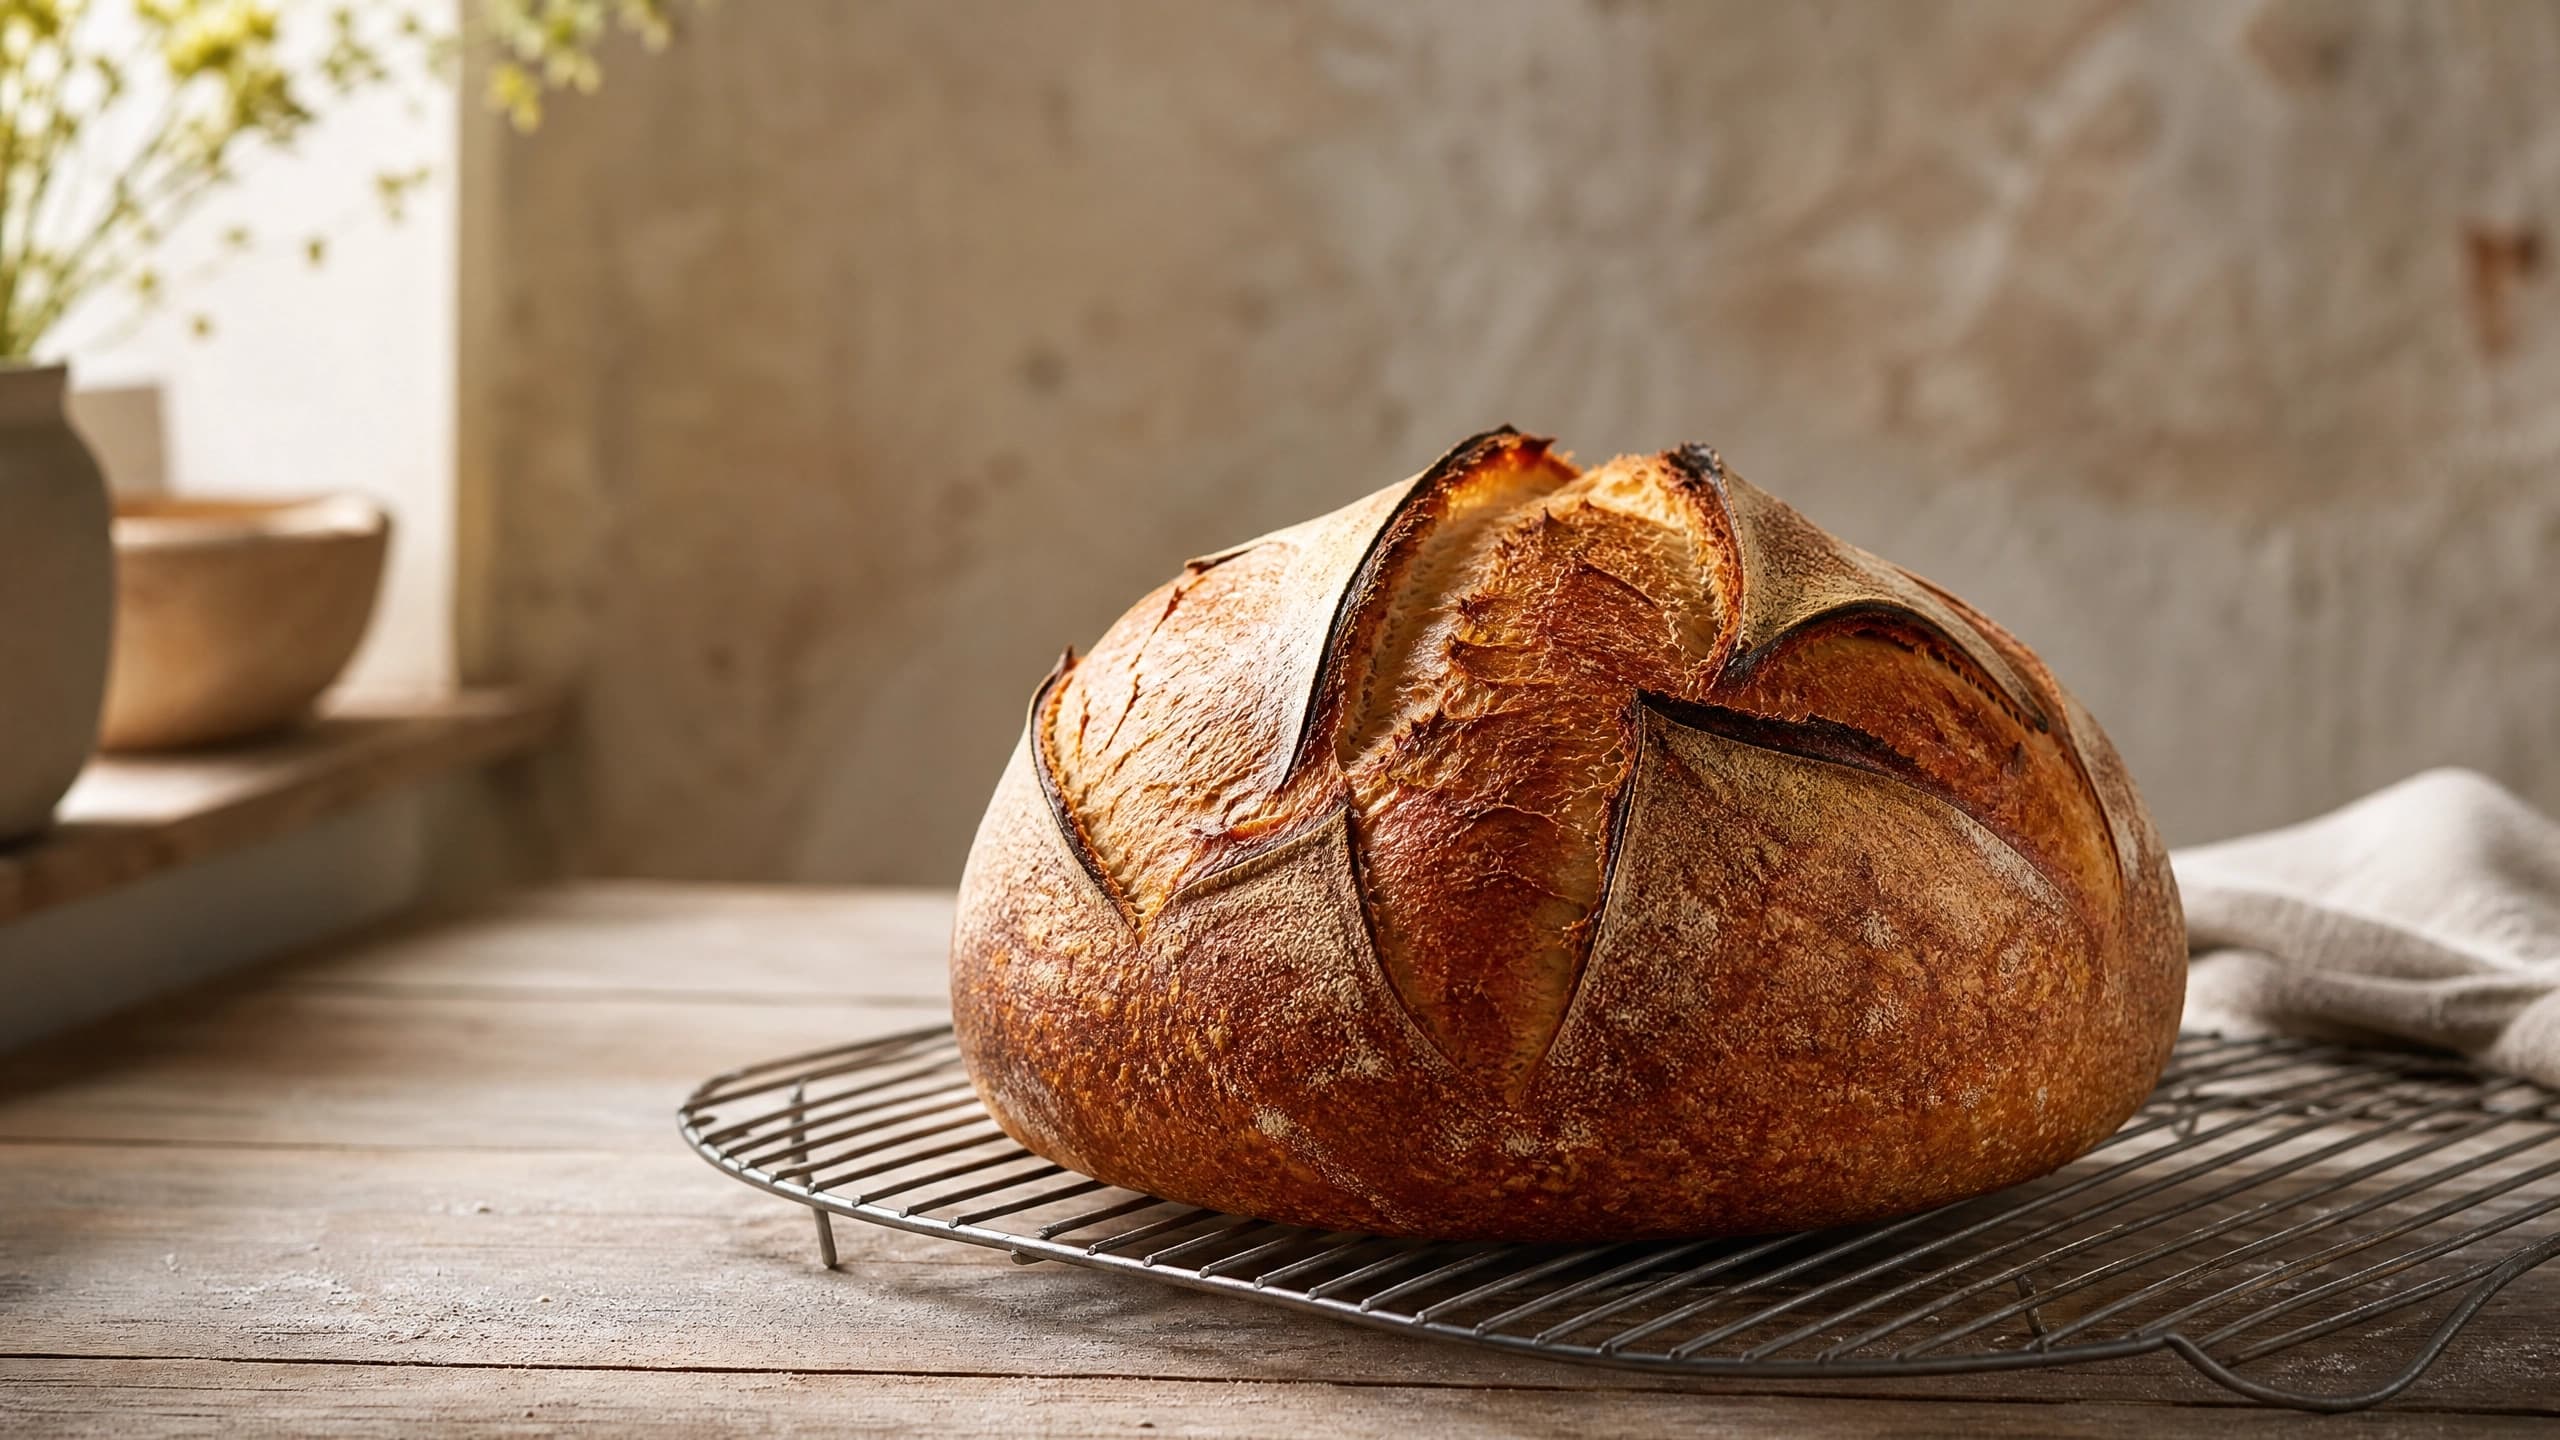
Overnight sourdough bread is the sourdough made for people who have jobs: mix a small 10% starter, water, flour and salt in the evening, let the dough bulk ferment on the counter while you sleep, shape it in the morning, cold-proof through the day and bake a crisp, open-crumb loaf the same evening. No stretch-and-folds, no babysitting, no weekend. Follow the classic sourdough bread recipe for the standard method, or stay here for the low-maintenance 24-hour schedule.
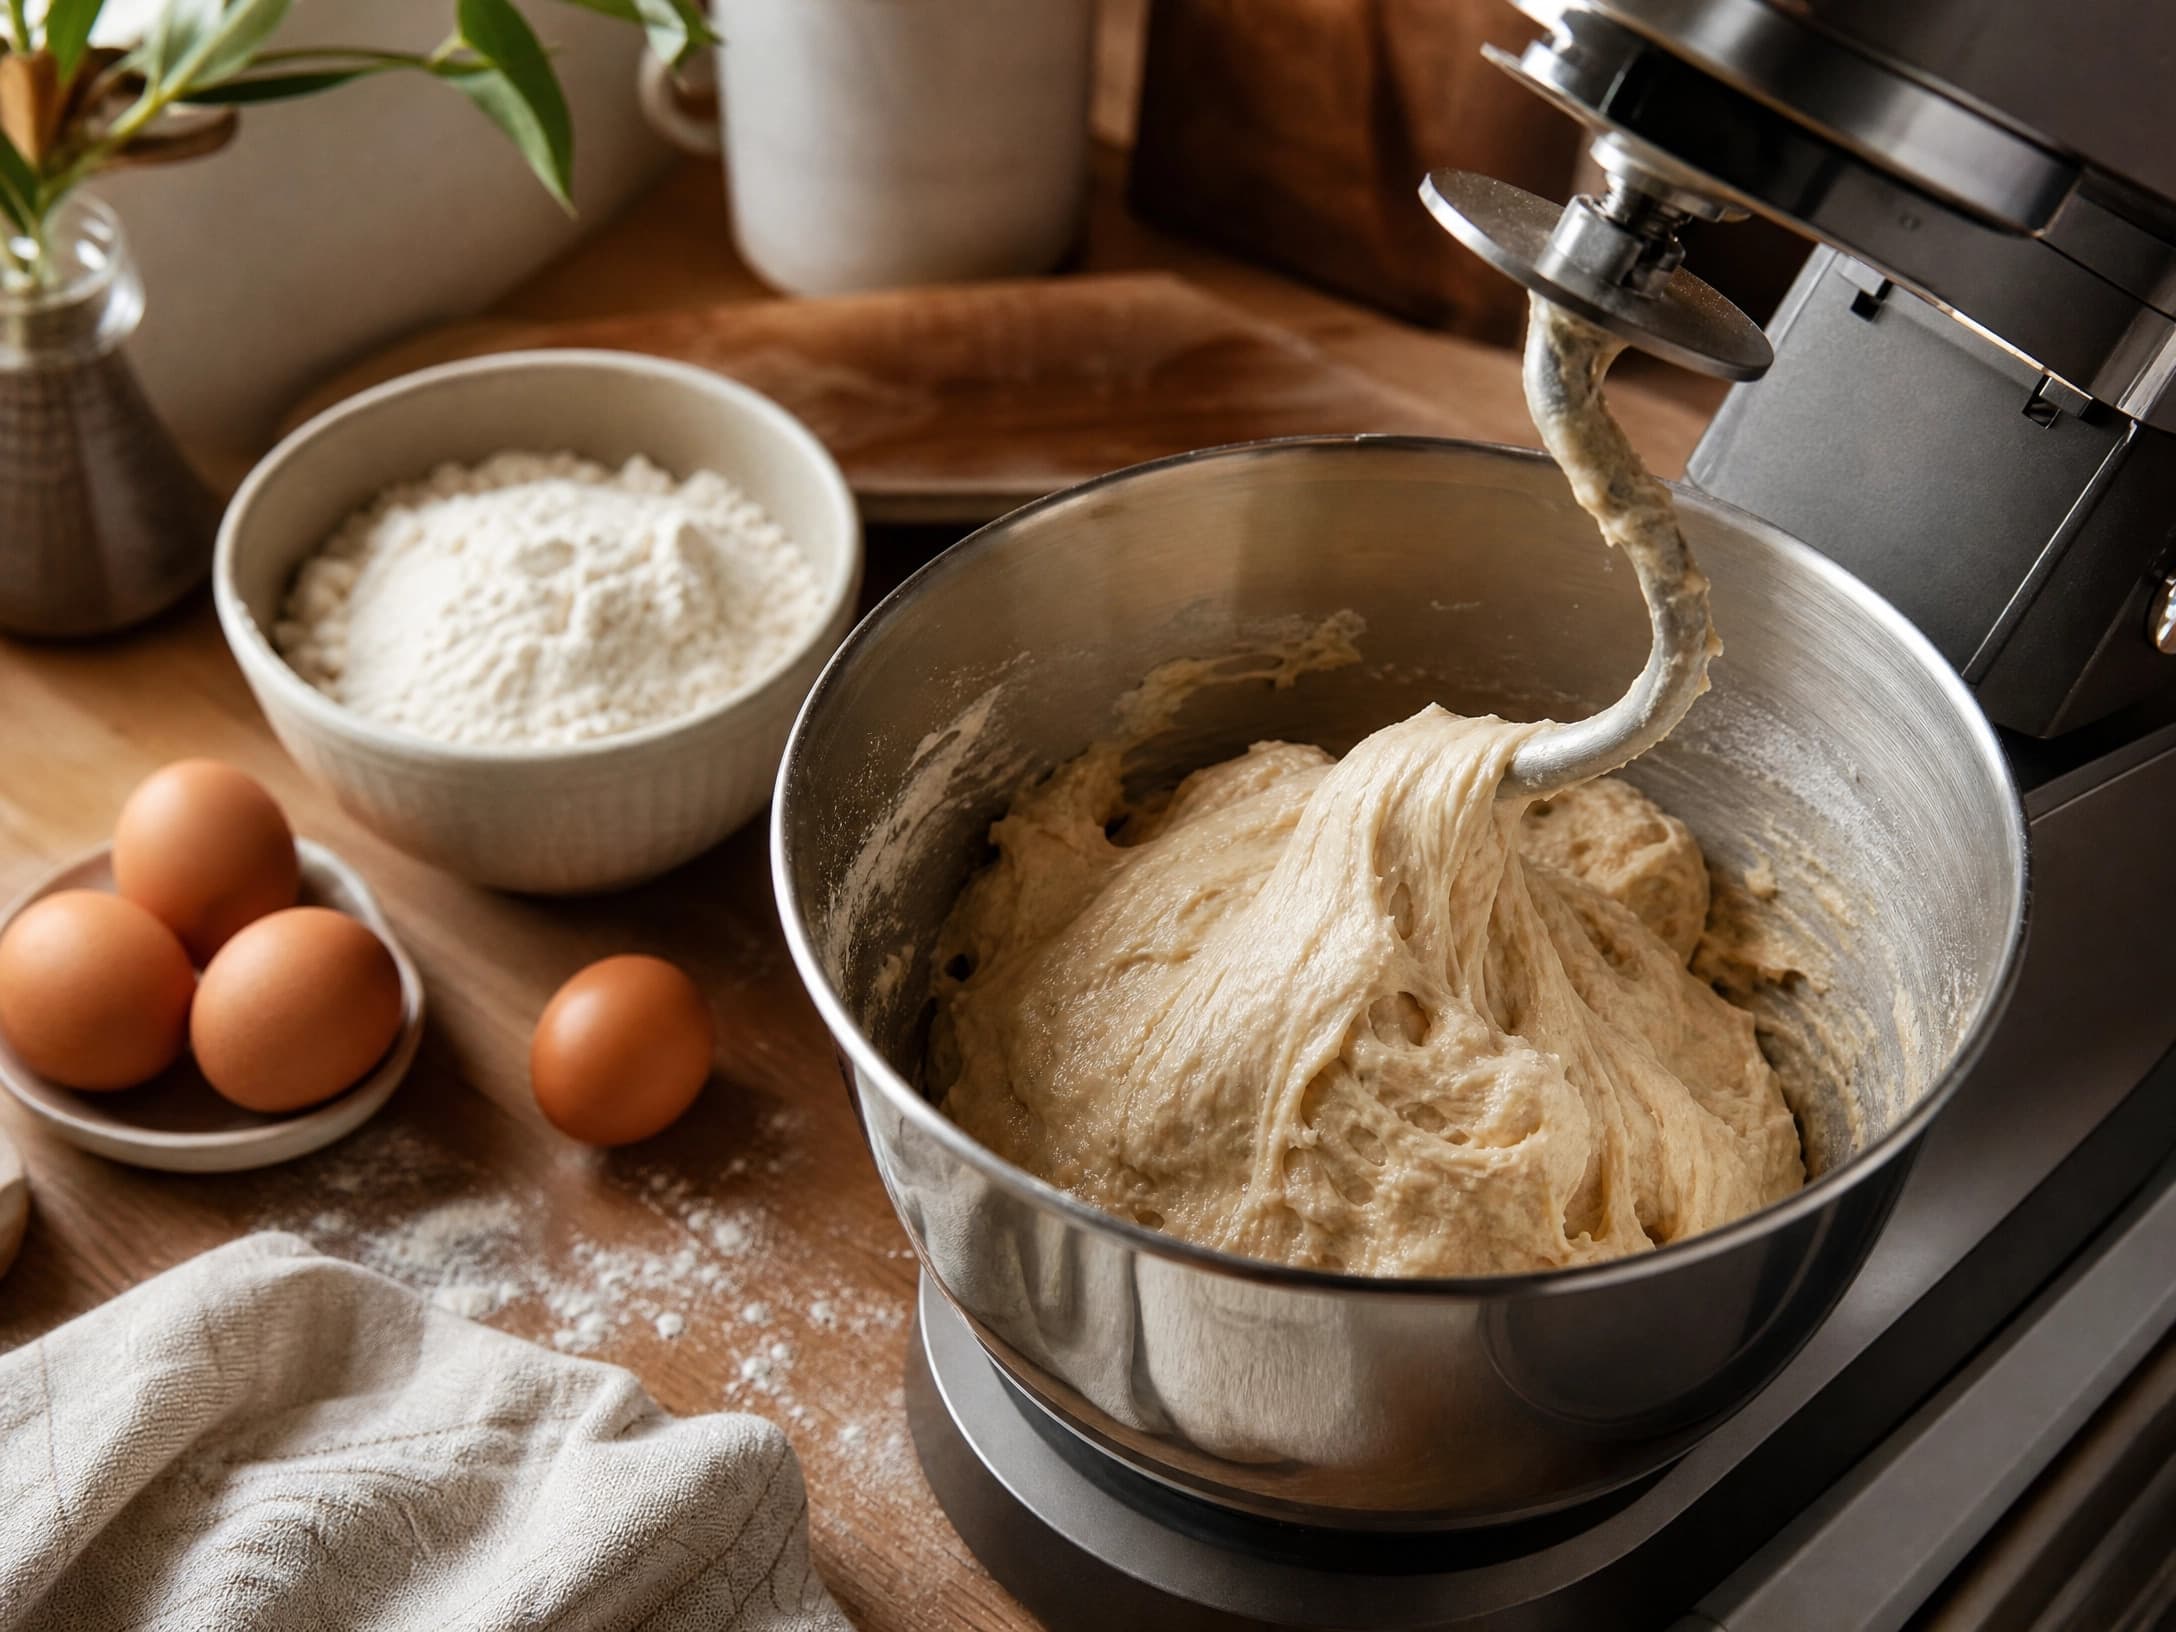
Why the tiny starter does the night shift
Most sourdough recipes lean on 20% starter and a warm, fast bulk that needs babysitting. Overnight sourdough inverts that: a 10% starter (50 g for every 500 g of flour) ferments so slowly that the dough can simply sit covered on the counter for 10–12 hours without a single fold. The long, cool ferment pays you back with deeper flavor, a more open crumb and a sturdier dough that shapes like a dream the next morning.
The 24-hour schedule at a glance
| Time | Step |
|---|---|
| 6–9 p.m. | Mix the dough (20 minutes), rest it 30 |
| 9 p.m. – 7 a.m. | Bulk ferment, covered, on the counter |
| 7–8 a.m. | Preshape, rest, shape into the basket |
| 8 a.m. – 5 p.m. | Cold proof in the fridge (minimum 5 hours) |
| 5–6 p.m. | Preheat, score, bake covered at 450°F |
| 6:10 p.m. | Uncover, bake to deep brown, cool, slice |
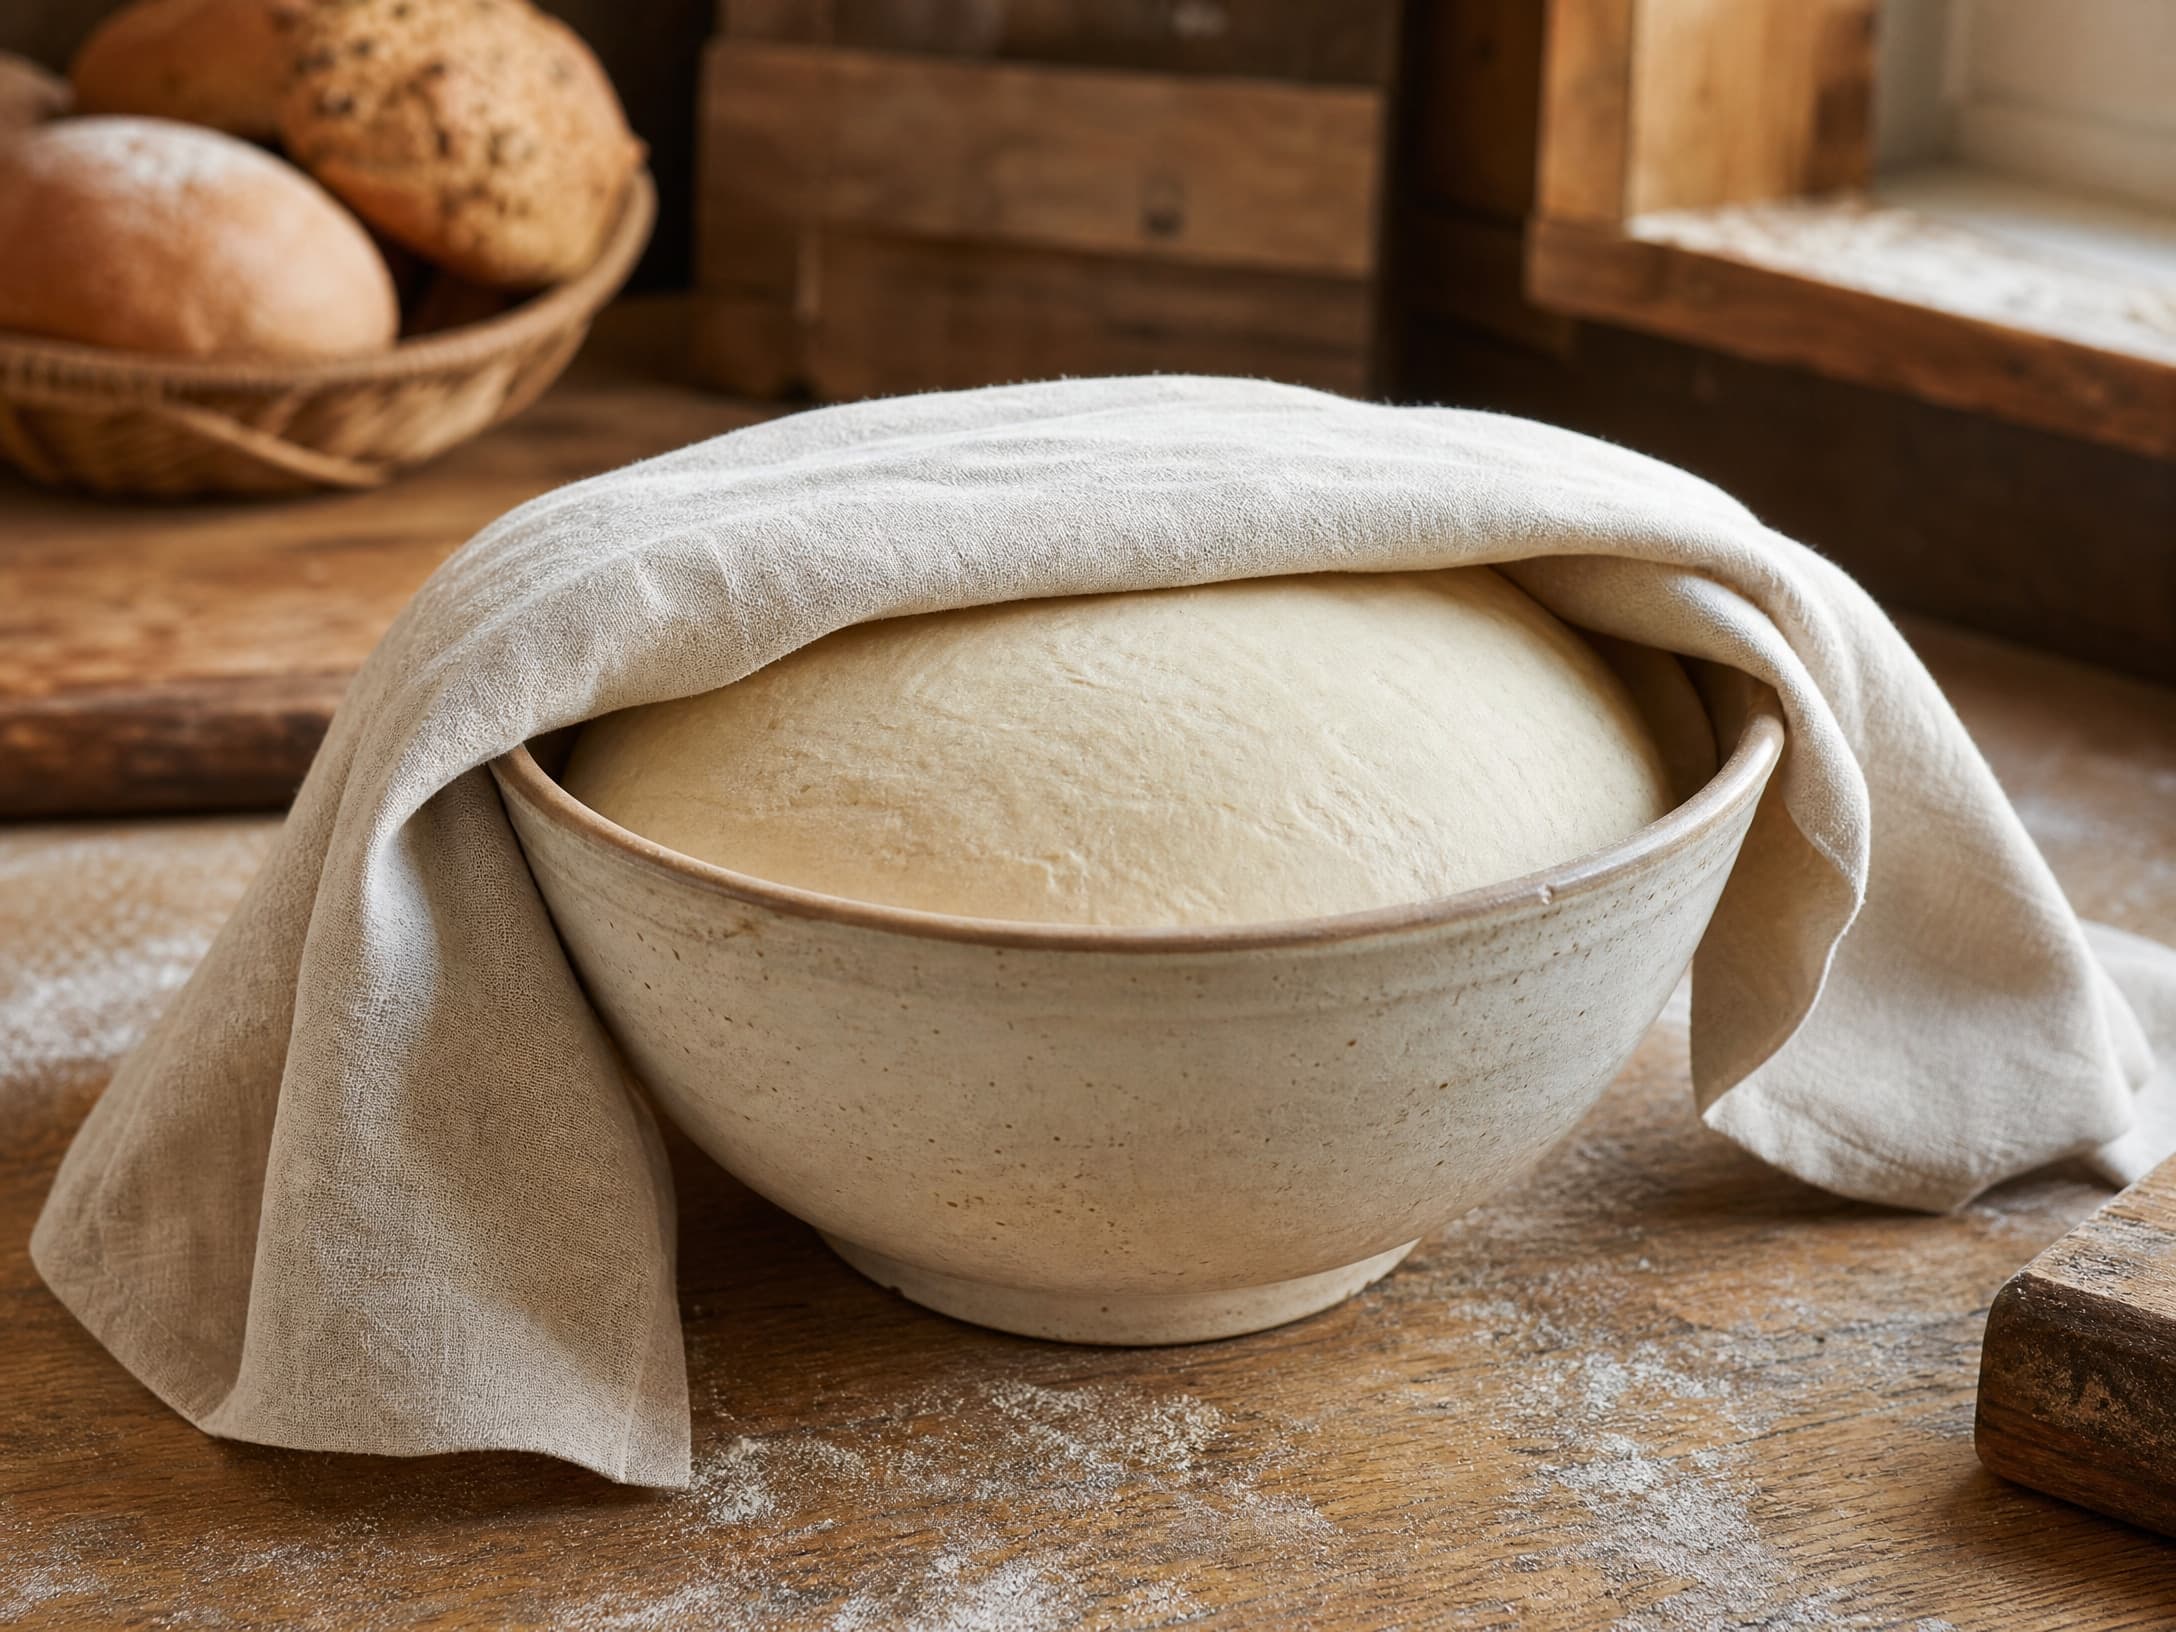
The no-fold secret that actually works
You get to skip stretch-and-folds because the dough is so lightly leavened that it can't outpace itself. A strong holder could push a 20% starter through its peak overnight and collapse by dawn; a 10% starter is still climbing when you wake. That single math is the difference between a loaf that bakes itself and a soggy overnight disaster.
If you want extra structure, do one gentle fold before bed — a comfort ritual more than a necessity.
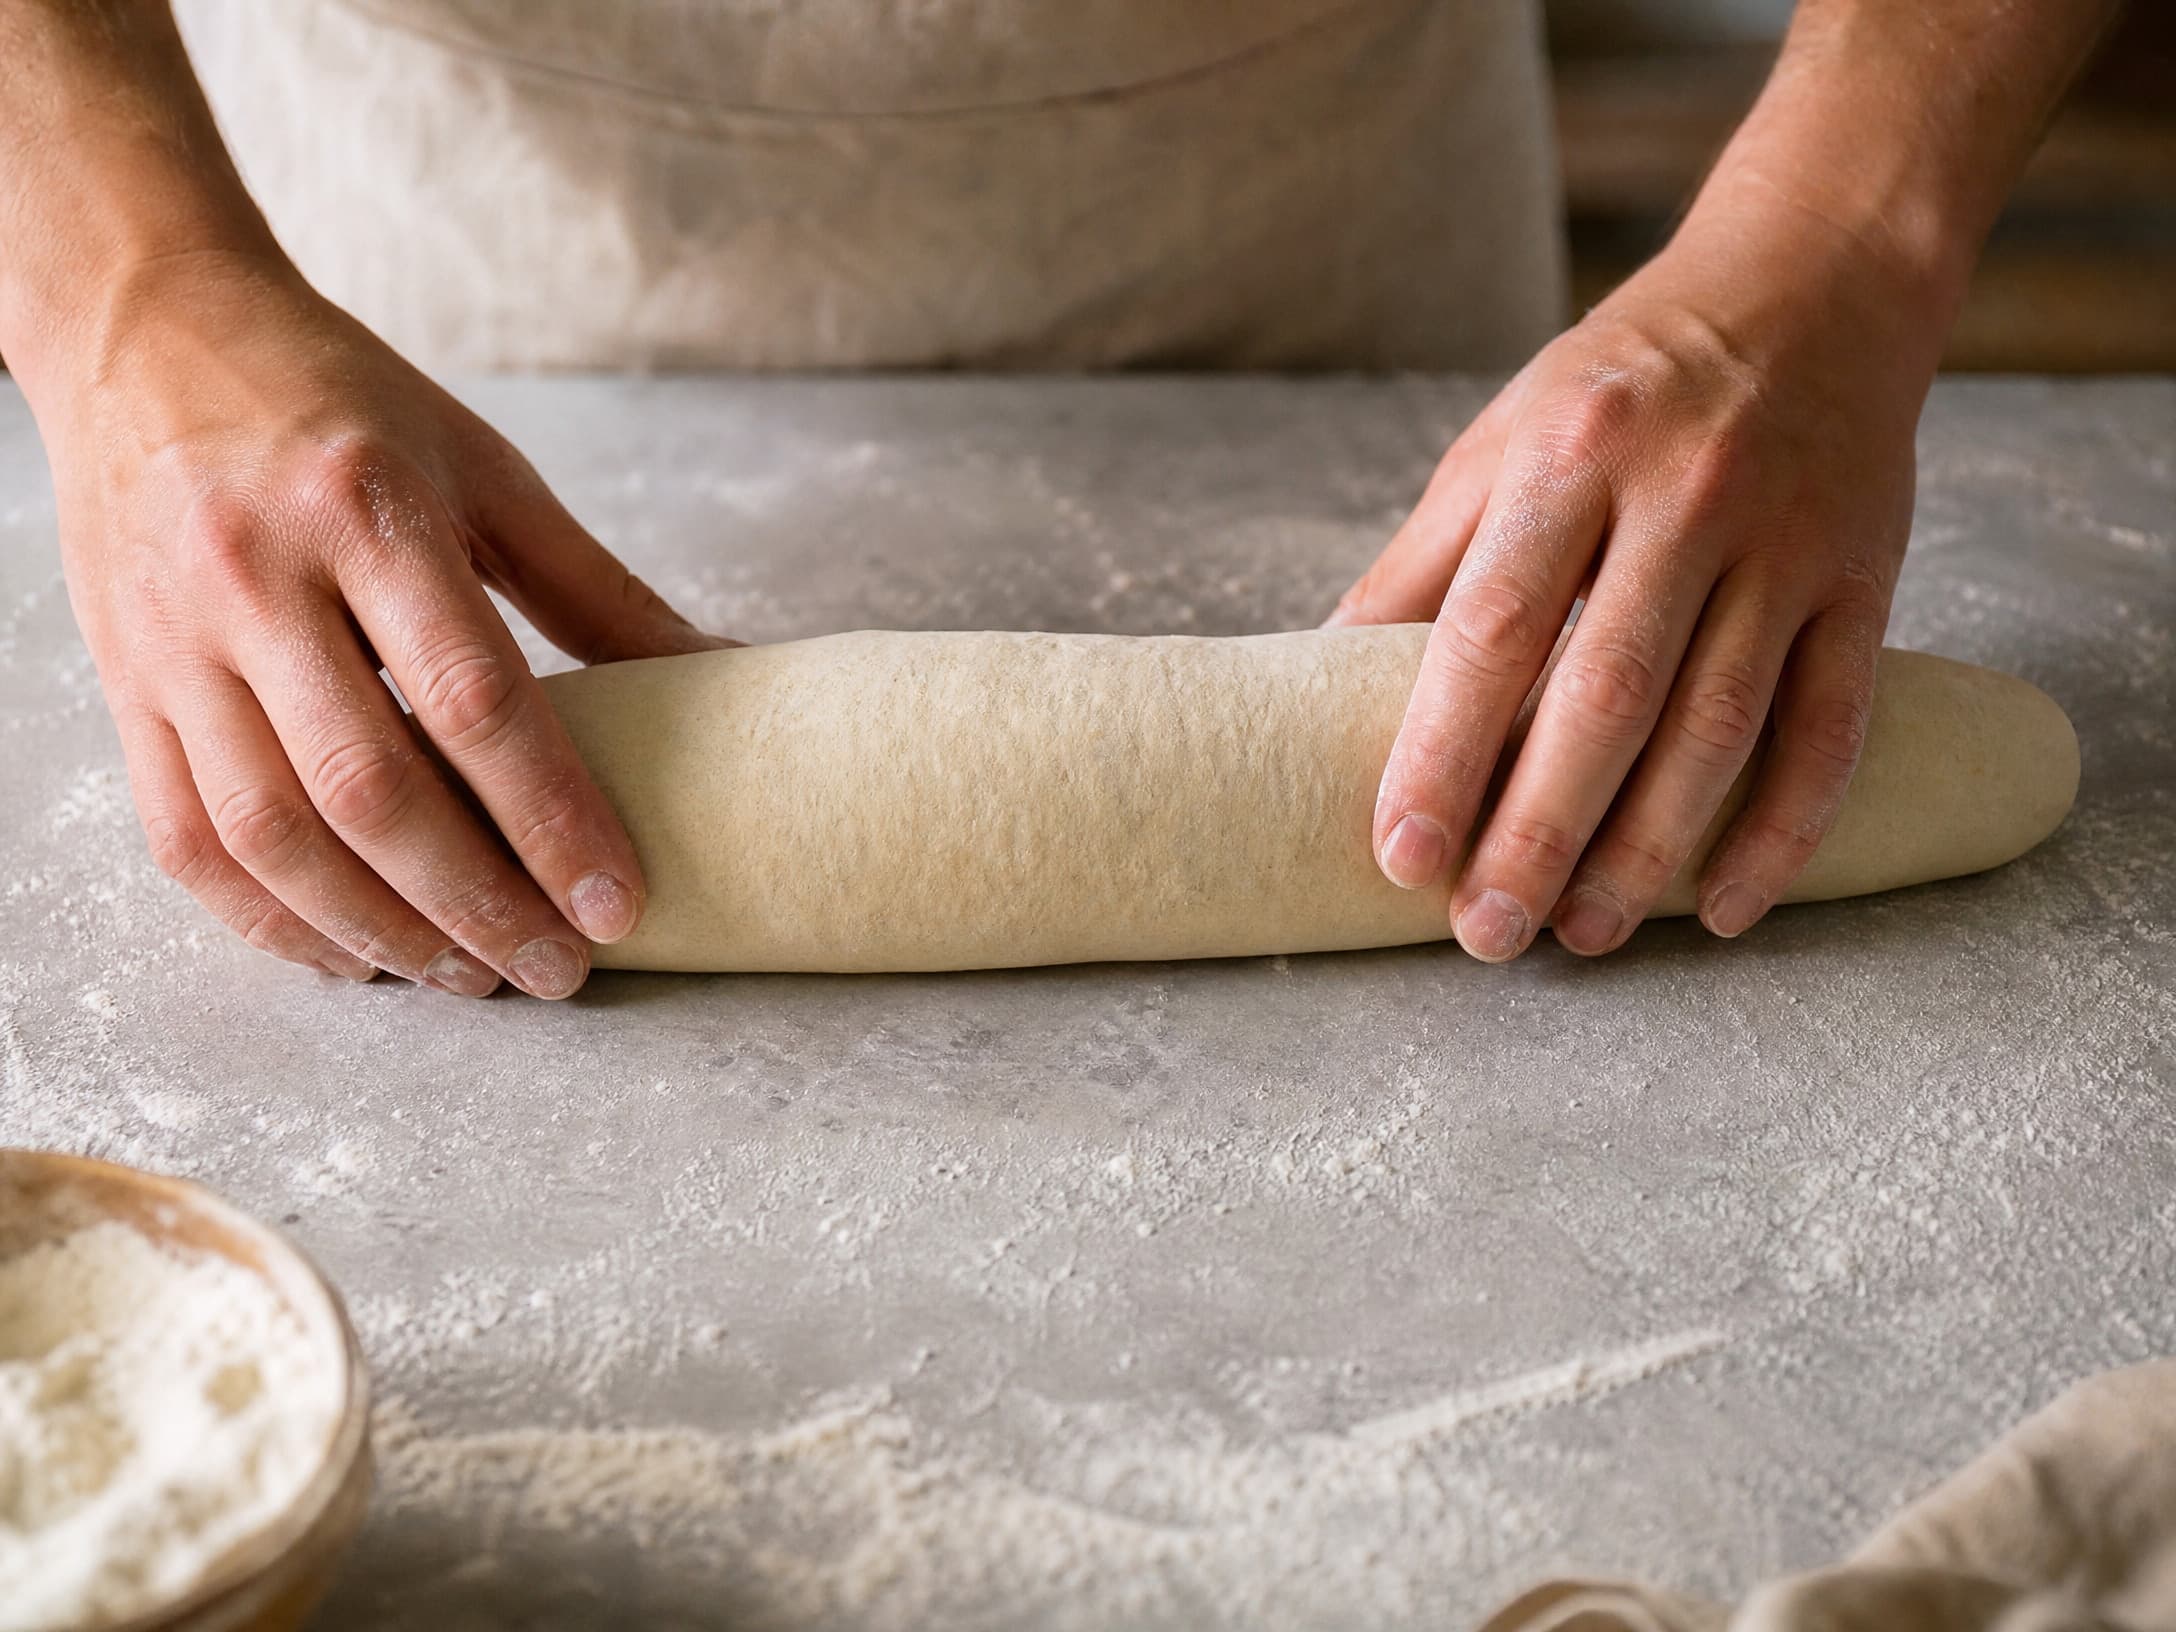
Shaping a half-proofed dough
Morning dough is softer and stickier than a standard batch, so keep movements minimal: turn it out once, preshape a loose round, let it rest 20 minutes, then shape it tight for the basket. Do not fight it, and do not knead it — strength came overnight.
Cold proof, then bake
The fridge not only schedules your bake around real life, it firms the dough for a clean score and builds mildness. Give it at least 5 hours; 8–12 is better. When you're ready, preheat the pot well, score confidently, and follow the times at the top of this page.
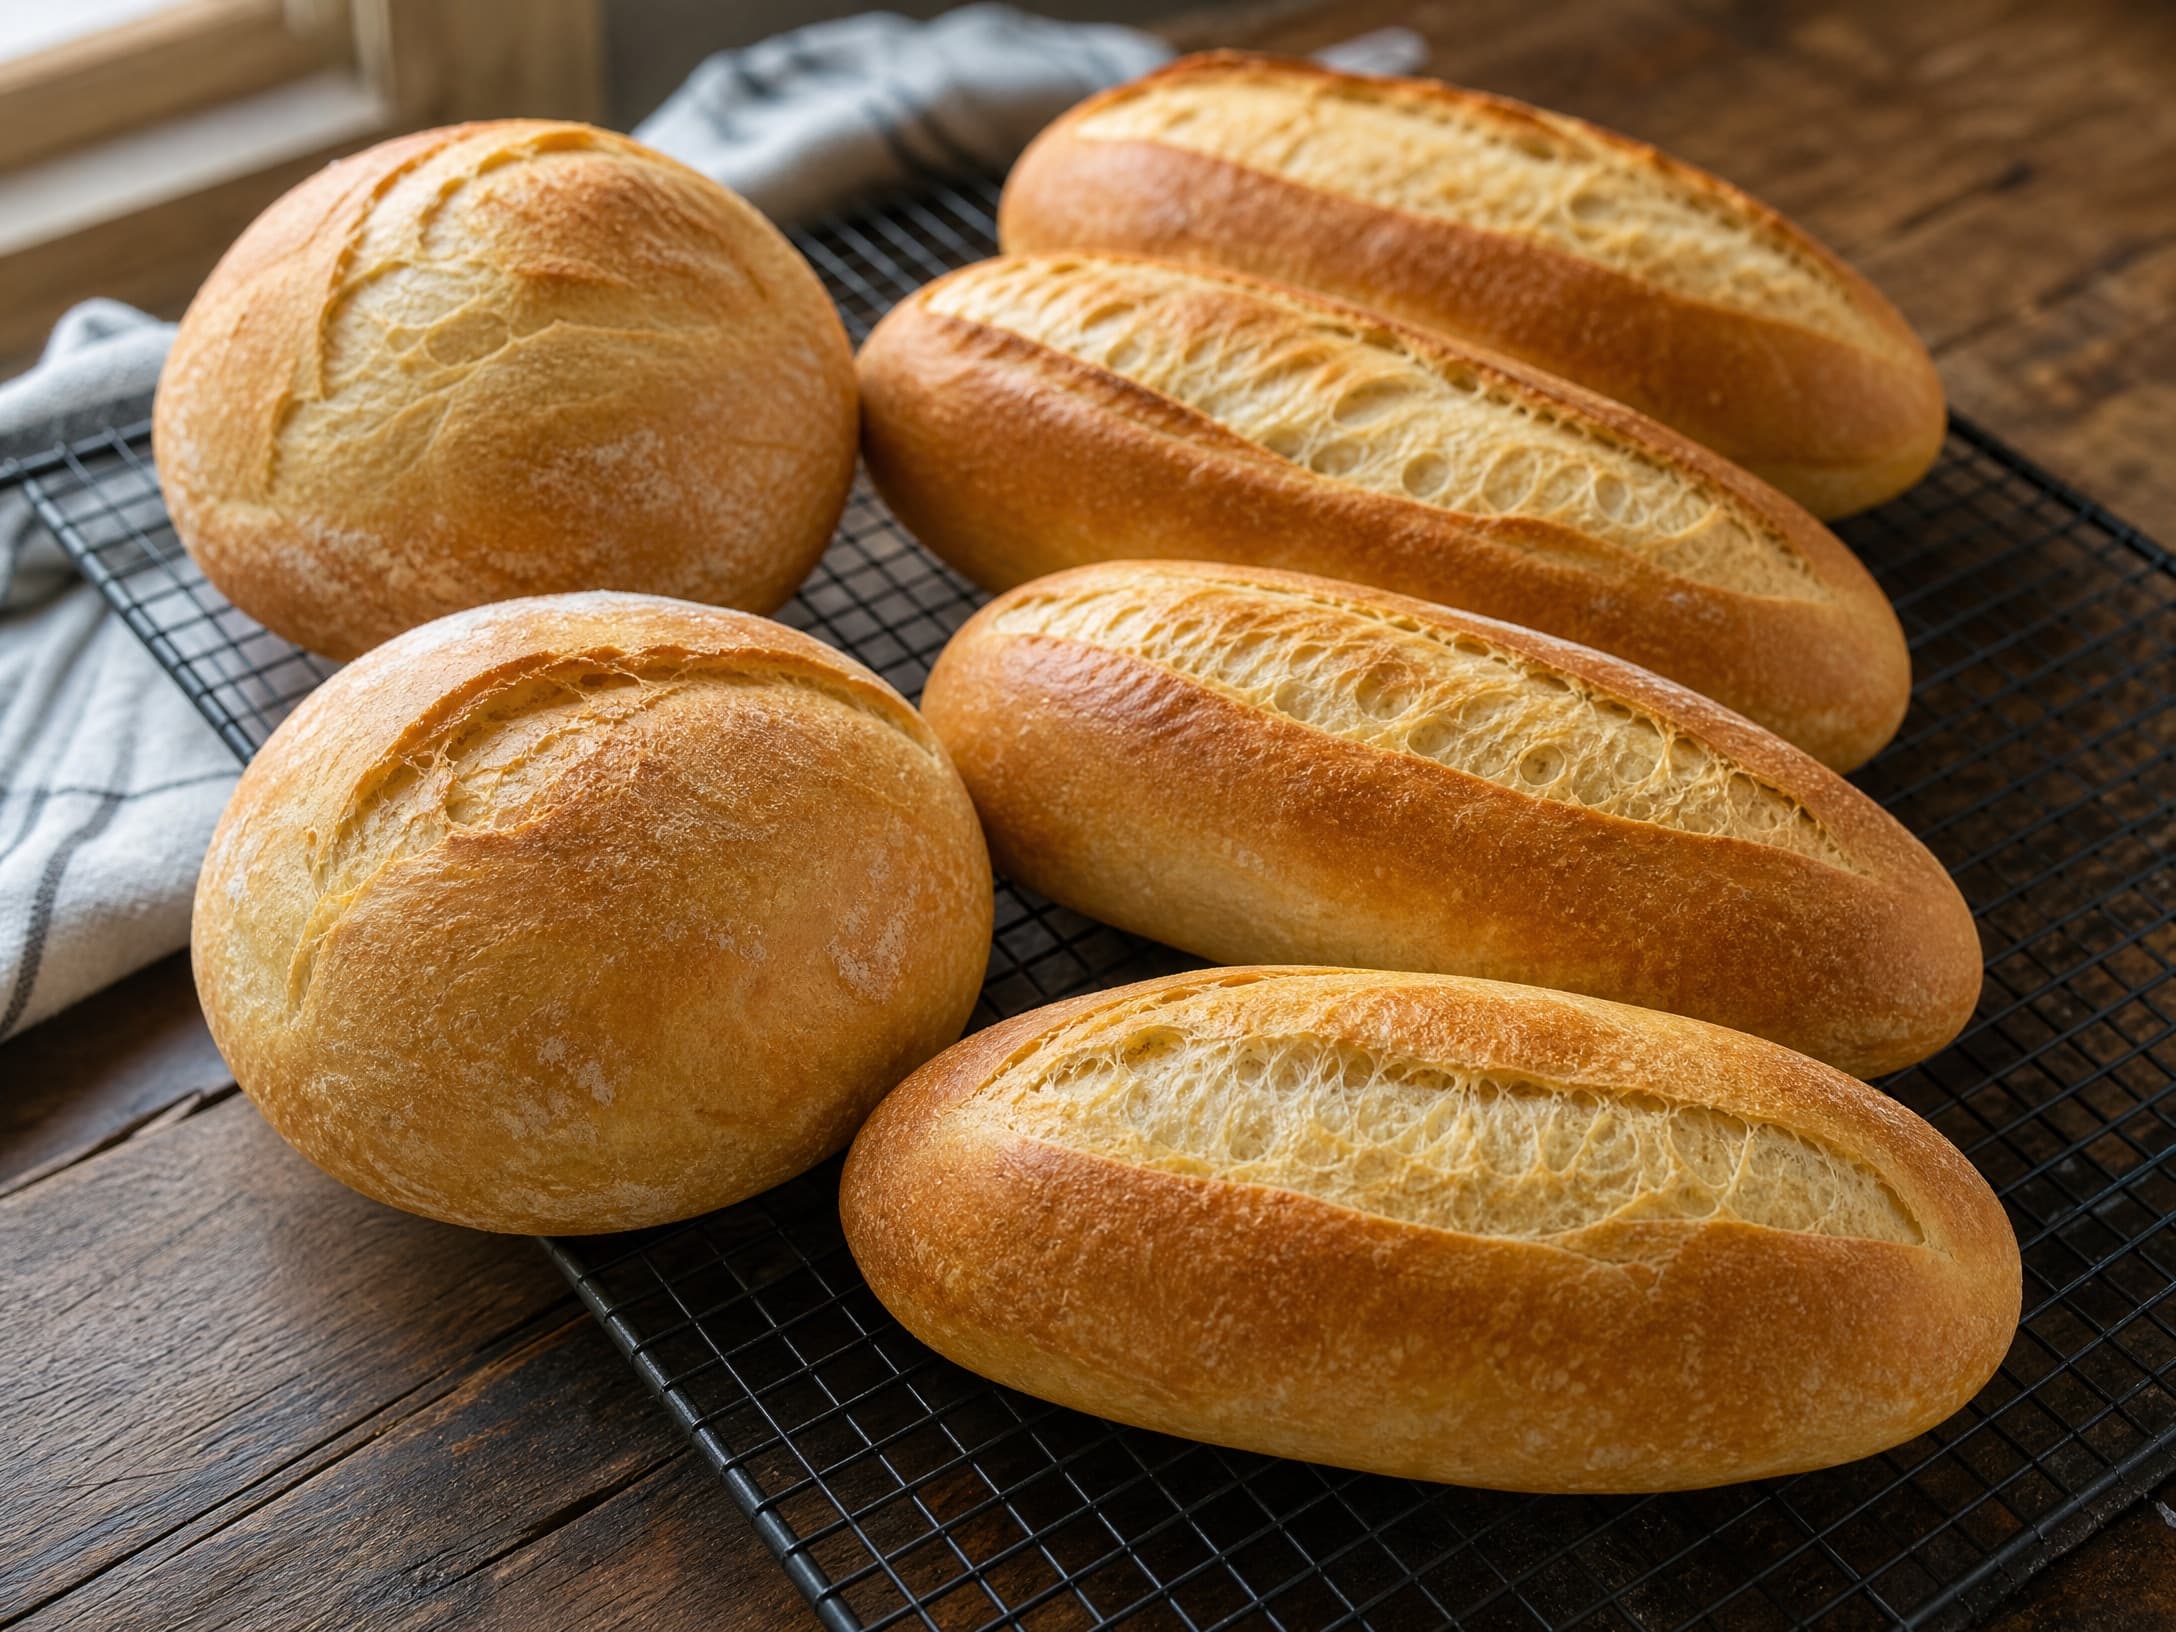
For the fundamentals any schedule needs — starter health, bulk fermentation signals and proofing timing — the sourdough starter guide, proofing bread dough guide and dough poke test guide are the right starting points. And if you want richer flavor still, see the extra sour sourdough bread, or make the "bake in the morning" version by shaping at night and cold-proofing while you sleep — the bake sourdough without a Dutch oven guide has the same dough baked open with a loaf pan.
Ingredients
Weights in grams are the source of truth; cup measures are approximate.
- 500 g bread flour
- 350 g water at room temperature
- 50 g active sourdough starter (10%), fed to peak
- 10 g fine salt (about 2 teaspoons)
- Rice flour or extra flour, for the proofing basket
Method
Morning (optional): if your starter is sluggish, refresh it 1:3:3 (20 g starter, 60 g water, 60 g flour) so it peaks late in the day. An already-bubbly starter can be used straight from the fridge.
Evening: in a big bowl, stir the water, 50 g starter and salt together, then add the flour. Mix just until no dry flour remains — about 20 turns. Cover and rest 30 minutes.
Instead of stretch-and-folds, do nothing. Because the starter is tiny (10%), the dough ferments slowly and alone builds its own strength overnight. Leave it covered on the counter at cool room temperature (68-72°F / 20-22°C).
Morning: the dough should be domed, puffy and roughly 150% of its original volume with a few bubbles — not a collapsed, soupy mess. If it is still flat, move it somewhere a few degrees warmer and wait another 2-3 hours.
Turn the dough onto a lightly floured bench. Preshape a round, rest 20 minutes, then shape into a tight boule or batard and place it seam-side up in a floured proofing basket.
Cold proof in the fridge for at least 5 hours (overnight through the next day works too). Cold dough scores more cleanly and the long chill deepens the tang.
Bake: preheat the oven (with a Dutch oven inside) to 450°F / 230°C for 45 minutes. Flip the loaf onto a parchment square, score it, lower it into the pot and bake covered for 30 minutes, then uncovered at 425°F / 220°C for 12-15 minutes until the crust is deeply browned.
Cool completely on a rack, at least 1 hour, before slicing. A warm crumb compresses — the tang and spring are waiting for you after it settles.
Frequently asked questions
Can I bake it the next morning instead of the next evening?
Yes. Shape in the morning, cold proof through the day in the fridge, then bake whenever suits you — the schedule is flexible because the cold proof pauses the fermentation for up to 24 hours. If you want it out of the oven by breakfast, do the entire bulk ferment in the fridge overnight and bake first thing.
Why only 10% starter? Won't it ferment too slowly?
That is the trick. A tiny starter ferments slowly and evenly, so the dough can bulk all night without over-proofing into a puddle by 6 a.m. The long ferment is exactly what builds flavor, too. If you use the usual 20% starter, cut the water slightly and expect the dough to be further along by morning.
What if my kitchen is too warm for an overnight rise?
Overproofing collapses the dough into a sticky, acidic mess. In a warm kitchen (above 75°F / 24°C), drop the starter to 25 g, use cooler water (60°F / 15°C), or move the bowl somewhere cool overnight. The goal is a continuously rising dough when you wake up, not a peak that happened at 2 a.m.
Is it too sour?
Usually it is mild — the low starter stays young and keeps acetic acid (the sour flavor) modest. To make it milder, cold-proof for the shorter 5 hours. To make it more sour, cold-proof the full 24 hours or fold once, twice max, before bed.
Do I have to use a Dutch oven?
No. Bake the open way with steam — toss ice cubes into a sheet pan on the bottom rack, or bake under an inverted loaf pan. The full step-by-step lives in the [bake sourdough without a Dutch oven guide](/guides/how-to-bake-sourdough-without-dutch-oven), and the times above assume the same 450°F start.
The dough was liquid by morning — what went wrong?
That is overfermentation: too much starter, too warm a room, or a too-long bulk for that dough. Scoop off the worst of the liquid, turn the remaining dough onto a floured bench, shape it gently in a floured basket, and bake it anyway — it will be flat and tangy but still edible. Next time cut the starter or the overnight time.